メインコンテンツにスキップ
リペアコミュニティに参加 - アカウントの作成

OnePlus 5T Back Cover Replacement

必要な工具と部品

    1. OnePlus 5T Back Cover Replacement, Back Cover: 手順 1、 2の画像 1 OnePlus 5T Back Cover Replacement, Back Cover: 手順 1、 2の画像 2
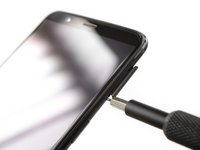
      • Before you begin, switch off your phone.

      • Remove the SIM card tray.

      FixBotに聞いてみる

      コメントを追加

    2. OnePlus 5T Back Cover Replacement: 手順 2、 1の画像 1
      • Remove the two Torx T2 screws (2.5 mm length).

      • The OnePlus 5T doesn't use a lot of adhesive to secure the backcover, however the clamps are very strong and require some force during the opening procedure.

      FixBotに聞いてみる

      コメントを追加

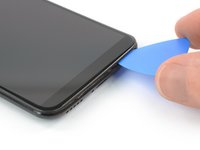
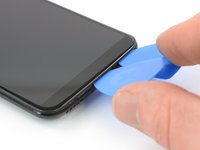
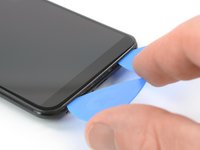
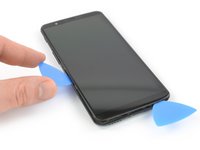
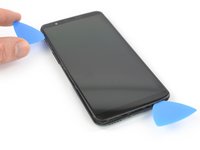
    3. OnePlus 5T Back Cover Replacement: 手順 3、 3の画像 1 OnePlus 5T Back Cover Replacement: 手順 3、 3の画像 2 OnePlus 5T Back Cover Replacement: 手順 3、 3の画像 3
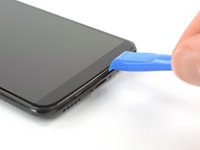
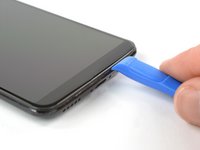
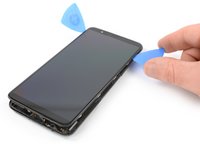
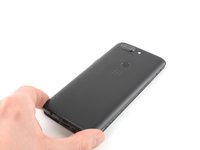
      • Insert an opening tool between the display and the backcover at the bottom end of the phone.

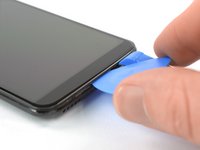
      • Use the opening tool to create a gap between back cover and display.

      • Insert an opening pick in the gap you created with the opening tool.

      FixBotに聞いてみる
      コメントを追加

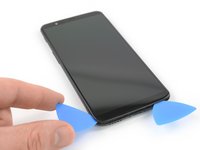
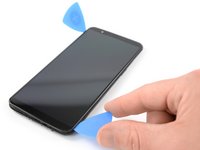
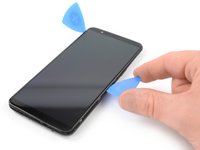
    4. OnePlus 5T Back Cover Replacement: 手順 4、 3の画像 1 OnePlus 5T Back Cover Replacement: 手順 4、 3の画像 2 OnePlus 5T Back Cover Replacement: 手順 4、 3の画像 3
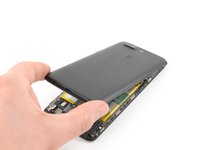
      • Slide the opening pick to the bottom right corner of the phone.

      • Insert a second opening pick and slide it to the bottom left corner of the phone.

      FixBotに聞いてみる
      コメントを追加

    5. OnePlus 5T Back Cover Replacement: 手順 5、 3の画像 1 OnePlus 5T Back Cover Replacement: 手順 5、 3の画像 2 OnePlus 5T Back Cover Replacement: 手順 5、 3の画像 3
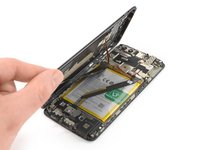
      • Slide the opening pick around the bottom left corner and then up along the left edge of the phone to open the plastic clamps that secure the backcover.

      FixBotに聞いてみる
      コメントを追加

    6. OnePlus 5T Back Cover Replacement: 手順 6、 3の画像 1 OnePlus 5T Back Cover Replacement: 手順 6、 3の画像 2 OnePlus 5T Back Cover Replacement: 手順 6、 3の画像 3
      • Slide the opening pick around the bottom right corner and then up along the right edge of the phone to open the plastic clamps that secure the backcover.

      FixBotに聞いてみる

      コメントを追加

    7. OnePlus 5T Back Cover Replacement: 手順 7、 3の画像 1 OnePlus 5T Back Cover Replacement: 手順 7、 3の画像 2 OnePlus 5T Back Cover Replacement: 手順 7、 3の画像 3
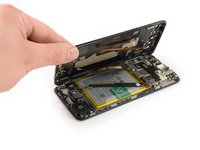
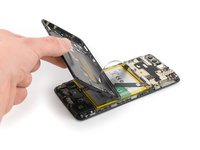
      • Try not to remove the backcover all the way yet. The fingerprint and the charging port and headphone flex cables are still connected to the motherboard.

      • Flip your phone and carefully lift the bottom end of the backcover away from the phone assembly. Fold it to left and hold it at an 80° angle.

      FixBotに聞いてみる

      コメントを追加

    8. OnePlus 5T Back Cover Replacement: 手順 8、 2の画像 1 OnePlus 5T Back Cover Replacement: 手順 8、 2の画像 2
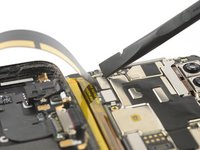
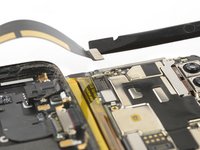
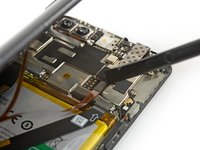
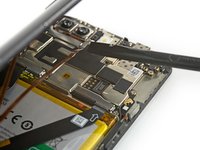
      • Use a spudger to pry up and disconnect the fingerprint flex cable.

      FixBotに聞いてみる
      コメントを追加

    9. OnePlus 5T Back Cover Replacement: 手順 9、 3の画像 1 OnePlus 5T Back Cover Replacement: 手順 9、 3の画像 2 OnePlus 5T Back Cover Replacement: 手順 9、 3の画像 3
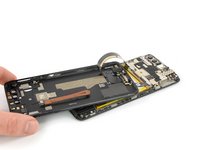
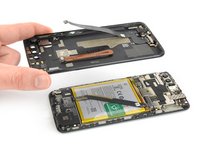
      • Twist the backcover around 180° and lay it down to align the bottom end of the backcover the top edge of the battery.

      FixBotに聞いてみる
      コメントを追加

    10. OnePlus 5T Back Cover Replacement: 手順 10、 3の画像 1 OnePlus 5T Back Cover Replacement: 手順 10、 3の画像 2 OnePlus 5T Back Cover Replacement: 手順 10、 3の画像 3
      この手順で使用する道具:
      Tweezers
      $4.99
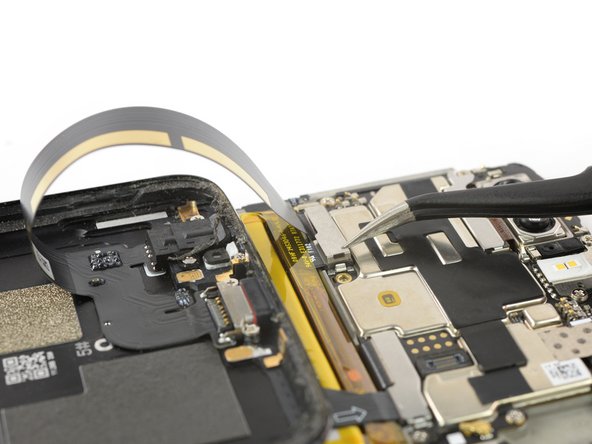
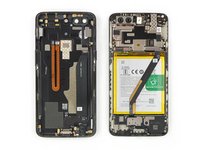
      • Use a pair of tweezers to remove the small metal shield which covers the battery and the charging port and headphone jack flex cable connectors.

      FixBotに聞いてみる

      コメントを追加

    11. OnePlus 5T Back Cover Replacement: 手順 11、 2の画像 1 OnePlus 5T Back Cover Replacement: 手順 11、 2の画像 2
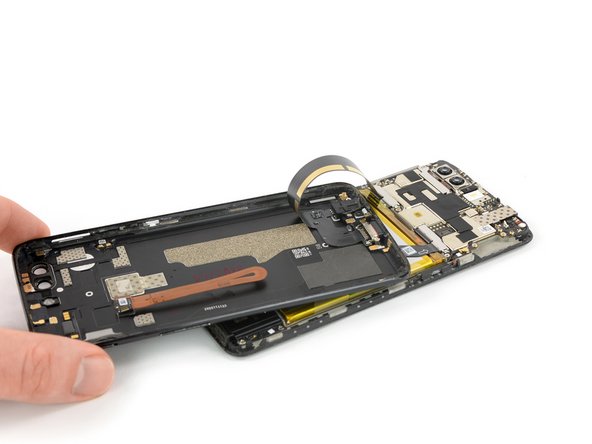
      • Use a spudger to pry up and disconnect the charging port and headphone jack flex cable.

      FixBotに聞いてみる

      コメントを追加

    12. OnePlus 5T Back Cover Replacement: 手順 12、 2の画像 1 OnePlus 5T Back Cover Replacement: 手順 12、 2の画像 2
      • Remove the backcover.

      FixBotに聞いてみる
      コメントを追加

終わりに

To reassemble your device, follow these instructions in reverse order. Apply new adhesive where necessary after cleaning the relevant areas with isopropyl alcohol (>90%).

Take your e-waste to an R2 or e-Stewards certified recycler.

Repair didn’t go as planned? Check out our Answers Community for troubleshooting help.

キャンセル: このガイドを終了できませんでした。

6 の人々がこのガイドを完成させました。

作成者

4人の作成者と共同で作成されました。

Dominik Schnabelrauch

メンバー登録日: 11/23/16

262,785 ポイント

682のガイドは作成済み

チーム

iFixit iFixit人のメンバー

Staff

123 メンバー

58,125のガイドは作成済み

0件のガイドコメント

コメントを追加

統計データ:

過去 24時間: 1

過去 7 日: 14

過去 30 日: 79

今までの合計 4,407