はじめに
This guide will walk you through replacing the heating element for the Ninja Foodi DZ401 Air Fryer. Replacing the heating element may be required if the device is cooking too slowly or not heating.
Ensure the air fryer is unplugged and has cooled before handling the heating element. The heating elements are identical and require the same process to remove. Check the wire connections if the heating element does not function after replacement.
必要な工具と部品
-
-
-
Position the air fryer so that the front is facing you and the top is accessible.
-
Using opening picks and a metal spudger, pry open the silver ring on the front, right corner.
-
Place an opening pick on the left side of the corner to hold the ring away from the cover.
-
Slide the metal spudger underneath the silver ring. When you find a notch, place the metal spudger next to the notch and pry up to release it.
 FixBotに聞いてみる
-
-
-
Using a metal spudger, pry open the plastic top cover by inserting into the slots and pushing up on the tabs.
-
-
-
-
-
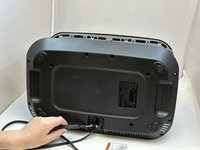
Rotate the air fryer so that the back of the air fryer is facing down and the base is facing you.
-
-
-
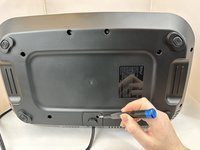
Remove the ten 15 mm screws from the bottom of the air fryer using a Phillips #3 screwdriver.
-
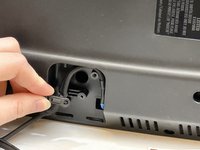
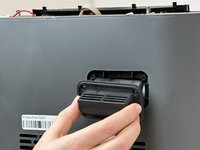
Remove the power cord cover.
-
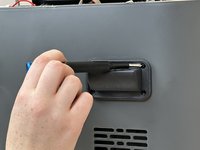
Remove the two 16.7 mm power cord bracket screws using a Phillips #1 screwdriver.
-
-
-
-
Remove the four 11.1 mm screws from each vent using a Phillips #1 screwdriver.
-
Remove both vents.
-
-
-
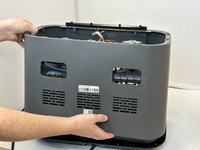
Carefully pull the outer casing up from the back.
-
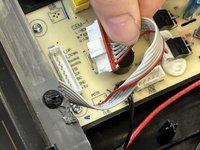
Disconnect the front display cable from the motherboard.
-
Fully remove the outer casing.
-
-
-
-
-
Rotate the air fryer so that the front is facing you and the top is accessible.
-
-
-
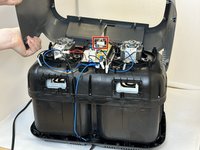
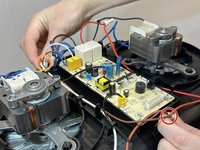
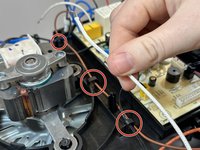
Locate the brown/orange wire bundle at the front of the air fryer and extract it.
-
Locate the white wire bundle at the rear of the air fryer and extract it.
-
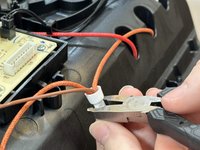
Using pliers, uncrimp and remove the plastic wire caps.
-
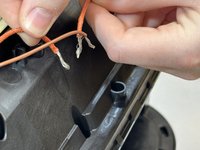
Carefully separate the wires.
-
-
-
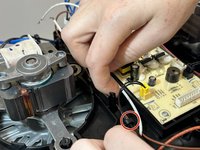
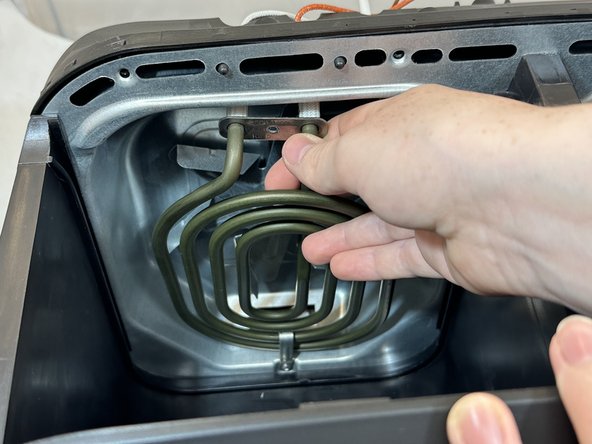
Remove the single 10.9 mm screw from the front of the heating element using a Phillips #2 screwdriver.
-
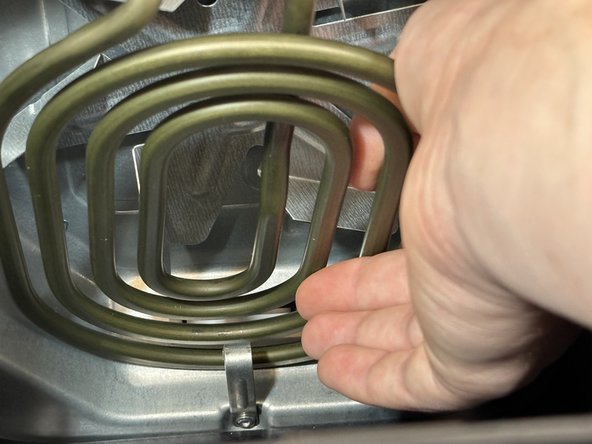
Gently pull down the heating element from the front.
-
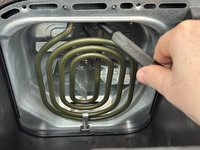
Unhook the heating element from the rear hook.
-
-











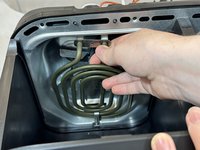
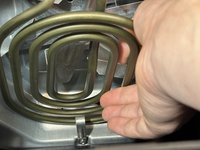
To reassemble your device, follow these instructions in reverse order.

チーム

Eastern Washington University, Team 1-2, Carnegie Fall 2024 Eastern Washington University, Team 1-2, Carnegie Fall 2024人のメンバー
EWU-CARNEGIE-F24S1G2
4 メンバー
66のガイドは作成済み
6件のガイドコメント
is it possible to start at step 11 to lower the heating coil a little bit to get inbehind the coil to really deep clean the top area? No tlooking to detach but clean.
Jacob Feht - 返信 共有
You are welcome to try that. If I remember correctly, it may be difficult to do so because of the awkward angle and wires attached. You may be able to lower it slightly but I am unable to confirm that. It is unfortunately a very frustrating device to take apart as you often have to disassemble the whole device, specifically the outer shell and lower base to get what you need.
Where do you get the replacement heating element from? Is it an aftermarket part or OEM?
Alan Smithee - 返信 共有
Just want to start of by saying thank you for these guides. Very helpful. I just want to add that there is a step missing between Step 5 & 7. Step 5 shows the top cover still on but then in Step 7 it’s off. But step 2 shows how to remove the top cover. Also to take the casing off, you have to remove the 4 screws located underneath the top cover. Took me around 20 mins to work out that to take the outer casing off these 4 screws need to come out first. Couldn’t believe how easy the cover came off after removing the screws. 😂
Whatever about putting in a new element. Where do you get them from? Anyone know how much they are?
