はじめに
The DreamTab's durable polycarbonate case is responsible for safe enclosure of all the delicate device hardware. If the case itself becomes damaged, sharp plastic protrusions and exposed electrical wiring can be a danger for young children. Replacing the case requires minimal tools, moderate strength and maximum cost efficiency.
必要な工具と部品
-
-
Position the Nabi DreamTab onto a non-metallic surface so that the screen is facing towards the ceiling, and the DreamTab logo appears closest to you.
-
Remove the red silicone case from the Nabi DreamTab HD8.
 FixBotに聞いてみる
-
-
-
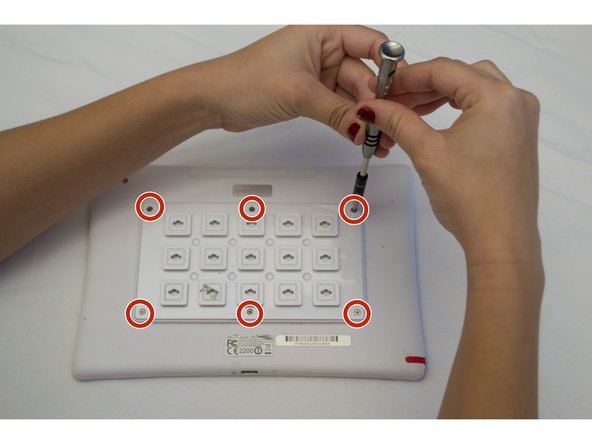
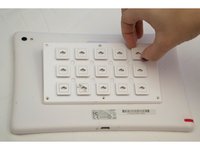
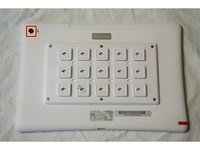
Turn it upside down, ensuring the small black circular camera is in the upper left hand corner.
-
-
-
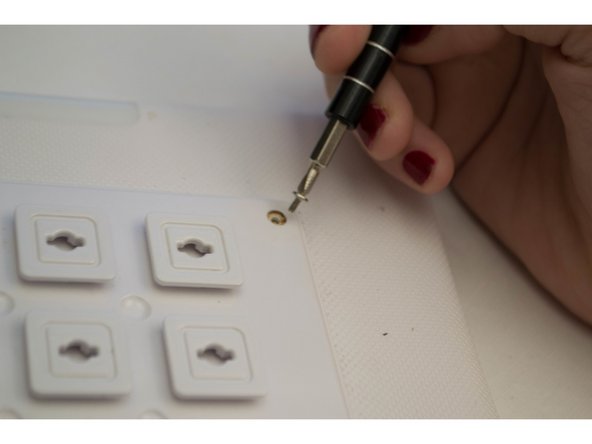
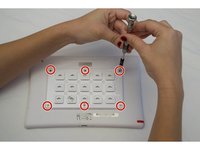
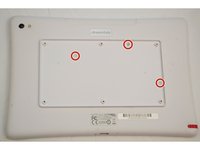
Remove the six 2.5 mm JIS #000 screws attaching the custom grid to the back panel.
-
-
-
-
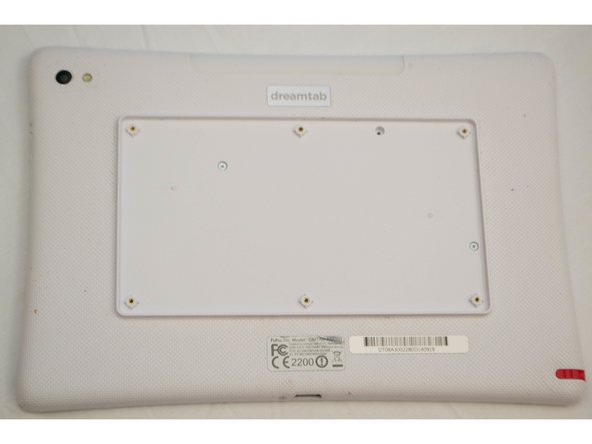
Grasp one of the protruding squares and gently lift off the back plate. Place it aside for later reassembly.
-
-
-
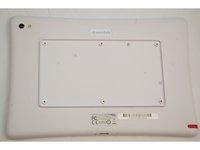
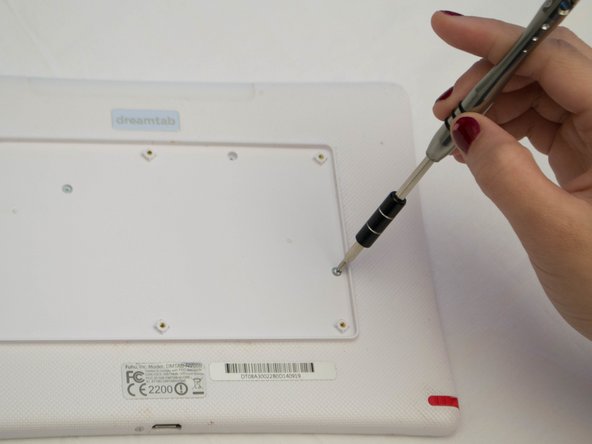
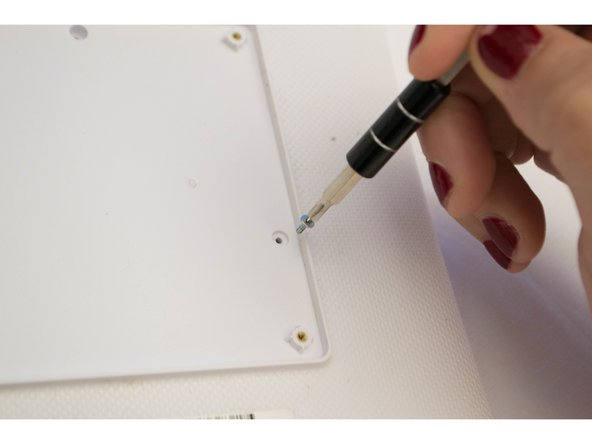
Remove the three 3.5mm screws using the J-0 screwdriver attaching the back panel to the device.
-
-
-
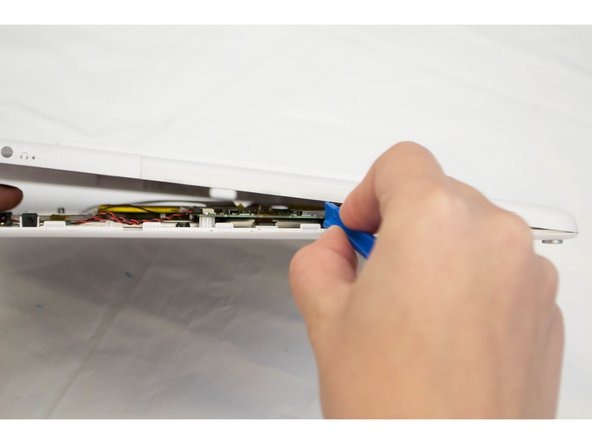
Rotate the top of the device towards you so that the audio jack appears on the right side of the device.
-
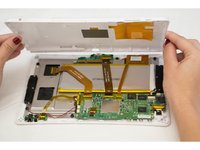
Wedge the plastic opening tool between where the front and back case panels meet near the audio jack.
-
Pry the device open using moderate force until you hear a clicking sound. This is the sound of the clips unlocking.
-
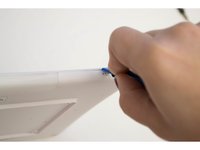
Move along the perimeter of the entire device using the same prying motion to gradually separate the front and back panels.
-
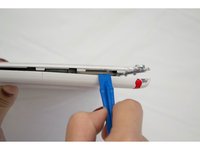
Once the edges are open return to the same starting position next to the audio jack.
-
-
-
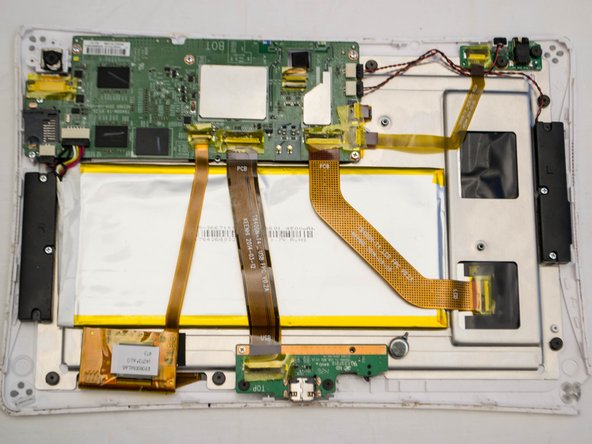
Once you've completed separating the front and back panels, place the device back onto the table, display facing downward and camera at the top left.
-
Lift off the back panel and rotate the device 180 degrees while the screen is facing down.
-


To reassemble your device, follow these instructions in reverse order.
4 の人々がこのガイドを完成させました。
チーム

CSU Fullerton, Team 2-3, Bruce Fall 2015 CSU Fullerton, Team 2-3, Bruce Fall 2015人のメンバー
CSUF-BRUCE-F15S2G3
4 メンバー
10のガイドは作成済み
2件のガイドコメント
In the old IN08A Dreamtab, you could remove the touch screen with a heat gun and patient , but the LCD was attached to the Top glass via a soldered cable requiring both the Touchscreen and LCD to be bought together.
The NV08B, The Touchscreen is separate from the LCD screen. However, the Touchscreen at least on my NV08B that I tried to remove was glued down inherent much tougher and a heat gun wouldn’t loosen the glue around the sides of the LCD making it pretty much irreplaceable. I suppose a good glue solvent may have helped there, but I was lazy to purchase one. In the case you are better than me and able to remove the glass, I would recommend removing the LCD screen completely which is attached to the metal plate containing most of the components. (I also damaged the LCD while trying to pry the touchscreen out which I found out later.) I had to replace by purchasing the case/Touchscreen/Case for ~$30 and moving the components from the broken Nabi to the good touchscreen Nabi and that was much easier.