はじめに
作業を始める前に、必ずMotorola Moto X4の電源を切ってください。
必要な工具と部品
-
この手順で使用する道具:Tesa 61395 Tape$5.99
-
iOpenerもしくはヒートガンを使って、ディスプレイ4辺全ての端が熱くて触れない程度まで温めます。これは固定用に使われている接着剤を柔らかくするためです。
-
開口ピックなど先が先端になった開口ツールをディスプレイ端の下に差し込み、接着剤を慎重に切り込みながら、デバイス周辺全体をスライドします。
-
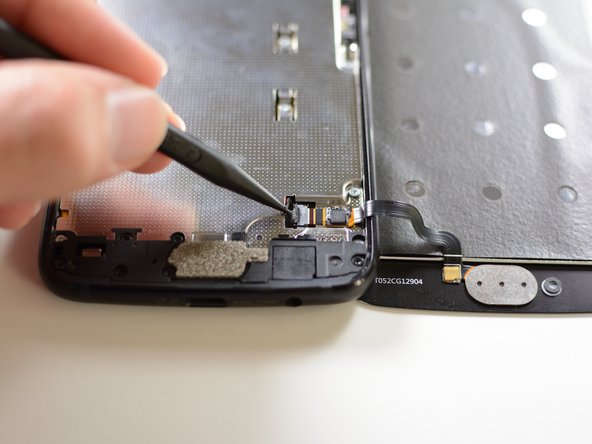
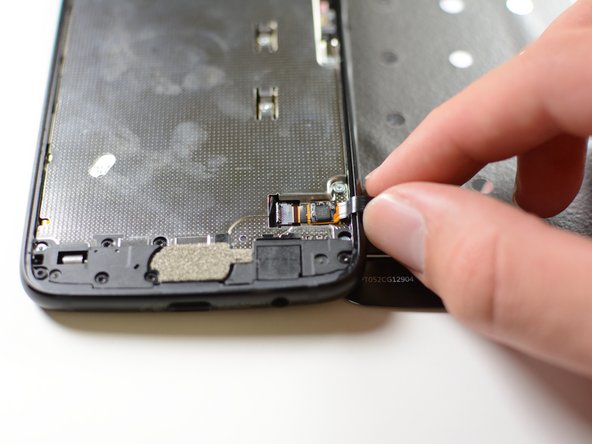
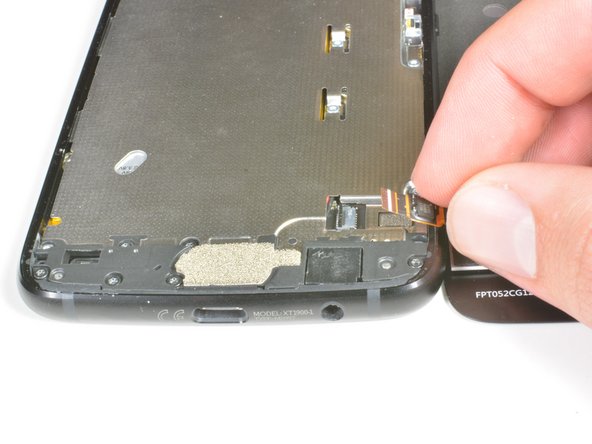
左端からディスプレイを開き、右側にめくります。まだ完全に2つを離さないでください。
-
-
デバイスを再組み立てする際は、これらのインストラクションを逆の順番に従って作業を進めてください。
23 の人々がこのガイドを完成させました。
以下の翻訳者の皆さんにお礼を申し上げます:
0%
Midori Doiさんは世界中で修理する私たちを助けてくれています! あなたも貢献してみませんか?
翻訳を始める ›
8件のガイドコメント
This guide really only covers screen removal, and should detail replacing the screen as advertised. Here are a few more steps that should be added:
1. Transferring old hardware to the new screen (seals, filters, fingerprint sensor, & the grey carbon mat.
2. Cleaning up old adhesive.
3. Applying new adhesive, whether it’s the one-piece that ifixit carries (recommended), or Tesa tape.
4. Installing the new display assembly
Is it possible to remove and replace only the glass? Can I do that without removing the whole LCD screen and avoid disconnecting/reconnecting wires?
Hi Drew,
I haven’t tried, but I think it is possible to do a glass-only repair for this LCD screen, as long as you have the necessary tools and bonding adhesives. You would still have to deal with the fingerprint sensor, which is sealed onto the glass.
I noticed the fingerprint sensor not being quite as low on the right edge after this. Also, I think it has a bit of “give” now when I press on it with a thumbnail. If the tips of my thumbs weren't so dry right now I might not have noticed, though.
Hey Chris,
Did you add adhesive to the fingerprint sensor, if you didn't add some adhesive it may have some play, as most things need to be glued in place, and you could have forgotten to add some new adhesive.


