はじめに
Follow this guide to replace the display in a Motorola Moto E6 Plus.
Before you begin, download the Rescue and Smart Assistant app to backup your device and diagnose whether your problem is software or hardware related.
Note: Replacement screens for this phone come pre-installed in a new frame (a.k.a. chassis), which requires you to transplant all of your phone's internals. Make sure you have the correct part before starting this guide.
必要な工具と部品
-
-
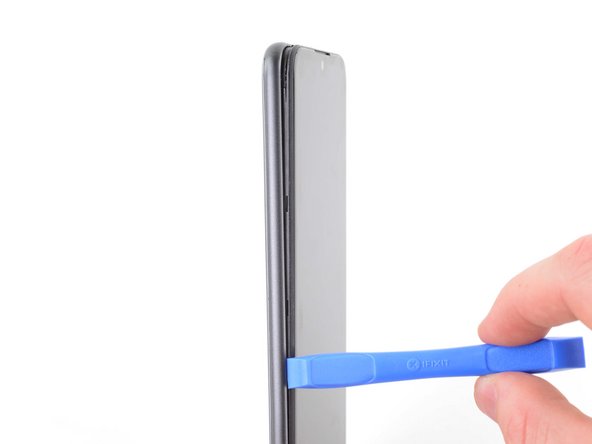
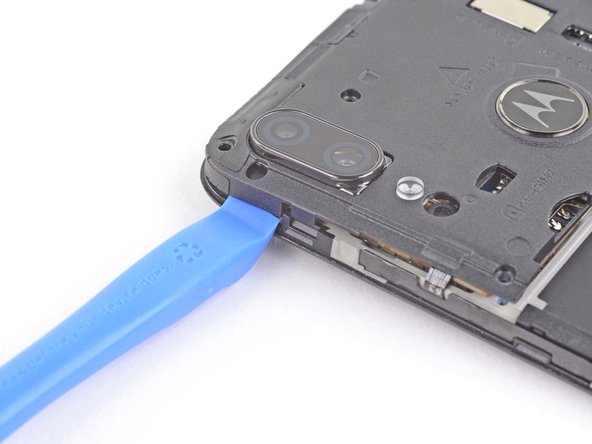
Use an opening tool or your fingernail to pry the back cover away from the frame using the notch at the bottom right corner.
-
-
-
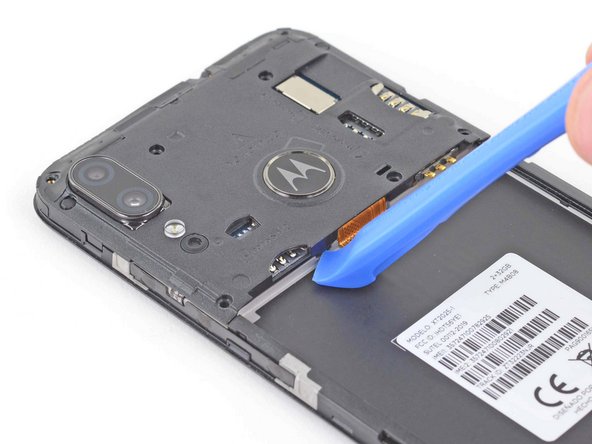
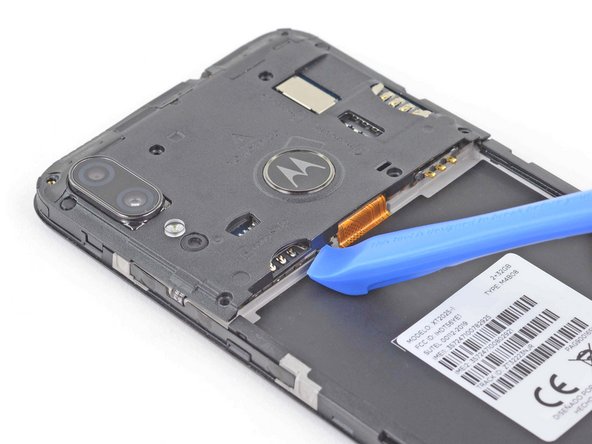
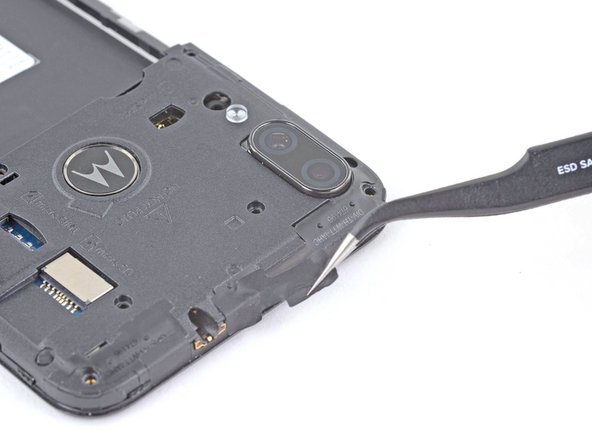
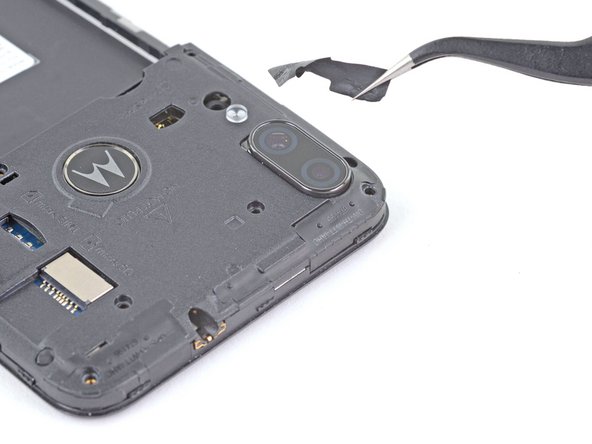
Use an opening tool or your fingernail to release the clips on the right edge by sliding up and around the top right corner.
-
-
-
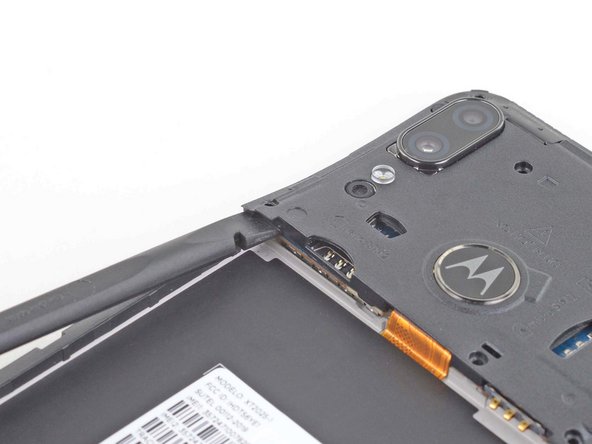
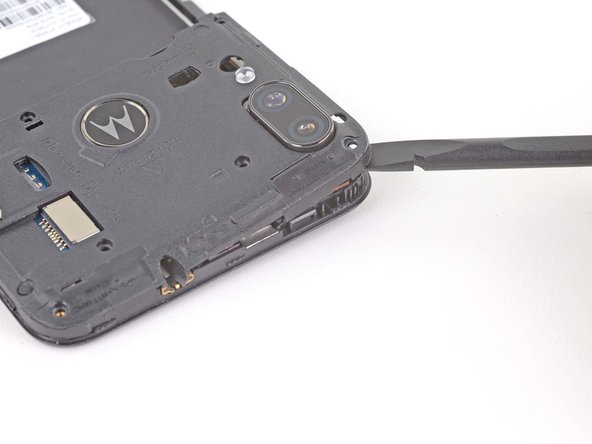
Continue to slide the opening tool or your fingernail across the top edge to release the clips securing the back cover to the frame.
-
-
-
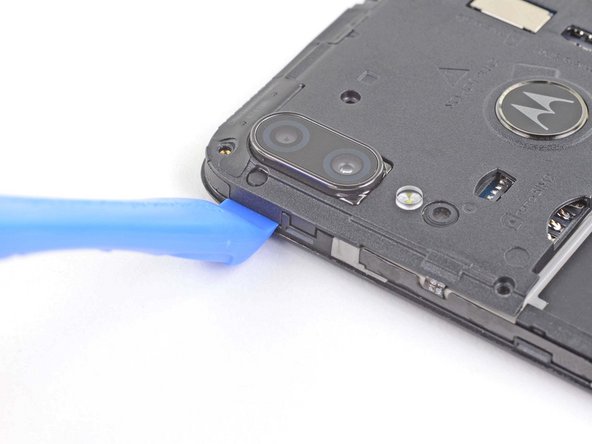
Continue to slide the opening tool or your fingernail down the left edge to release the clips.
-
-
-
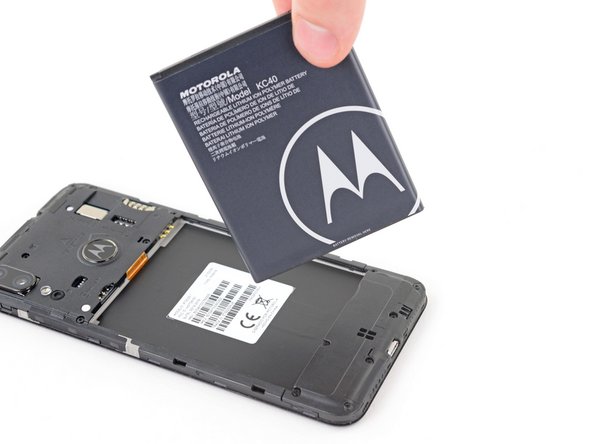
Use a spudger or your fingernail to pry the battery up using the notch near the bottom right corner.
-
Remove the battery.
-
-
-
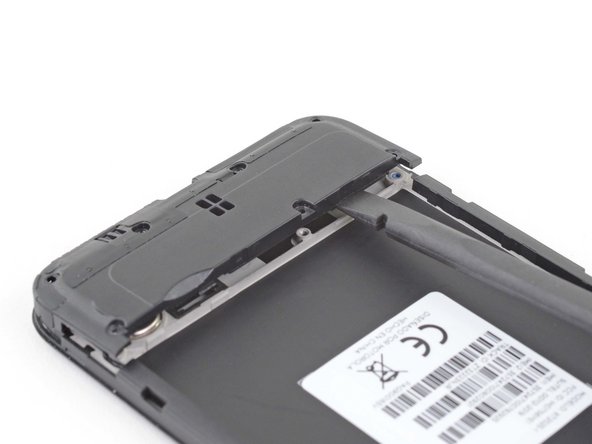
Use a Torx T3 driver to remove the three 3.6 mm-long screws securing the loudspeaker to the frame.
-
Use a Phillips screwdriver to remove the four 3.1 mm-long screws.
-
-
-
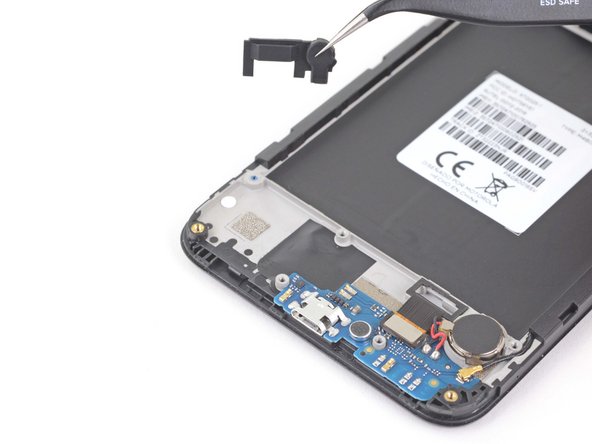
Use a pair of tweezers or your fingers to remove the charging port insulator.
-
-
-
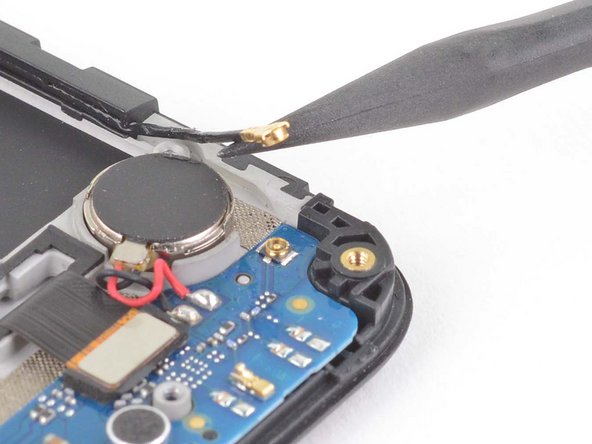
Use the pointed end of a spudger to disconnect the coaxial cable by lifting straight up as close to the connector as possible.
-
-
-
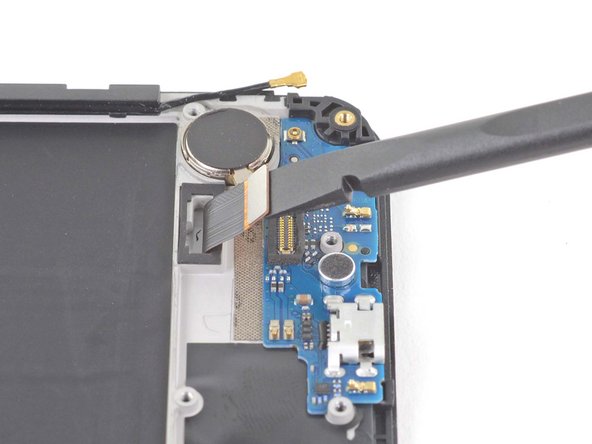
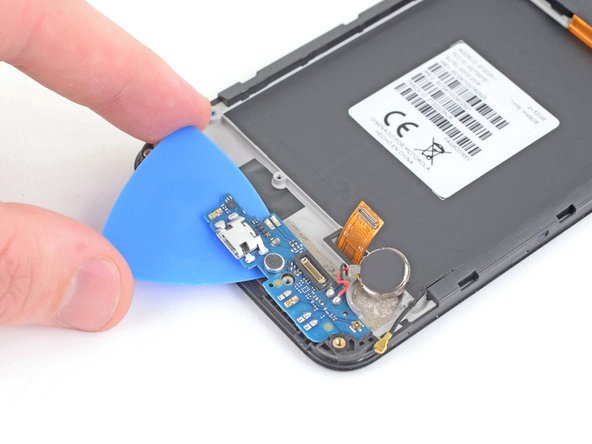
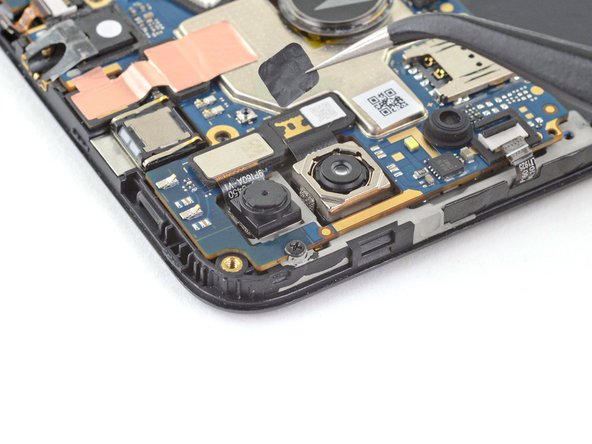
Use the flat end of a spudger to disconnect the motherboard flex cable by lifting straight up on the press connector.
-
-
-
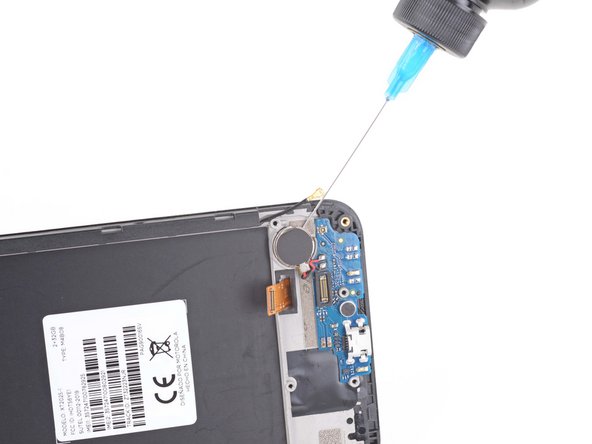
Heat an iOpener and apply it to the bottom edge of the screen for 30 seconds.
-
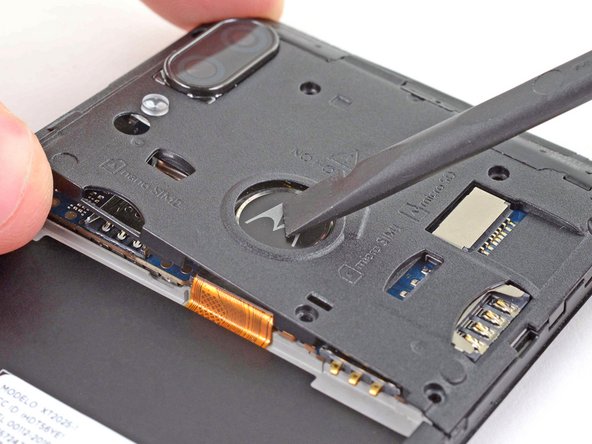
Apply a few drops of high concentration (over 90%) isopropyl alcohol underneath the vibration motor to loosen the adhesive securing it to the frame.
-
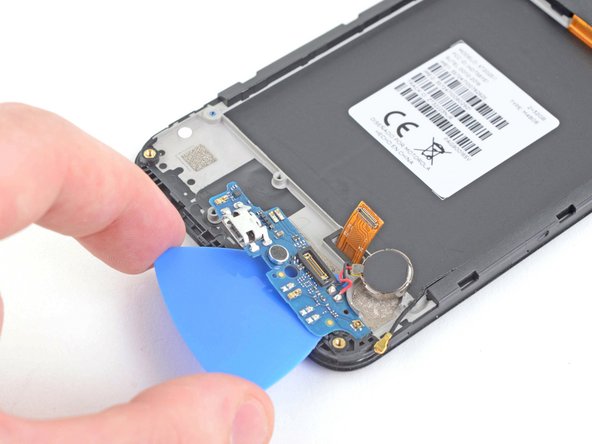
Tilt your phone to allow the isopropyl alcohol to flow underneath the vibration motor.
-
-
-
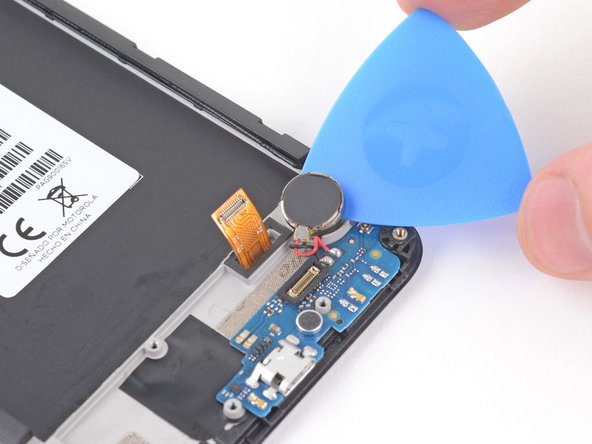
Use an opening pick to peel the vibration motor off the frame.
-
-
-
-
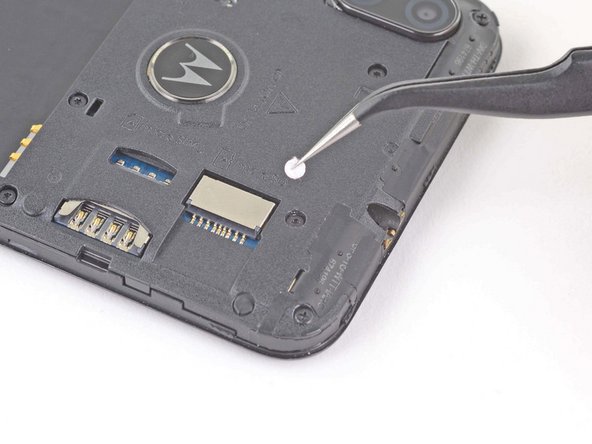
Use a spudger or your fingernail to remove the Micro SD card, the Micro SIM card, and the Nano SIM card.
-
-
-
Use a pair of tweezers to remove the sticker covering the screw below the audio jack port.
-
-
-
Use a Torx T3 driver to remove the five 3.6 mm-long screws securing the motherboard cover to the frame.
-
Use a Phillips screwdriver to remove the two 3.1 mm-long screws.
-
-
-
Use a pair of tweezers to peel back the sticker covering the volume buttons.
-
-
-
Use an opening tool to release the clip to the left of the motherboard flex cable.
-
-
-
Use an opening tool to release the clip next to the rear cameras.
-
-
-
Use a spudger to lift up the left edge of the motherboard cover to loosen the clips.
-
-
-
Use a spudger to push and dislodge the fingerprint sensor off of the motherboard cover.
-
-
-
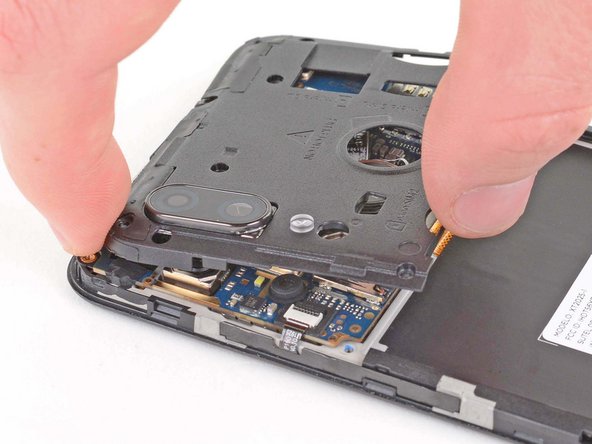
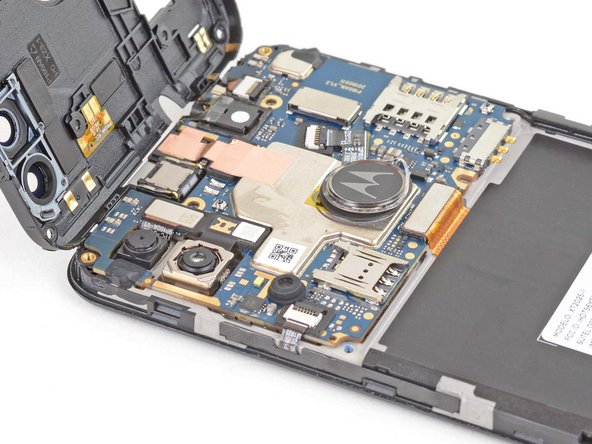
Use your fingers to twist the motherboard cover counterclockwise to release the clips securing the motherboard cover.
-
-
-
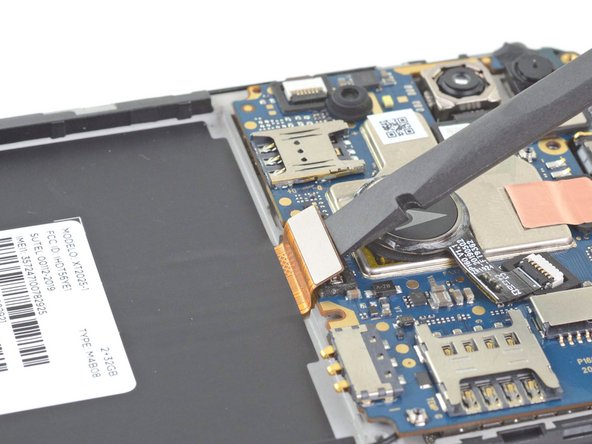
Use the flat end of a spudger to disconnect the motherboard flex cable by lifting straight up on the press connector.
-
-
-
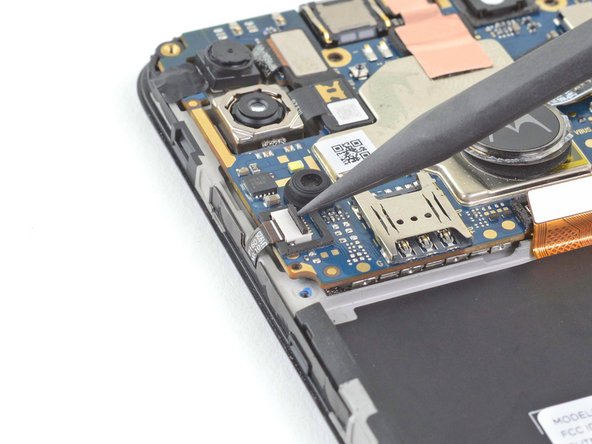
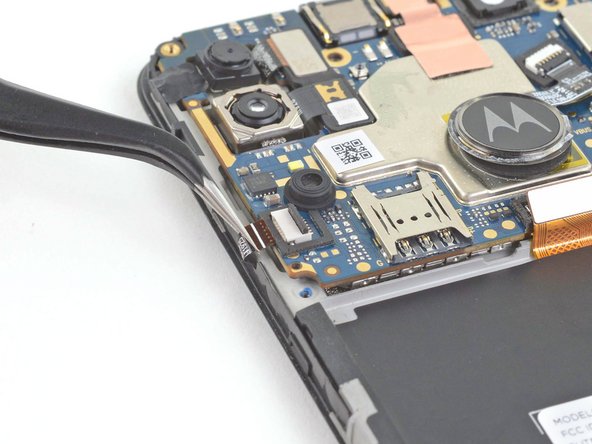
Use the tip of a spudger, an opening tool, or your fingernail to flip up the small, hinged locking flap on the button ZIF connector.
-
Use a pair of tweezers to pull the button ribbon cable straight out of the connector.
-
-
-
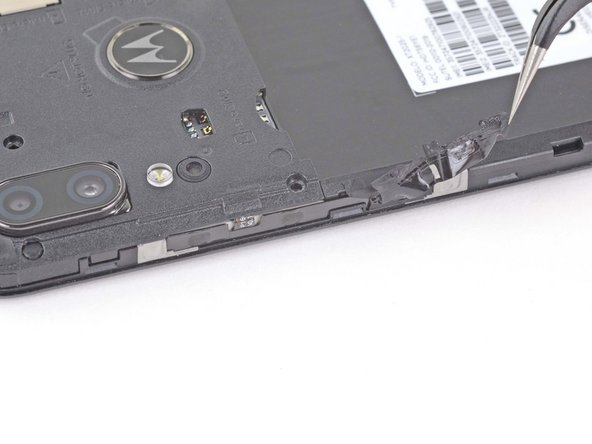
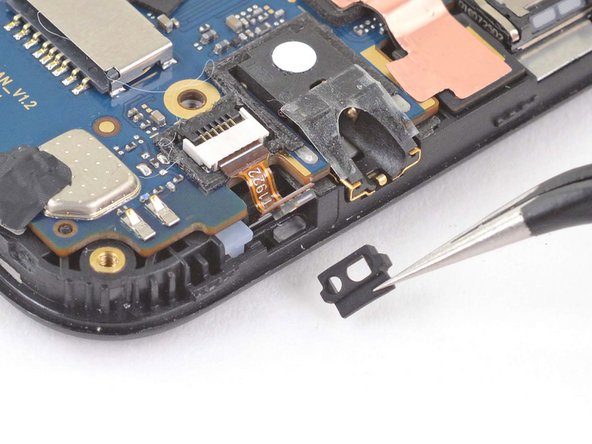
Use the pointed end of a spudger to pry the IR sensor out of the frame.
-
Remove the IR sensor gasket from the frame.
-
-
-
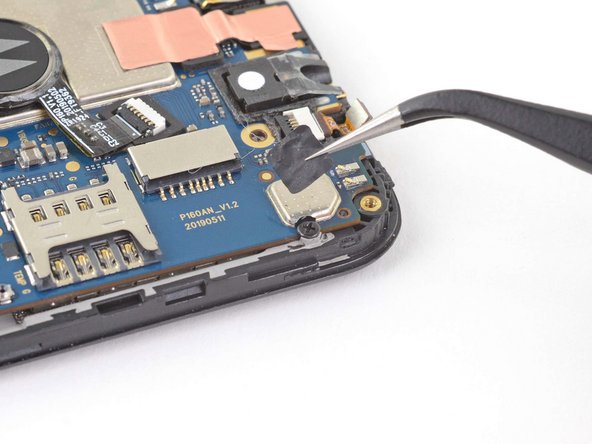
Use a pair of tweezers to peel off the tape covering the right motherboard screw.
-
-
-
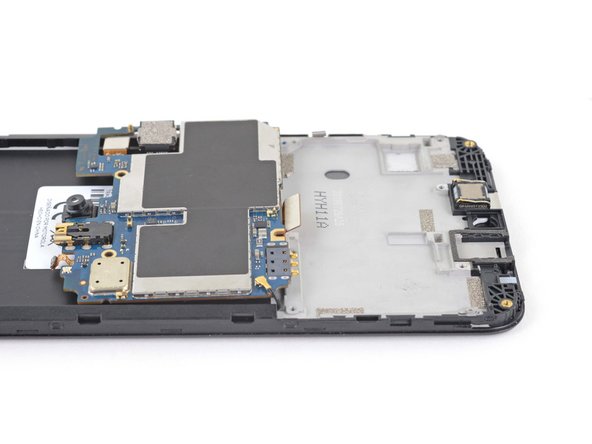
Use a Phillips screwdriver to remove the two 3.1 mm-long screws securing the motherboard to the frame.
-
-
-
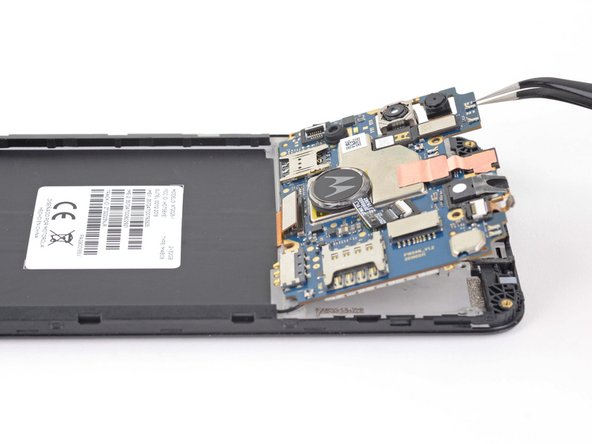
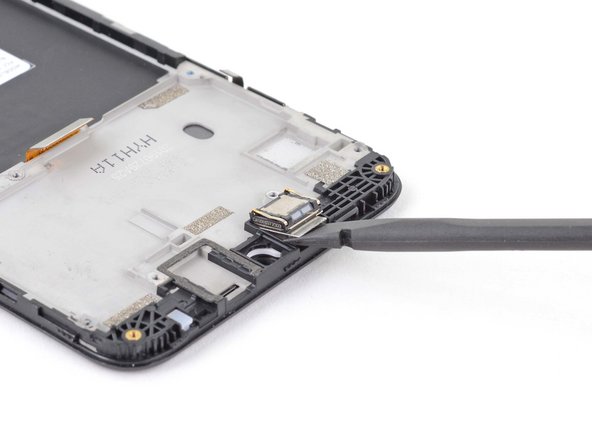
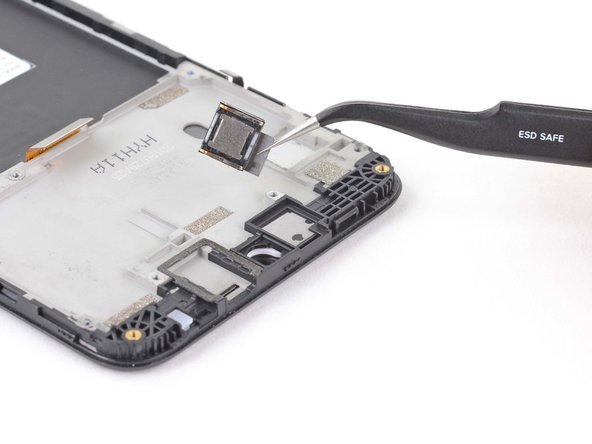
Insert the flat end of a spudger underneath the earpiece speaker to separate it from the frame.
-
Remove the earpiece speaker.
-
-
-
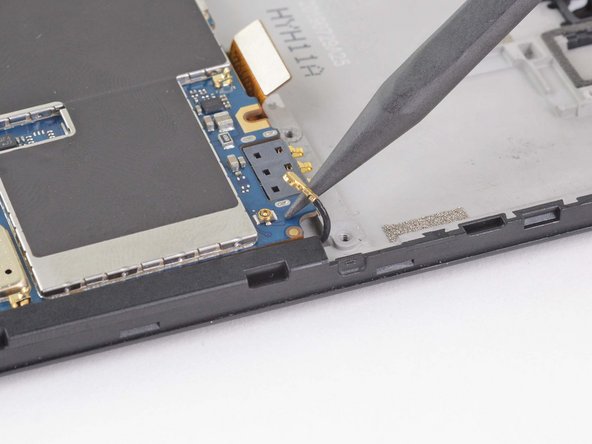
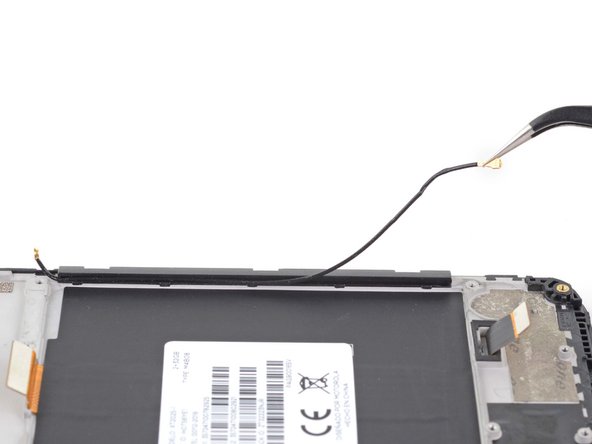
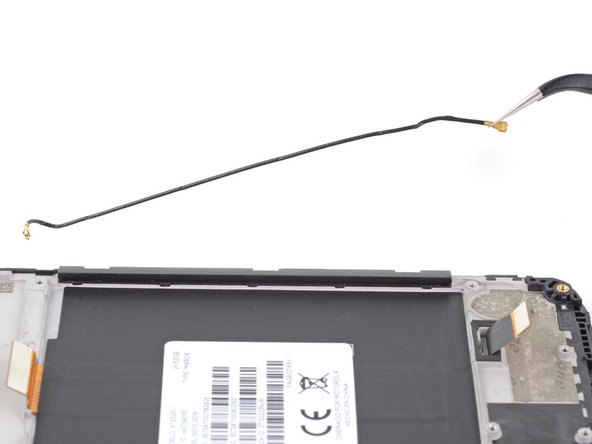
Pull the coaxial cable out of its clips on the right side of the frame.
-


To reassemble your device, follow these instructions in reverse order.
Take your e-waste to an R2 or e-Stewards certified recycler.
Repair didn’t go as planned? Try some basic troubleshooting, or ask our Motorola Moto E6 Plus Answers community for help.
To reassemble your device, follow these instructions in reverse order.
Take your e-waste to an R2 or e-Stewards certified recycler.
Repair didn’t go as planned? Try some basic troubleshooting, or ask our Motorola Moto E6 Plus Answers community for help.
6 の人々がこのガイドを完成させました。

4 件のコメント
After step 40, how do I remove the broken screen and replace the new one in the Display assembly frame?
My phone slightly differed in that I did not have to do step 10.
I got to step 20, and decided to stop as I didn't know how I was going to get the sticky label back on to the buttons later.
Oh, I have just read the introduction Note. I think my next steps are to get a new phone, and then when I have a few hours spare work through this fixit and then investigate how to remove the screen from the frame.
Cheers.
Using the tweezers, remove the paper backing from what was the battery place. Then using a hairdryer carefully, unstick and lift the ribbon cable running the length of that compartment. Lay the case down and heat up the case with the hairdryer. Then, inserting a small screwdriver through the hole in the back of the case, pry the screen from the case. Once again reverse the steps to insert the new screen.
Final comments. After finishing the job, I discovered that a bit of screening that went over the microphone (at the top)? was still attached to the old screen. I didn't refit it.
In retrospect, if I just had the screen as I did, and not already installed in the frame as you describe, It would not be necessary to remove all the electronics, just the covers to access the connectors. Thanks for this guide. it has been useful.