はじめに
このガイドとiFixitバッテリー交換キットを使って、あなたのMacBook Proから接着剤で固定されたバッテリーを安全に取り外しましょう。キットの接着剤リムーバーはバッテリーの底に付けられた接着剤を溶解するため、簡単にバッテリーを取り外せます。
注意: このガイドでは、バッテリーを取り外す前に、スピーカー、ロジックボード、その他いくつかの部品を取り外すように指示されています。これは、接着剤リムーバーによって部品が損傷する可能性を防ぐためです。イソプロピルアルコールなど比較的穏やかな溶剤でバッテリーを緩めるだけであれば、これらのコンポーネントを残したまま、手順6~45をスキップすることができます。
Appleは2019年6月にこのモデルのバッテリーリコールを発表しています。バッテリーを交換する前に、Appleから無償で交換品を受け取る資格があるかどうか確認することができます。
ダメージのリスクを軽減するため、この作業を始めるにバッテリーを完全に放電してください。充電したリチウムポリマーバッテリーに穴を開けてしまうと、危険かつ手に負えない火事を引き起こしかねます。バッテリーが膨張している場合は、特に注意を払って適切な方法で処理してください。
必要な工具と部品
-
-
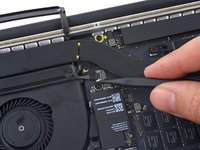
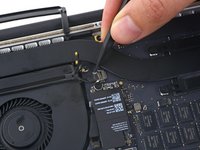
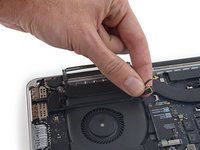
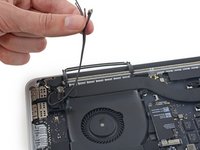
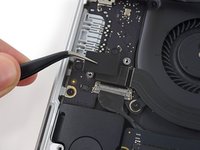
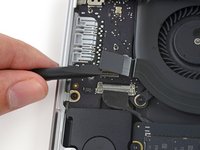
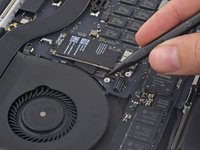
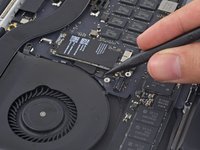
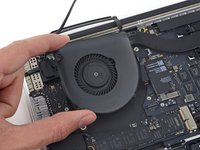
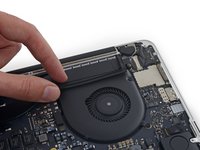
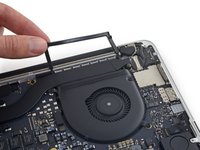
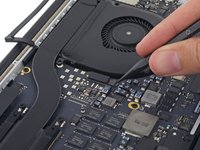
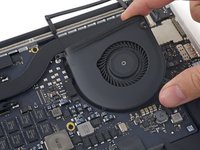
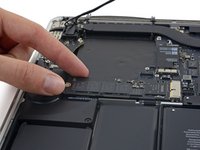
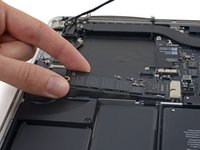
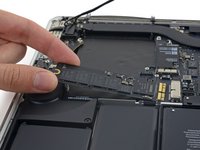
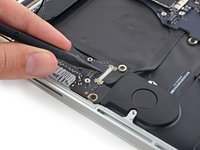
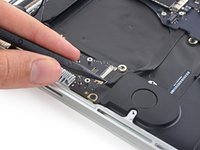
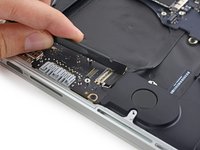
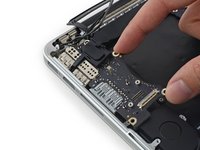
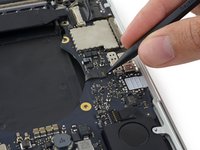
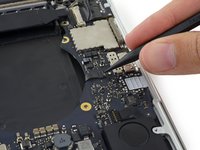
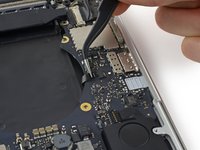
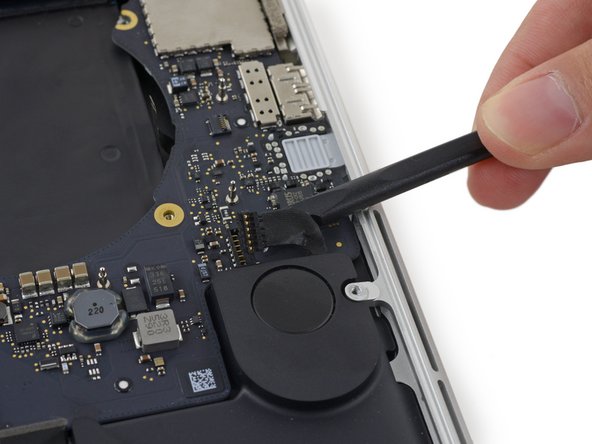
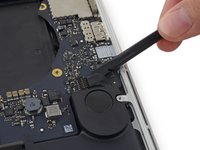
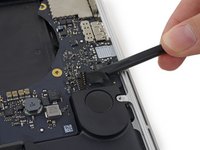
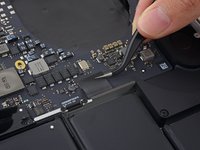
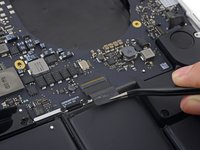
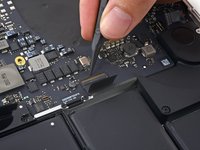
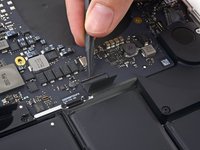
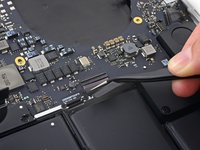
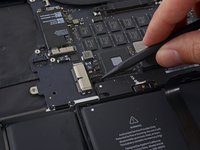
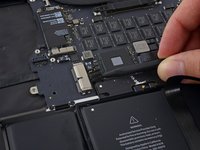
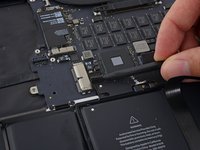
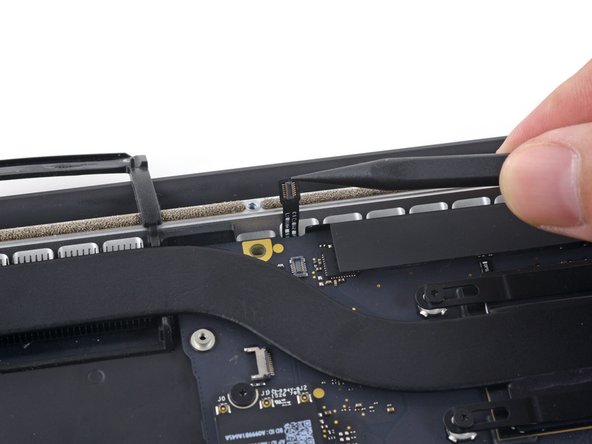
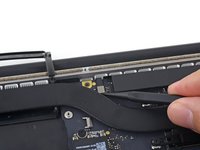
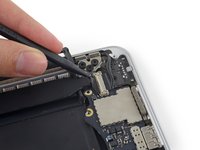
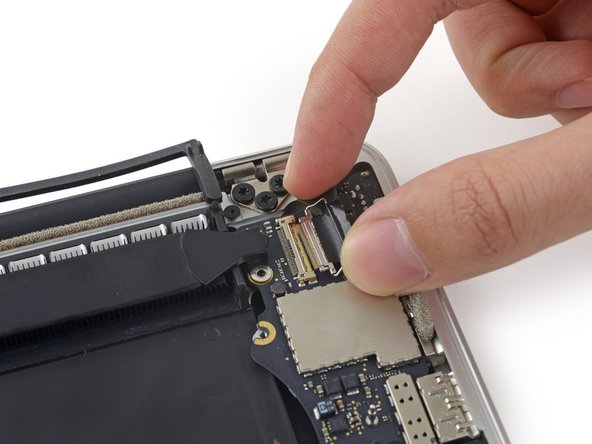
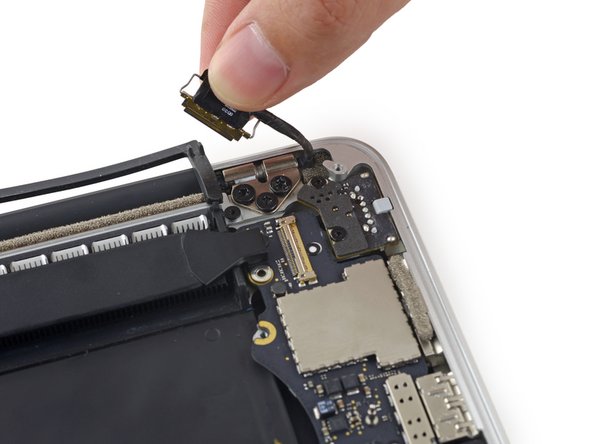
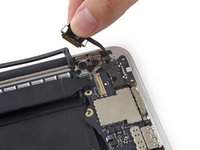
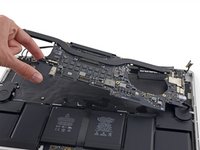
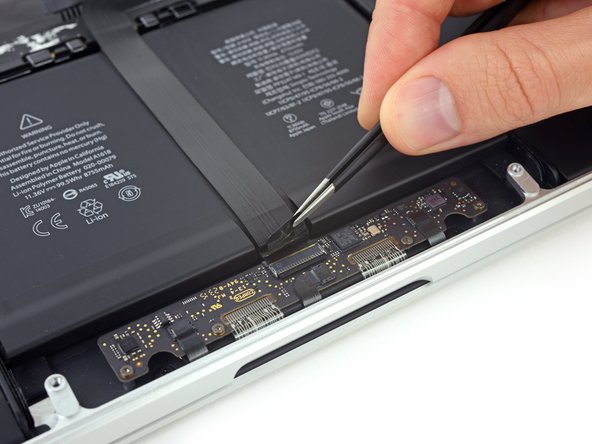
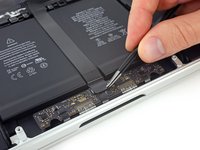
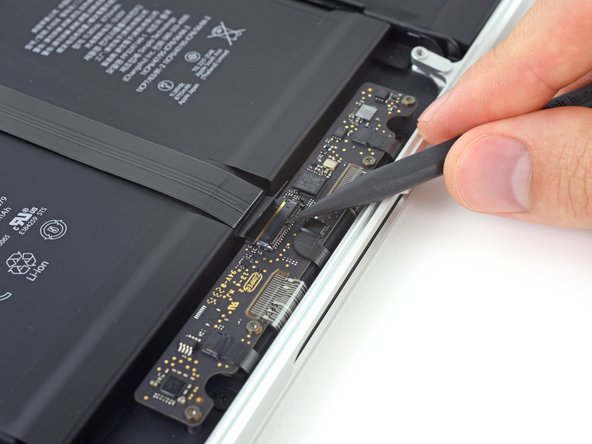
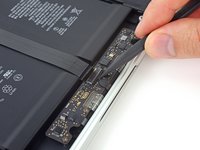
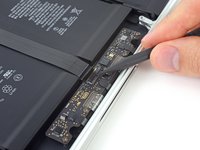
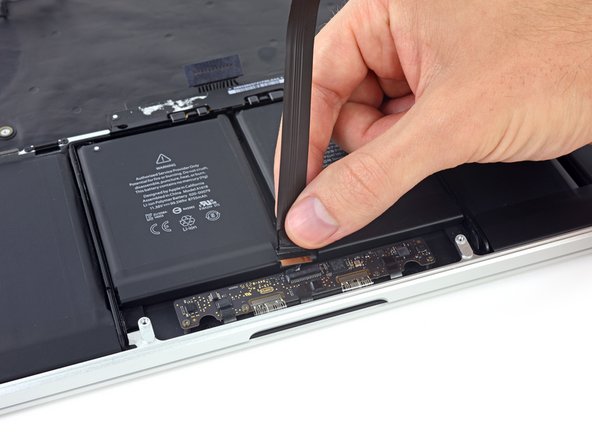
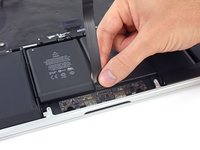
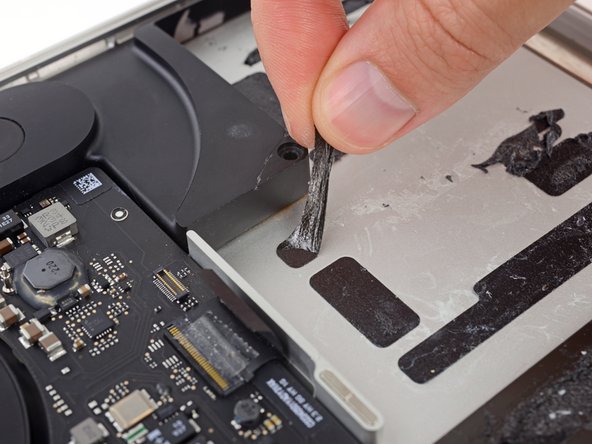
ピンセットもしくはスパッジャーを使って、AirPortボード上のソケットからAirPortアンテナケーブルの3箇所をこじ開けて外し、作業の邪魔にならないように反対側に折り曲げます。
-
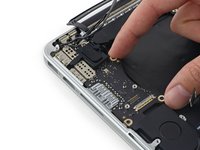
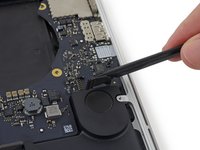
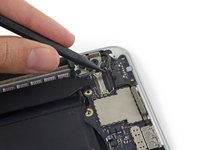
再接続の際は、コネクタをソケット上の位置に揃えて、スパッジャーの平面側を使ってしっかりと押さえ込んで装着します。
-
-
-
-
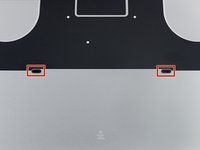
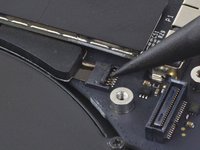
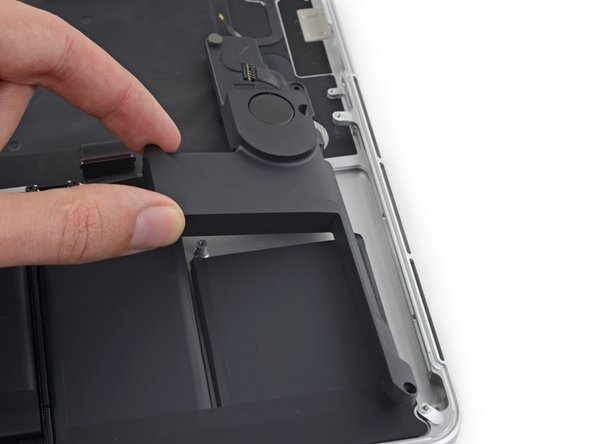
上部ケースと左側スピーカーを固定している次のネジを外します。
-
2.7 mm T5トルクスネジ
-
6.9 mm T5トルクスネジ (4.5 mmのショルダー付き)
-
5.6 mm T5トルクスネジ
-
-
-
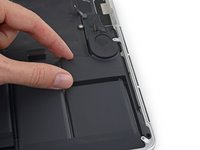
上部ケースに右側スピーカーを固定している次のネジを取り出します。
-
2.7 mm T5トルクスネジ
-
6.9 mm T5トルクスネジ(4.5 mm肩付き)
-
5.6 mm T5トルクスネジ
-
-
-
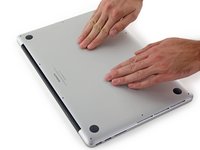
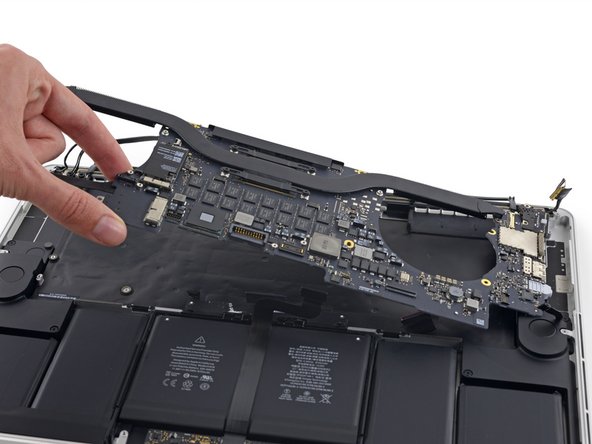
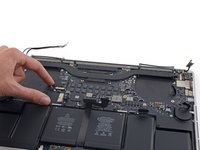
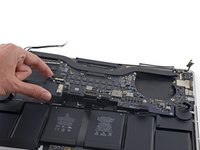
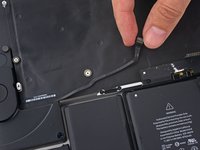
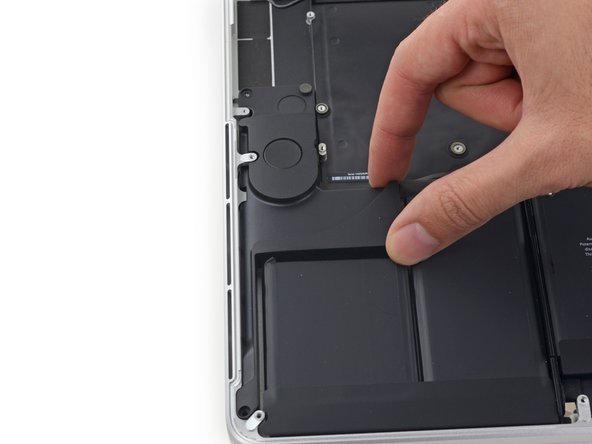
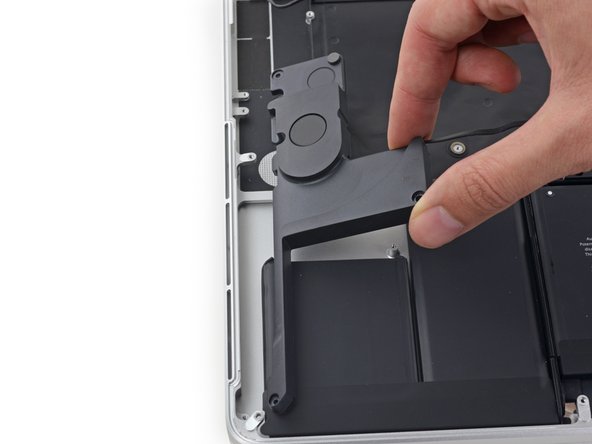
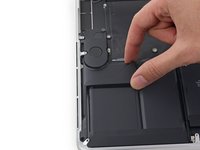
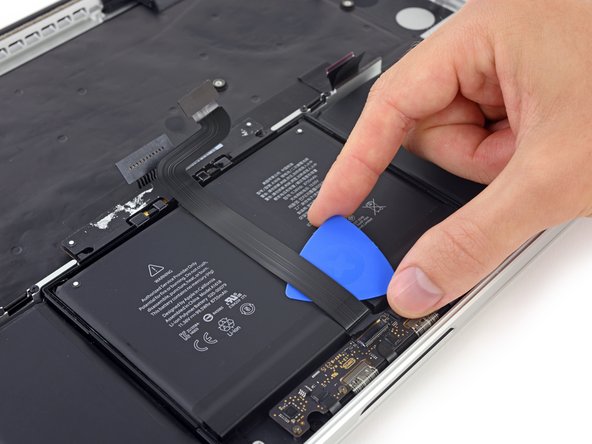
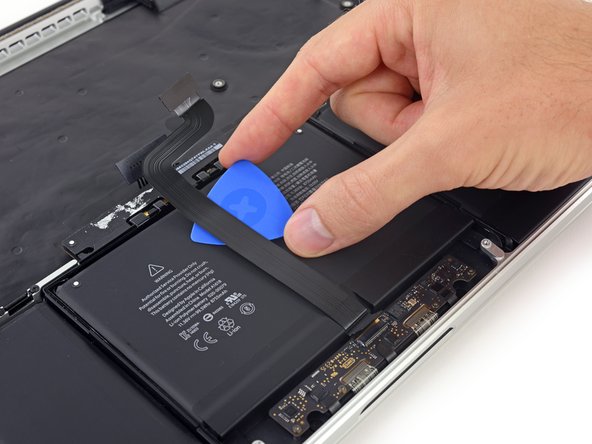
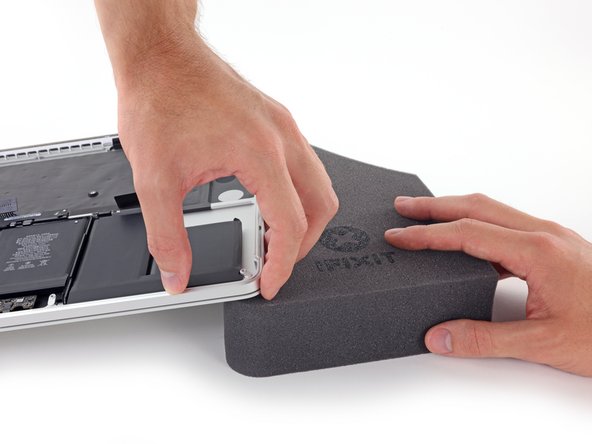
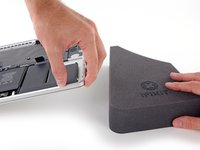
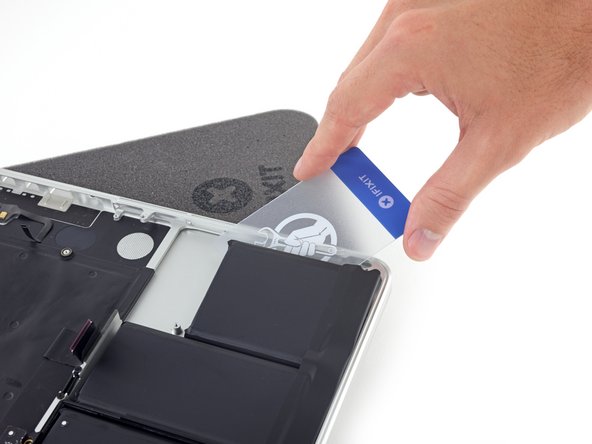
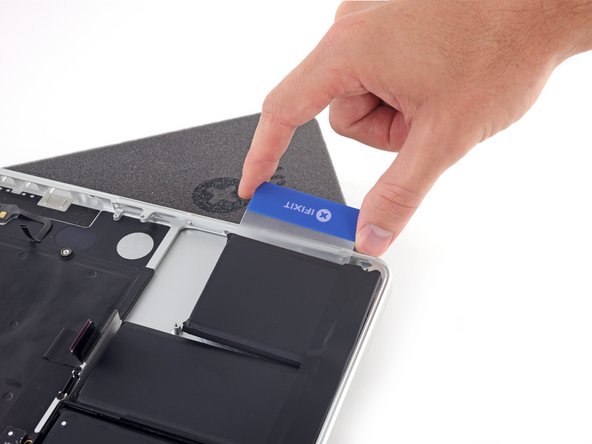
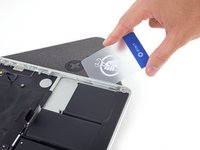
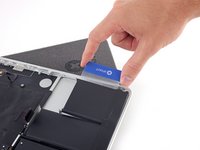
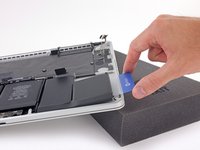
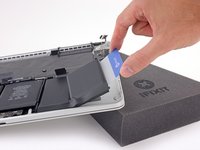
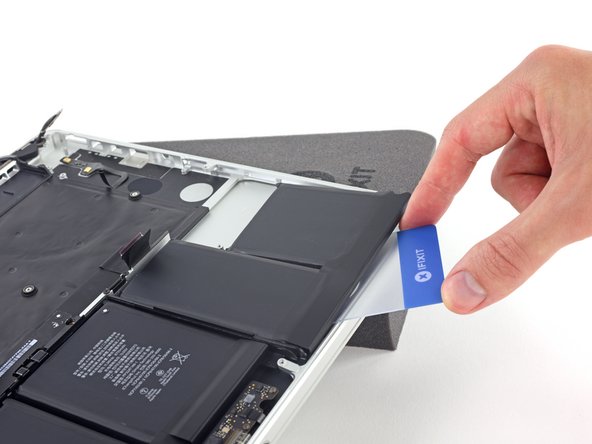
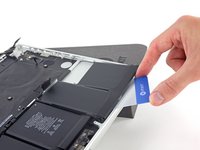
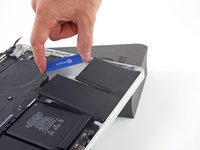
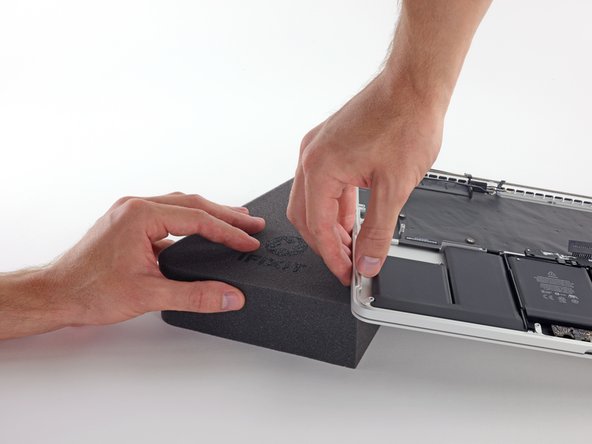
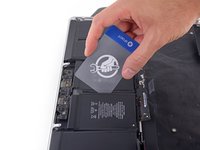
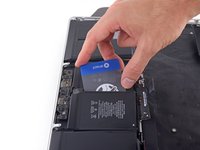
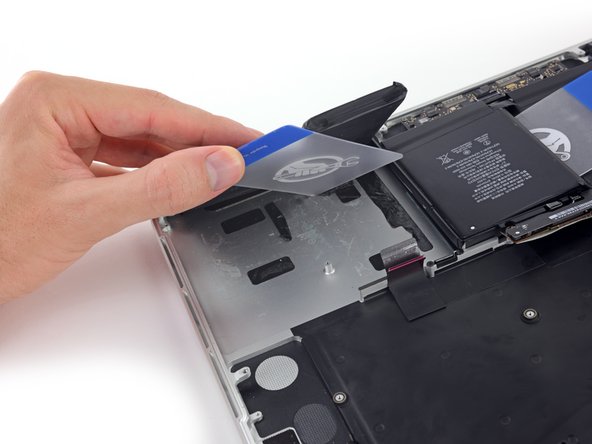
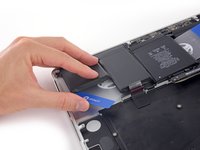
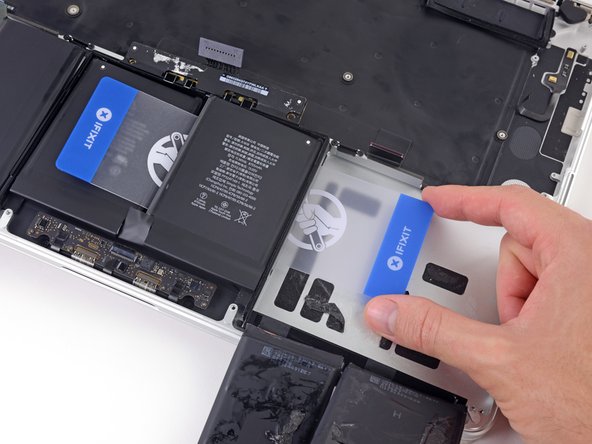
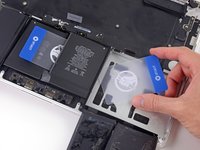
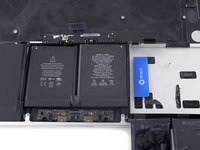
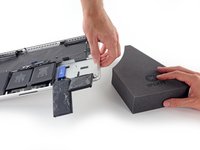
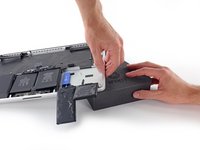
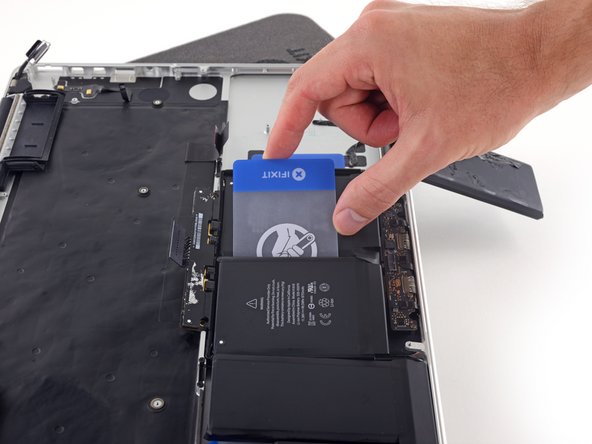
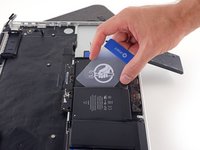
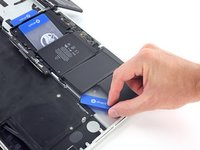
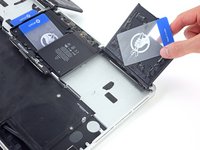
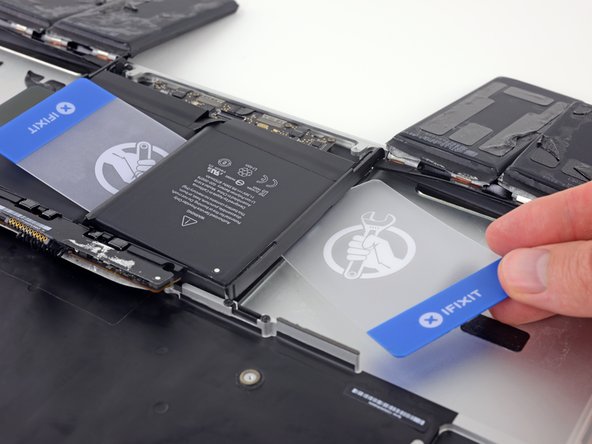
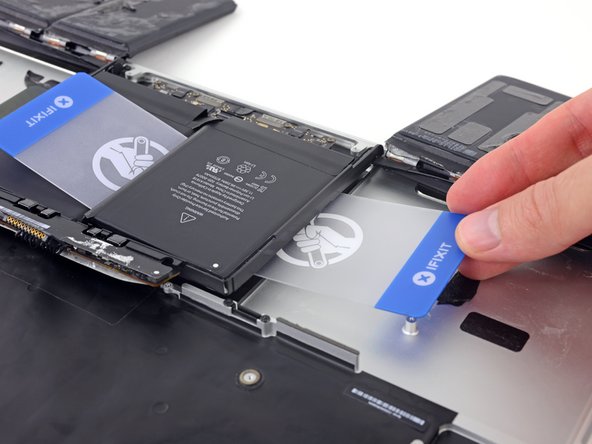
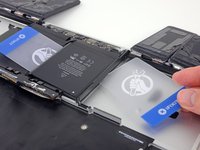
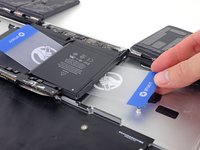
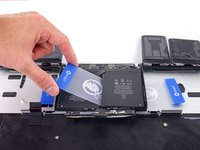
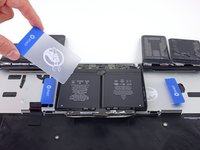
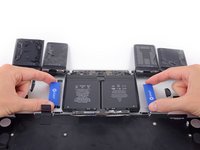
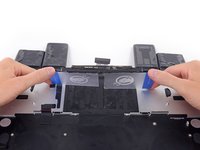
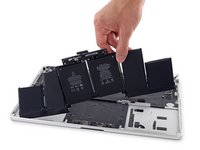
バッテリーを持ち上げて取り出します。
-
上手くいけば、素手でも接着剤を剥がせます。
-
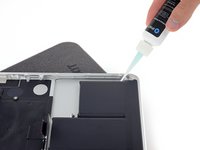
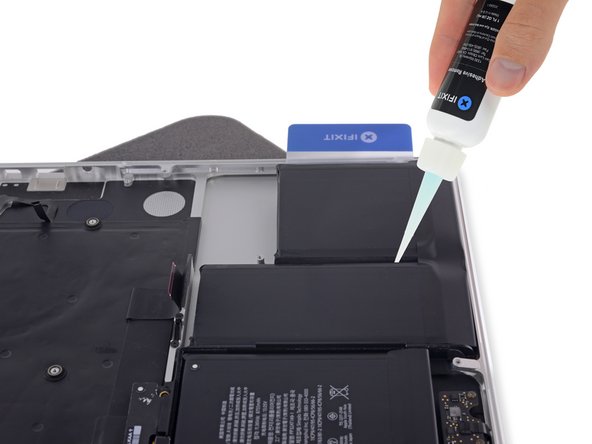
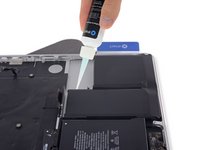
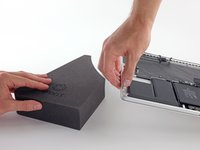
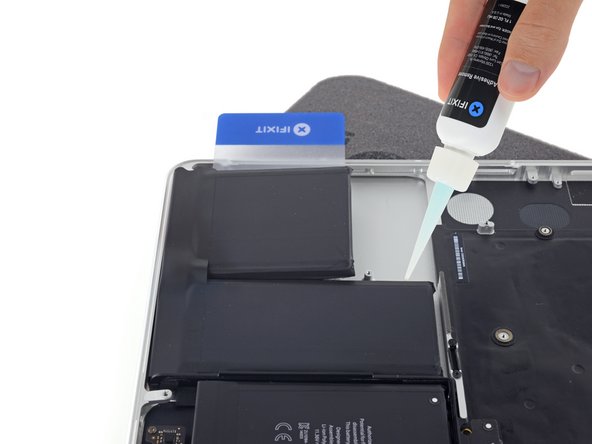
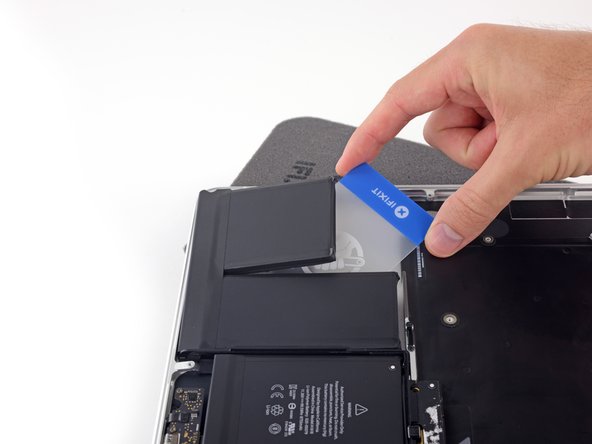
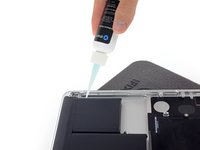
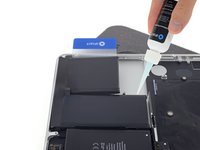
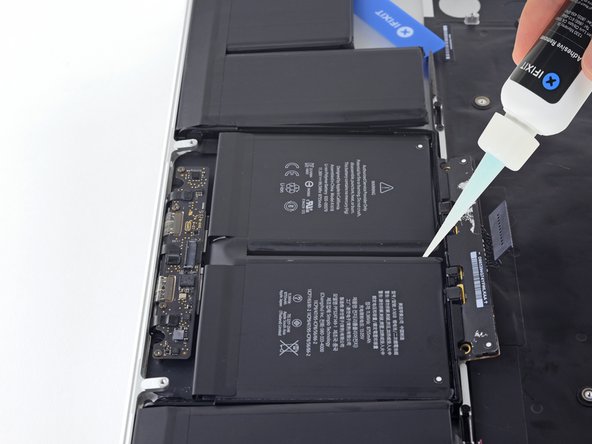
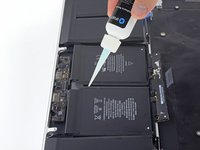
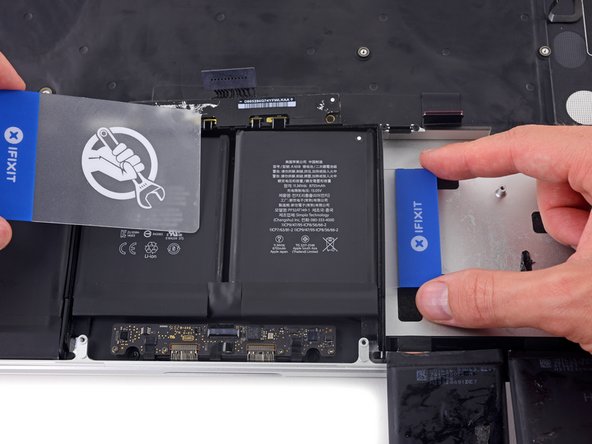
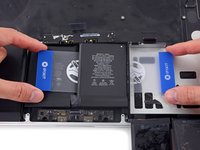
そうでない場合、残りの接着剤に接着剤剤リムーバーを塗布して2-3分待ってから、プラスチックのツールで擦り落としてください。これは時間を要する作業なので、ゆっくりと作業を続けましょう。
-
残りの接着剤リムーバーを拭きとり、MacBook Proが完全にドライになるまでまで数分間待ちます。
-
この修理ガイドを完成したら、新しく装着したバッテリーのカリブレーションを行なってください。100%になるまで充電します。充電後も最低2時間はプラグを繋げたままにします。それからプラグを外して、通常通り使用しながら、自然に放電させます。バッテリー残量小のサインが表示されたら、これまでの作業を保存して、スリープ状態になるまで放置してください。スリープ状態に入ったら、少なくとも5時間置きます。それから一気に100%まで充電します。
-


デバイスを再組み立てする際には、これらのインストラクションを逆の順番で行ってください。
614 の人々がこのガイドを完成させました。
以下の翻訳者の皆さんにお礼を申し上げます:
100%

これらの翻訳者の方々は世界を修理する私たちのサポートをしてくれています。 あなたも貢献してみませんか?
翻訳を始める ›


244件のガイドコメント
Do I need to remove all these things just to replace the battery or can I just remove the connectors above the battery than the battery?
I just went through this process yesterday, and today wondered why I needed to take all that crap out, because I don’t remember anything blocking the battery removal, that would require removing the speakers, logic board, etc. I think it’s because of the acetone adhesive solvent. It’s powerful stuff that can easily damage the system. Maybe, if you are able to get the battery out without the solvent, you can skip all the other stuff. I will say, however, that in my system, it seemed like the adhesive is real solid. It felt like I was pressing the card up against aluminum studs in the frame, until the solvent loosened it up. If you try to remove the battery without the solvent, be very careful not to use excessive force and warp your frame.
See the post I just added, it seems that this is all to be able to remove one of the speaker cables, which I don’t think in necessary. I really don’t like messing with delicate connectors and ribbon cables that I don’t have to.
I have done this job before. I remember that it was easy - did it on the kitchen bar.
In hindsight, I didn't have to take out all the crap. I must have used a different guide. Son of a gun, wasted time. I easily got the battery out without "adhesive remover". Hilarious if "adhesive remover" is acetone, a chemical availabe just about anywhere. Note to self, iFixit needs to be second opinioned. I think this guide is written to make it seem like you need a lot of special tools to do this job. Not true - just a few drivers, usually provided with any battery.
I thought this too and didn't wanna do all that work with the solvent. All I removed was the battery connector and the trackpad cable before attempting to remove the battery. The adhesive Apple uses is bewilderingly strong. I thought I could pry it off with a strong paperclip and a screwdriver but it bent both. I ended up using the backend of a hammer and that worked surprisingly well. But it was super janky and I ended up puncturing the battery outer plastic. It didn't catch fire or anything but you can definitly smell the battery juices or whatever so i opened up my window. If you somewhat know what you're doing and accept the risk of setting fire to your house you can get away with not using solvent but I highly recommend doing so as the battery I ended up pulling out of my MacBook is all mangled. And if you use the solvent you have to take everything out. Apple will be Apple.