この修理ガイドは変更されています。最新の未承認バージョンに切り替えます。
はじめに
上部ケースを交換する際にこのガイドをご利用ください。
あるデバイスの上部ケースの交換作業には、トラックパッドとバッテリーの交換内容も含まれている場合もあります。そうであれば、手順18から44までをスキップしてください。
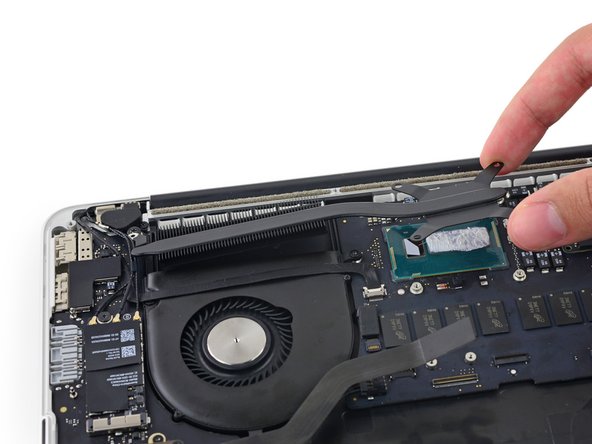
このガイドはヒートシンクを取り除く作業が必要です。ヒートシンクを再装着する前に、こちらの放熱グリスの装着方法を参照してください。
必要な工具と部品
-
-
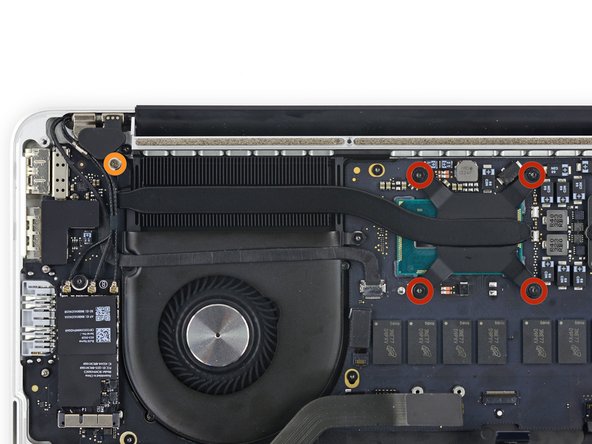
上部ケースと底ケースを留めている次の10本のネジを外します。
-
2.3 mm P5ペンタローブネジ−2本
-
3.0 mm P5ペンタローブネジー8本
-
この修理では、各ネジの装着位置をメモ書きして管理してください。再組み立ての際は、デバイスにダメージを与えないよう、正しい場所に装着してください。
-
-
-
鍋を十分な量のお湯で満たして、iOpener を完全に沈めます。
-
お湯を沸かして熱くなったら火を止めます。
-
iOpenerを熱湯の中に約2−3分間沈めます。iOpener全体が完全に浸かっているか確認してください。
-
トングなどを浸かって、温まったiOpenerをお湯から取り出します。
-
タオルでiOpener全体を拭き取ります。
-
iOpenerの準備は整いました。iOpenerを再度温める必要がある場合は、お湯を沸騰させて、火を止めてからiOpenerを2-3分間浸してください。
-
-
-
-
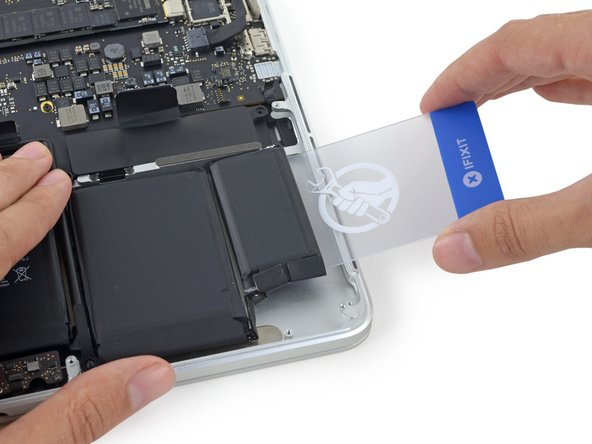
バッテリーを上部ケースから取り出します。
-
運が良ければ、ゆっくりと指で各接着ストリップを剥がせます。
-
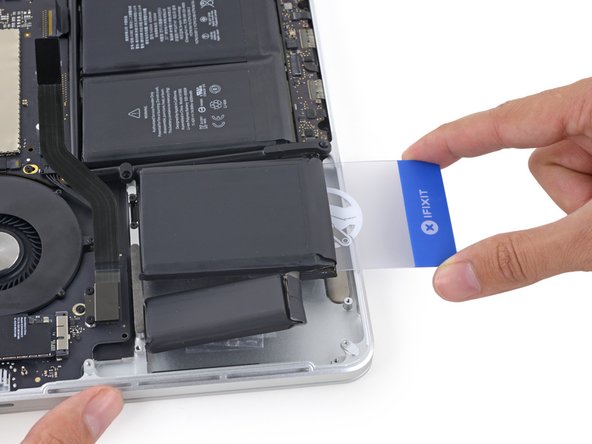
そうでない場合は、各バッテリーセルの下に接着剤リムーバーを少量ずつ付けます。2−3分間待った後、開口ピックやお持ちのツールで接着剤をこすり落とします。この作業には少し忍耐が必要です。
-
残りのバッテリーセルについても接着剤リムーバーを付けて同じ作業を繰り返します。それからMacBook Proを数分間、空気乾燥させます。
-
この修理ガイドを完成したら、新しく装着したバッテリーのカリブレーションを行なってください。100%になるまで充電します。充電後も最低2時間はプラグを繋げたままにします。それからプラグを外して、通常通り使用しながら、自然に放電させます。バッテリー残量小のサインが表示されたら、これまでの作業を保存して、スリープ状態になるまで放置してください。スリープ状態に入ったら、少なくとも5時間置きます。それから一気に100%まで充電します。
-
新しいバッテリーの装着後、何か様子が通常と異なる場合はMacBook ProのSMCをリセットする必要があります。
-
-
-
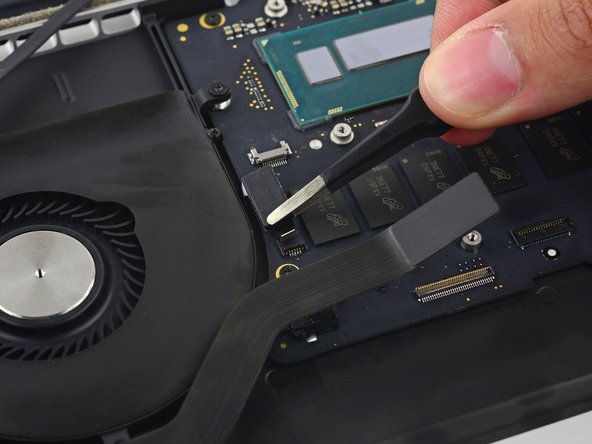
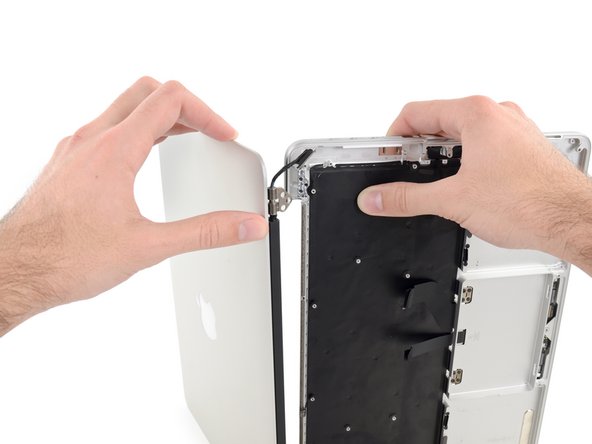
黒色のプラスチックタブを掴んで、ディスプレイケーブルのコネクタを裏返して、基板状のソケットからまっすぐ引き抜きます。
-
ロジックボードと平行に、ケーブルの方向に引っ張ります。 引き上げないでください。
-


デバイスを再組立てする際は、これらのインストラクションを逆の順番に従って作業を進めてください。
デバイスを再組立てする際は、これらのインストラクションを逆の順番に従って作業を進めてください。
57 の人々がこのガイドを完成させました。
以下の翻訳者の皆さんにお礼を申し上げます:
100%

これらの翻訳者の方々は世界を修理する私たちのサポートをしてくれています。 あなたも貢献してみませんか?
翻訳を始める ›

8 件のコメント
Hey I need to replace my track pad for sure, but would anyone know if the circuit board on the backside of the track pad controls the keyboard? or where the hardware is that controls the keyboard? My mouse and keyboard arent working due to water damage and apple wants 750 for a part thats less then 100 dollars. Any insight would be much appreciated!
@andrew how do you re-assemble the iOpener-removed battery? Just lay it in-place and re-heat it all with the iOpener? Can the adhesive be re-used?
I ended up reassembling with the remaining glue on the battery and trackpad cover panel. I used a hairdryer to attempt to reactivate the glue since my iRemover sprung a leak. The outside-most cells are loose - oh well :). Maybe I'll open it up and tape them down.
Well done Andrew!!! I followed this guide and surprisingly everything is good. The tech at the Apple store tried to convince my daughter that she fried the logic board + keyboard by getting water into it. (It was a month past the warranty so we didn't argue.) But she swears she never got any liquid near it. I didn't see any obvious signs of moisture when I opened it up. Based on other comments on other sites, it seems more like Apple has shipped some defective keyboards for at least some MacBook models.
that’s exactly what is happening with me now!!! apple is trying to convince me that there is a liquid damage exactly on the I/o board in my mackbook pro early 2015. At first the battery isn’t charging and they said that they will change the top case including keyboard and battery, five days later which is today the call me saying they discovered a liquid damage on the I/o board and the price will be changed from 200 hundred pounds to 325 pounds. I definitely refused and suspected them. now I took my MacBook back again and looking for another solution. it works fine with the power cable. so any idea would be highly appreciated.
many thanks
sofian
Sofian -