メインコンテンツにスキップ
リペアコミュニティに参加 - アカウントの作成

Lexibook Junior Tablet Charging Port Replacement

必要な工具と部品

    1. Lexibook Junior Tablet Charging Port Replacement, Battery: 手順 1、 1の画像 1
      • Make sure your device is powered off before replacement to prevent electric shock.

      • With the device screen face down, use the metal spudger to remove the small rubber circles on all four corners of the device. The screws should now be revealed.

      • Using the metal spudger, pry open the small, long rubber rectangle on the back of the device to reveal more screws.

      FixBotに聞いてみる

      コメントを追加

    2. Lexibook Junior Tablet Charging Port Replacement: 手順 2、 1の画像 1
      • Using a Phillips #00 screwdriver, remove the four 6.8mm screws from the four corners of the device.

      • Using the same screwdriver, remove the three screws that were behind the rubber rectangle. These screws do not come out of the device.

      • Use the plastic opening tool to gently pry open the back panel of the tablet.

      FixBotに聞いてみる

      コメントを追加

    3. Lexibook Junior Tablet Charging Port Replacement: 手順 3、 1の画像 1
      • Use the nylon spudger to gently pry under the battery to remove it.

      • Make sure you do not damage the battery or metal plate in this process and only use a nylon spudger. Be patient and work slowly for the best results.

      FixBotに聞いてみる

      コメントを追加

    4. Lexibook Junior Tablet Charging Port Replacement: 手順 4、 1の画像 1
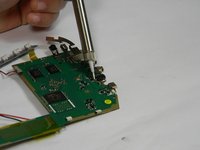
      • Use a soldering iron to remove the battery from the motherboard safely.

      • For advice on how to solder, check out iFixit's Soldering Guide.

      FixBotに聞いてみる

      コメントを追加

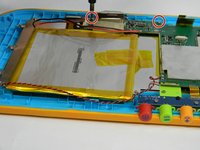
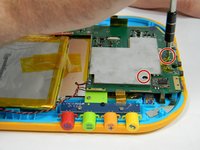
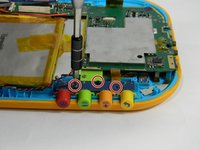
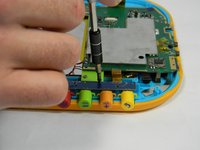
    1. Lexibook Junior Tablet Charging Port Replacement, Motherboard: 手順 5、 2の画像 1 Lexibook Junior Tablet Charging Port Replacement, Motherboard: 手順 5、 2の画像 2
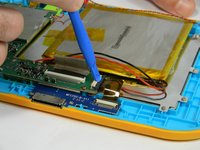
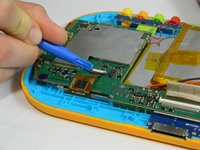
      • Using the plastic opening tool, gently push the two small, black and white switches out in the direction of the ribbon wires.

      • Slowly pull the ribbon wire out of the switch to free it.

      FixBotに聞いてみる

      コメントを追加

    2. Lexibook Junior Tablet Charging Port Replacement: 手順 6、 1の画像 1
      • Push the larger black and white strip leading to a ribbon wire upward using the plastic opening tool.

      • Carefully pull the ribbon wire out of the switch

      FixBotに聞いてみる

      コメントを追加

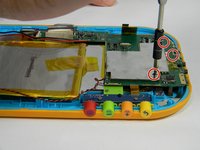
    3. Lexibook Junior Tablet Charging Port Replacement: 手順 7、 3の画像 1 Lexibook Junior Tablet Charging Port Replacement: 手順 7、 3の画像 2 Lexibook Junior Tablet Charging Port Replacement: 手順 7、 3の画像 3
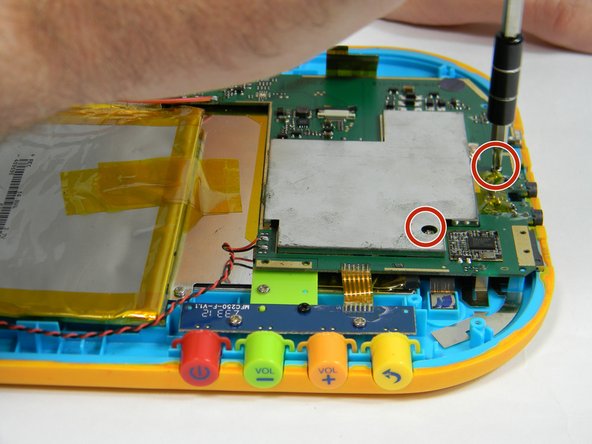
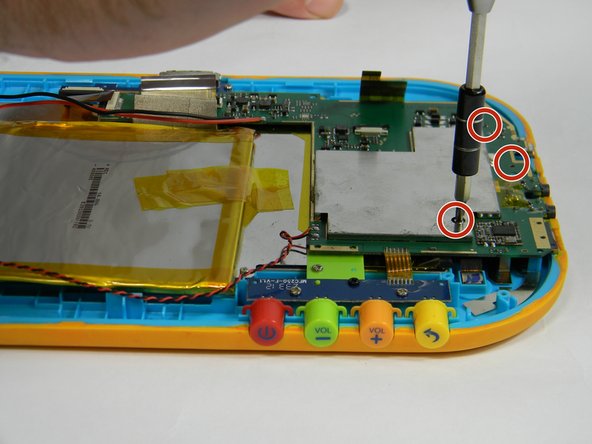
      • Unscrew the five 4 mm screws around the perimeter of the motherboard using the ph00 size phillips head screwdriver.

      FixBotに聞いてみる

      コメントを追加

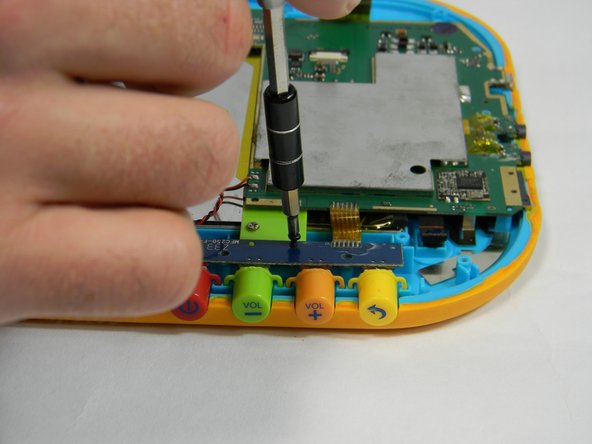
    4. Lexibook Junior Tablet Charging Port Replacement: 手順 8、 2の画像 1 Lexibook Junior Tablet Charging Port Replacement: 手順 8、 2の画像 2
      • Remove the button board by unscrewing two more 4 mm screws and one 6.5 mm screw

      FixBotに聞いてみる

      コメントを追加

    5. Lexibook Junior Tablet Charging Port Replacement: 手順 9、 1の画像 1
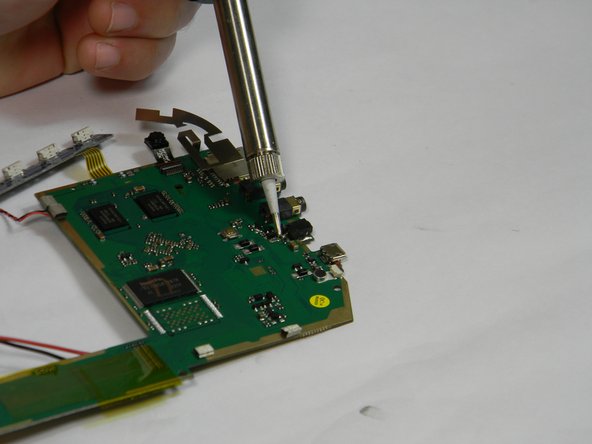
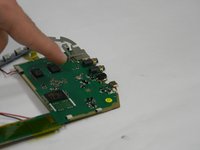
      • Solder off connections from the wire connecting the motherboard to the speaker.

      • For how to solder, check out iFixit's Soldering Guide.

      FixBotに聞いてみる

      コメントを追加

    1. Lexibook Junior Tablet Charging Port Replacement, Charging Port: 手順 10、 2の画像 1 Lexibook Junior Tablet Charging Port Replacement, Charging Port: 手順 10、 2の画像 2
      FixBotに聞いてみる

      コメントを追加

終わりに

To reassemble your device, follow these instructions in reverse order.

キャンセル: このガイドを終了できませんでした。

作成者

4人の作成者と共同で作成されました。

Rachel Klesius

メンバー登録日: 09/19/16

645 ポイント

6のガイドは作成済み

チーム

USF Tampa, Team 17-3, Blackwell Fall 2016 USF Tampa, Team 17-3, Blackwell Fall 2016人のメンバー

USFT-BLACKWELL-F16S17G3

4 メンバー

12のガイドは作成済み

0件のガイドコメント

コメントを追加

統計データ:

過去 24時間: 0

過去 7 日: 9

過去 30 日: 29

今までの合計 973