はじめに
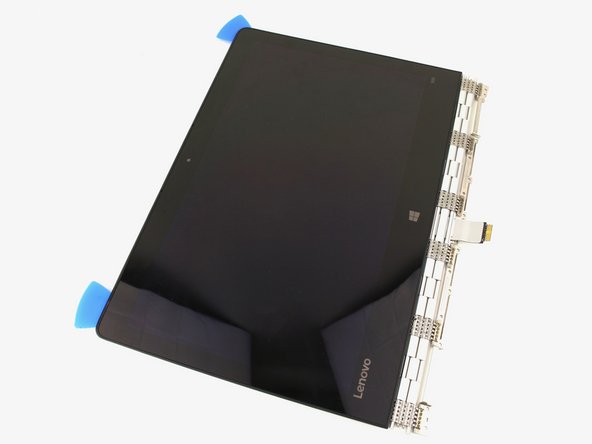
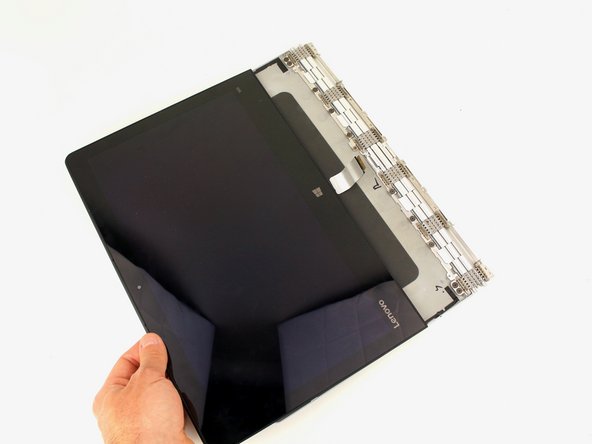
This guide will show you how to replace the display in the Lenovo Yoga 900-13ISK. The display on the Lenovo Yoga 900 has full touch capabilities, allowing the screen to be used as a tablet. However, the digitizer is integrated into the display and bezel, so replacing any one of these three components individually will require specialized tools and a lot of patience. Instead, this guide will focus on replacing the display, touch control board, screen/bezel, and digitizer as a single unit.
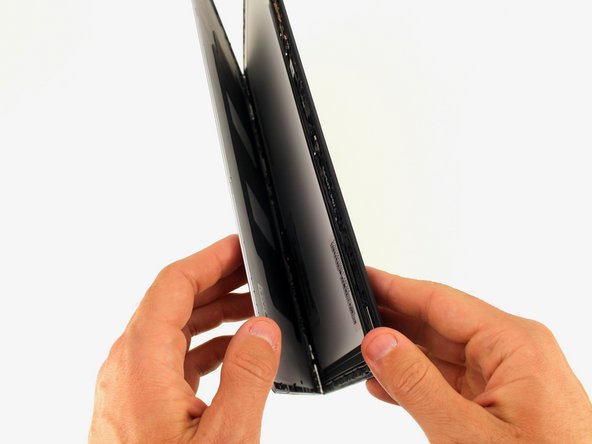
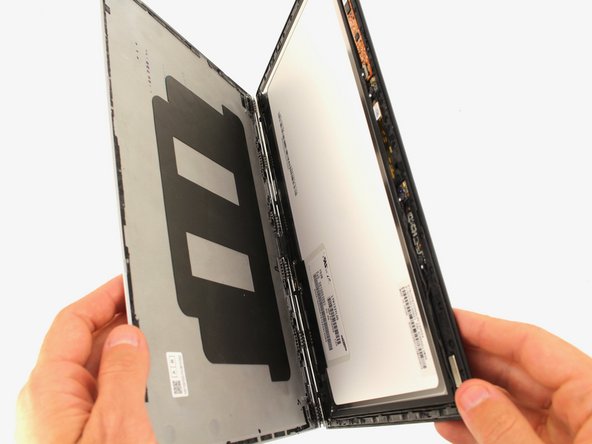
Note that the boards and cable connectors inside of the display assembly are extremely delicate, and patience should be exercised when working inside. To get inside the display assembly also requires you to cut away adhesive strips holding the assembly together. To ensure that your new display adheres to the back panel properly, you may want to clean and remove any old adhesive from the device and replace with some fresh adhesive strips. However, all of this can be circumvented by replacing the display assembly as a single unit instead.
If your Lenovo Yoga 900 has a cracked, broken, glitchy, or otherwise problematic display, or if it has lost its touchscreen capabilities, replacing it should return your computer to working condition.
Be sure to unplug and completely turn off your device before you start working.
必要な工具と部品
-
-
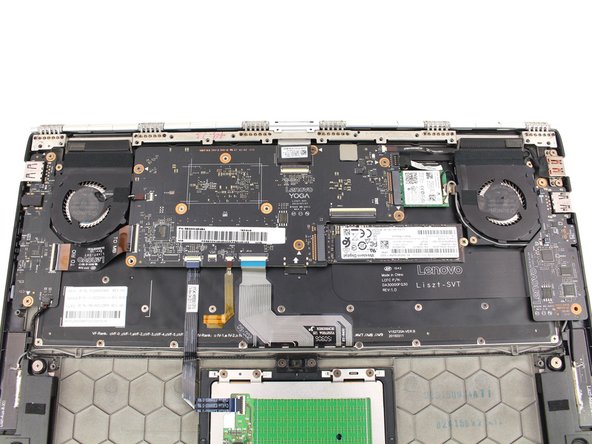
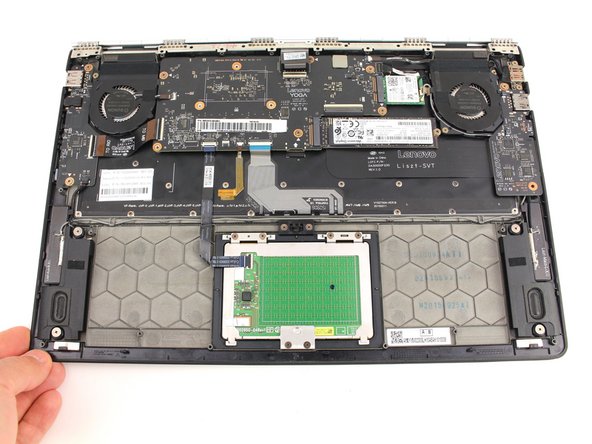
Using a T5 Torx screwdriver, remove the ten 5.5 mm screws from the back case of the laptop.
-
-
-
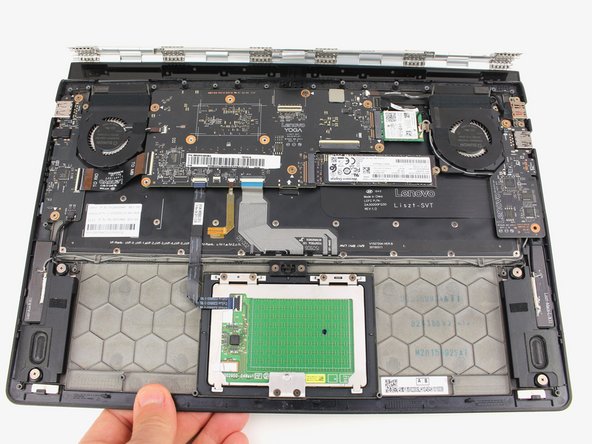
Remove the ten 3.6 mm screws from the hinge bracket with a Phillips #00 screwdriver.
-
-
-
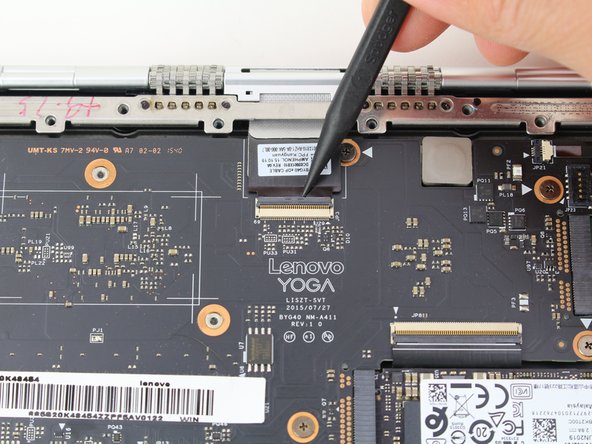
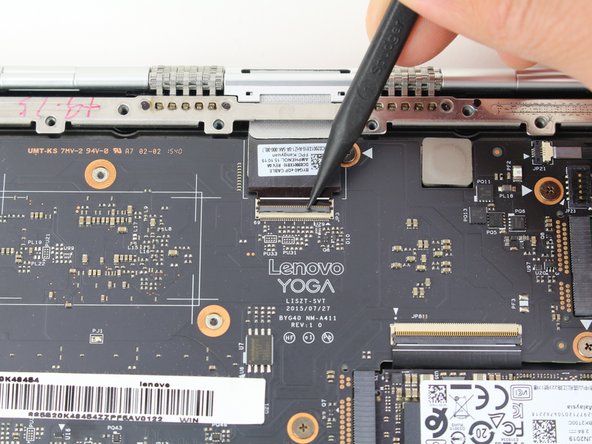
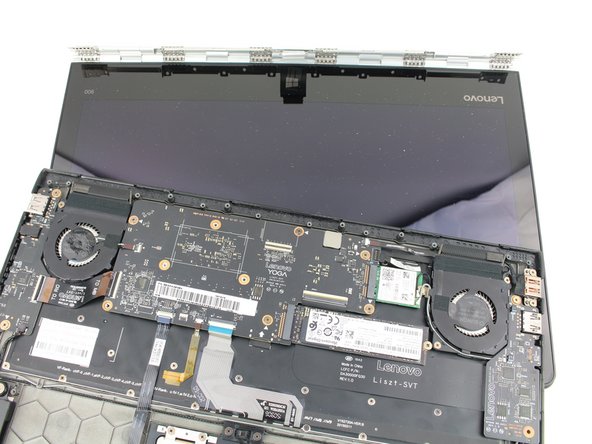
Use the pointed end of a spudger to lift the hinged locking flap of the display ZIF connector.
-
-
-
手順10 Display Opening Prereq
注意: 手順 10-16 は、作業進行中としてマークされている ガイド から引用されています。
-
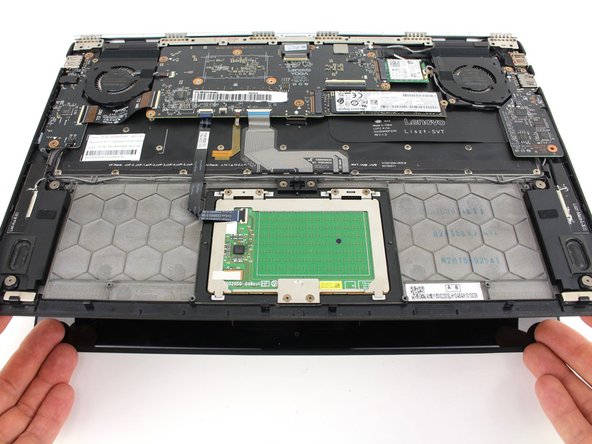
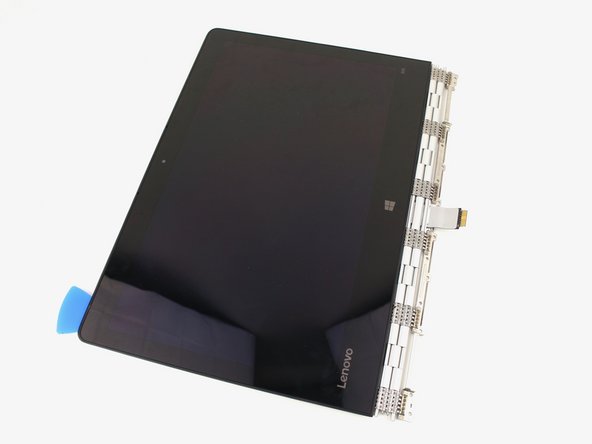
Apply heat along the bottom and left edges of the screen, either with a heat gun or iOpener.
-
-
-
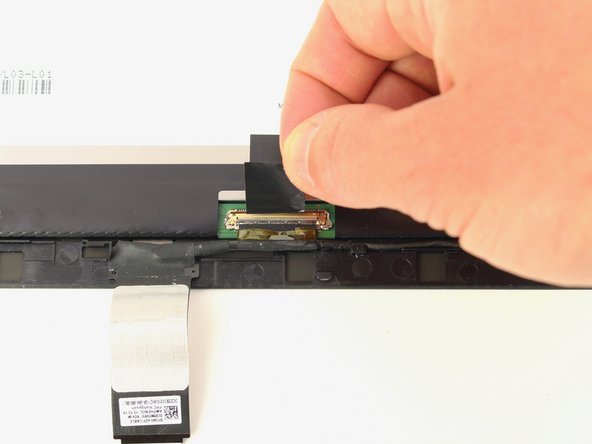
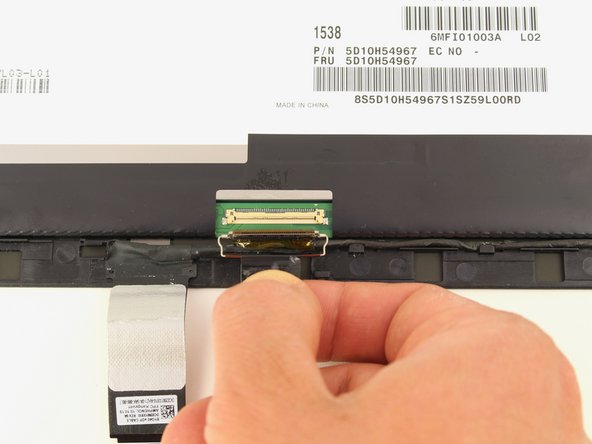
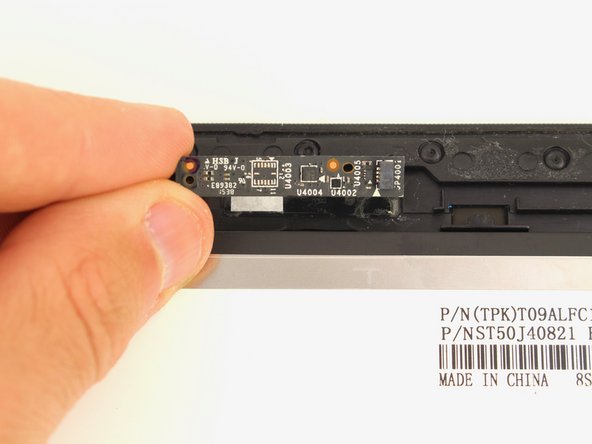
Peel up the small strip of tape wrapped around the locking bar of the display cable connector.
-


To reassemble your device, follow these instructions in reverse order.
To reassemble your device, follow these instructions in reverse order.
ある他の人がこのガイドを完成しました。

