メインコンテンツにスキップ
リペアコミュニティに参加 - アカウントの作成

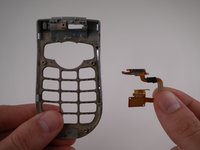
LG VX4500 display interconnect cable

必要な工具と部品

    1. LG VX4500 display interconnect cable, Battery: 手順 1、 1の画像 1
      • Turn the closed phone so that the back panel is facing you.

      • Press down and forward firmly on the gray tab in the middle of the phone.

      FixBotに聞いてみる

      コメントを追加

    2. LG VX4500 display interconnect cable: 手順 2、 2の画像 1 LG VX4500 display interconnect cable: 手順 2、 2の画像 2
      • Now just lift up on the battery and remove it from the phone.

      FixBotに聞いてみる

      コメントを追加

    1. LG VX4500 display interconnect cable, Rear Cover: 手順 3、 1の画像 1
      • Remove the rubber grommet using a spudger.

      FixBotに聞いてみる

      コメントを追加

    2. LG VX4500 display interconnect cable: 手順 4、 1の画像 1
      • Be sure not to lose the screws. They are small!

      • Remove the five screws using a Phillips #00 Screwdriver.

      FixBotに聞いてみる

      コメントを追加

    3. LG VX4500 display interconnect cable: 手順 5、 3の画像 1 LG VX4500 display interconnect cable: 手順 5、 3の画像 2 LG VX4500 display interconnect cable: 手順 5、 3の画像 3
      この手順で使用する道具:
      Tweezers
      $4.99
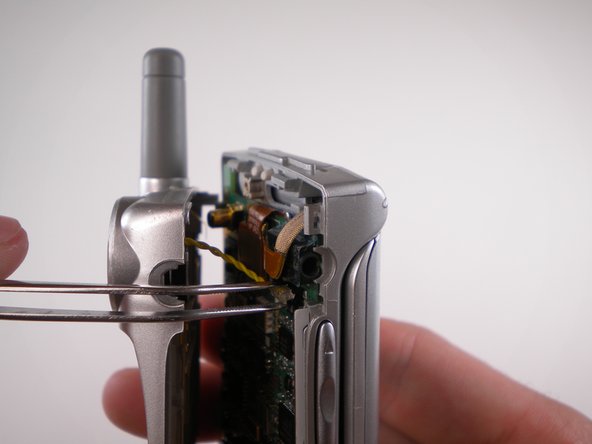
      • When removing back cover, be careful not to break the speaker wires.

      • Using an Opening Tool, carefully pry off the back cover.

      • Using tweezers, gently pull the speaker wires out.

      FixBotに聞いてみる

      コメントを追加

    4. LG VX4500 display interconnect cable: 手順 6、 1の画像 1
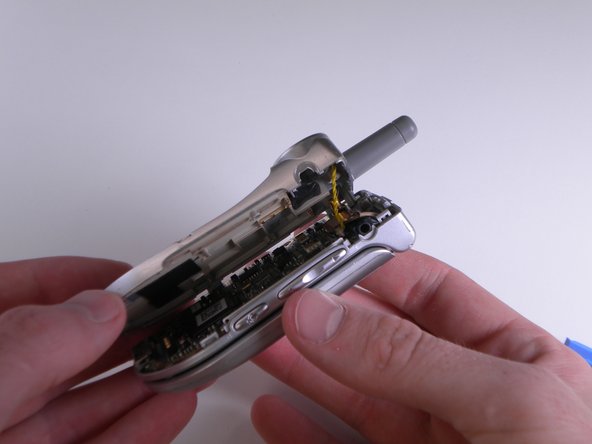
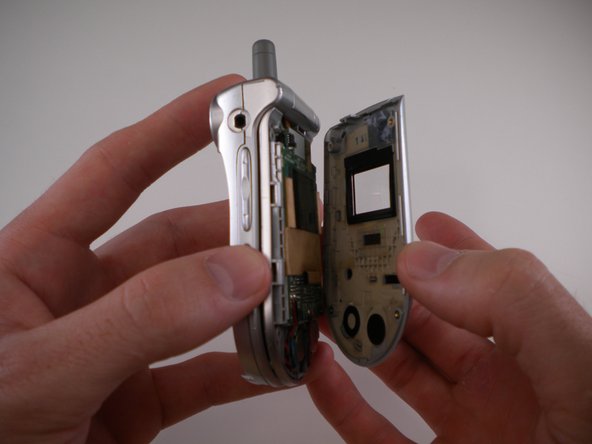
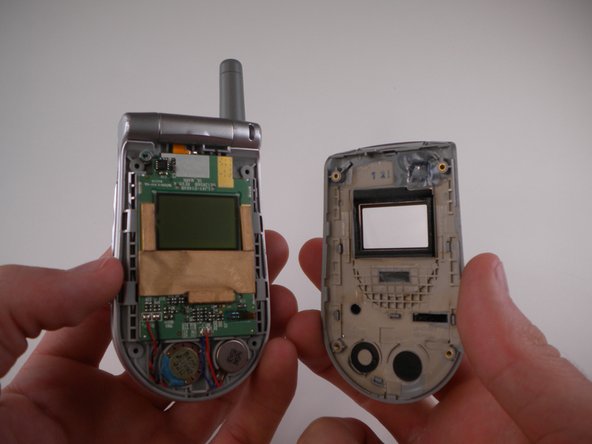
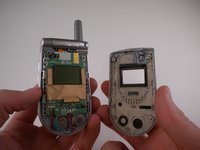
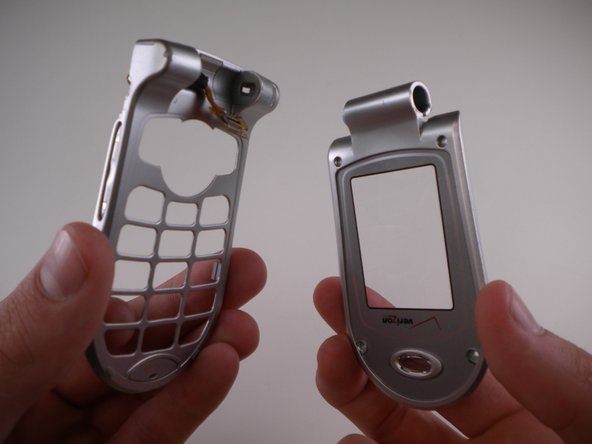
      • Separate the two halves.

      FixBotに聞いてみる

      コメントを追加

    1. LG VX4500 display interconnect cable, Keypad: 手順 7、 3の画像 1 LG VX4500 display interconnect cable, Keypad: 手順 7、 3の画像 2 LG VX4500 display interconnect cable, Keypad: 手順 7、 3の画像 3
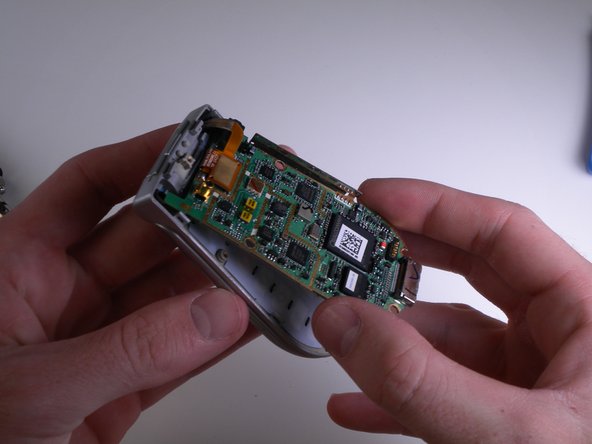
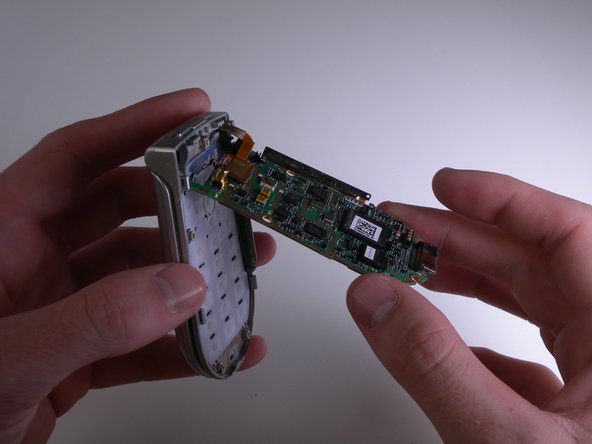
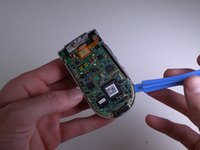
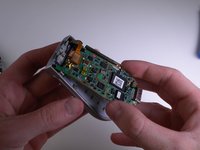
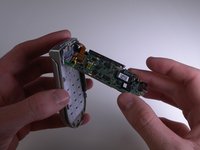
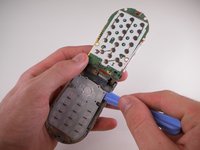
      • Carefully pry and lift up on the logic board using an iPod Opening Tool.

      FixBotに聞いてみる

      コメントを追加

    2. LG VX4500 display interconnect cable: 手順 8、 1の画像 1
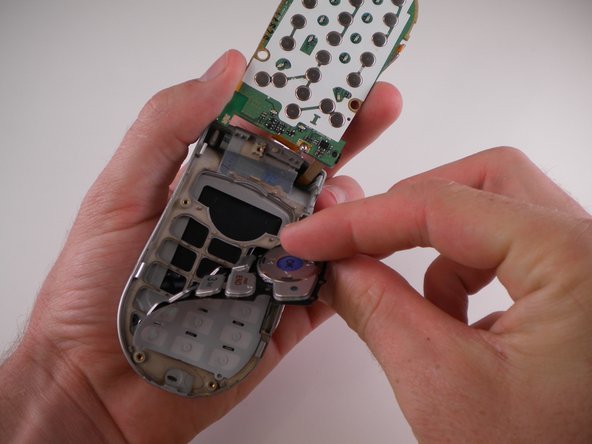
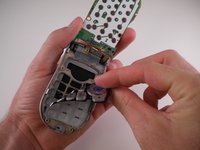
      • Carefully flip the logic board up and out of the way.

      FixBotに聞いてみる

      コメントを追加

    3. LG VX4500 display interconnect cable: 手順 9、 3の画像 1 LG VX4500 display interconnect cable: 手順 9、 3の画像 2 LG VX4500 display interconnect cable: 手順 9、 3の画像 3
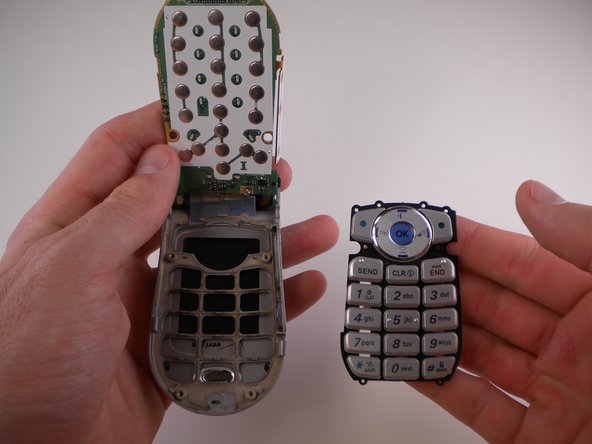
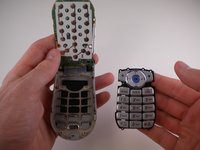
      • Use an iPod Opening Tool to lift up on the keypad and pull it out.

      FixBotに聞いてみる

      コメントを追加

    1. LG VX4500 display interconnect cable, Motherboard: 手順 10、 1の画像 1
      • DO NOT TOUCH SOLDERING IRON. IT IS EXTREMELY HOT.

      • Use a soldering iron to desolder the solder joint on the front of the motherboard.

      • If you need more information on soldering, refer to this guide.

      FixBotに聞いてみる

      コメントを追加

    2. LG VX4500 display interconnect cable: 手順 11、 1の画像 1
      • Desolder the joint on the back using a soldering iron.

      FixBotに聞いてみる

      コメントを追加

    3. LG VX4500 display interconnect cable: 手順 12、 3の画像 1 LG VX4500 display interconnect cable: 手順 12、 3の画像 2 LG VX4500 display interconnect cable: 手順 12、 3の画像 3
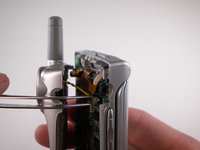
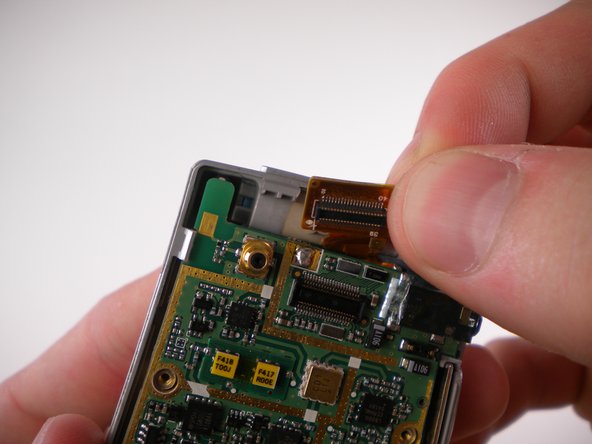
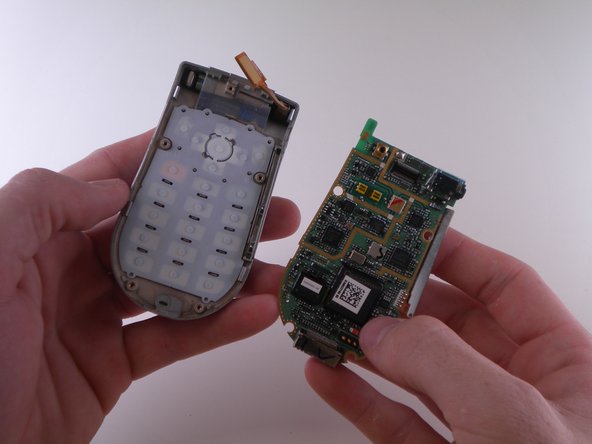
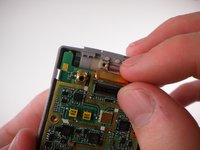
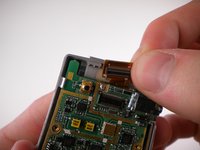
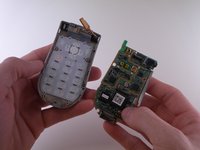
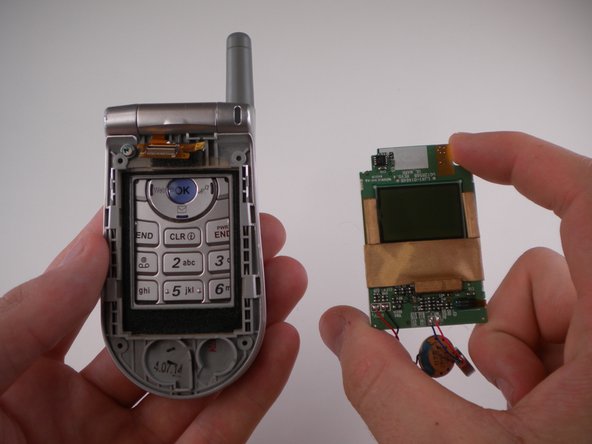
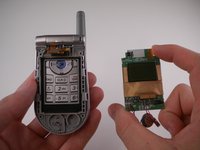
      • Carefully detach the ribbon cable and remove the motherboard.

      FixBotに聞いてみる

      コメントを追加

    1. LG VX4500 display interconnect cable, Outer Display Cover: 手順 13、 1の画像 1
      • Remove 4 rubber grommets using the Spudger.

      FixBotに聞いてみる

      コメントを追加

    2. LG VX4500 display interconnect cable: 手順 14、 1の画像 1
      • Remove 4 screws using the Phillips #00 Screwdriver.

      FixBotに聞いてみる

      コメントを追加

    3. LG VX4500 display interconnect cable: 手順 15、 3の画像 1 LG VX4500 display interconnect cable: 手順 15、 3の画像 2 LG VX4500 display interconnect cable: 手順 15、 3の画像 3
      • Carefully pry off outer cover using iPod Opening Tool.

      FixBotに聞いてみる

      コメントを追加

    1. LG VX4500 display interconnect cable, Display: 手順 16、 2の画像 1 LG VX4500 display interconnect cable, Display: 手順 16、 2の画像 2
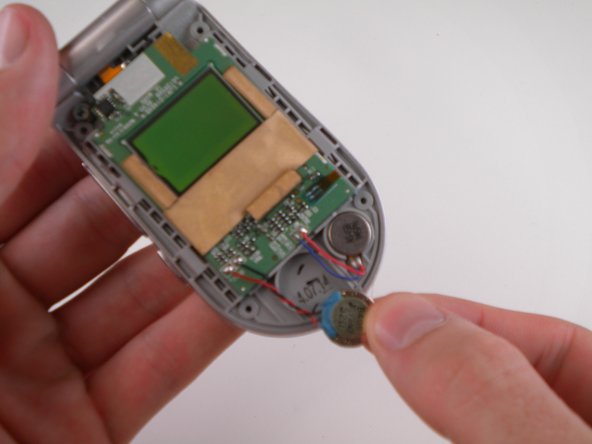
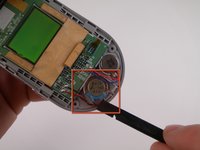
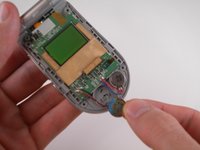
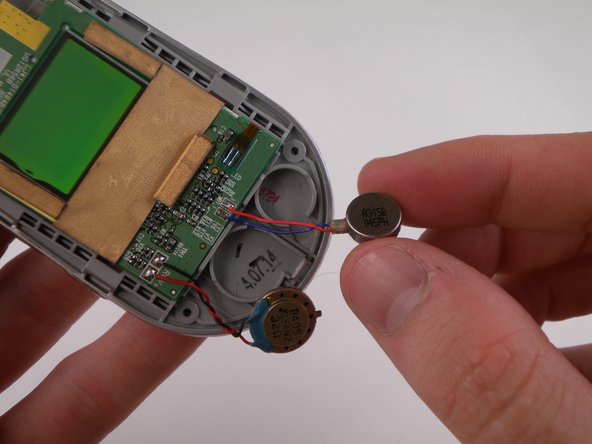
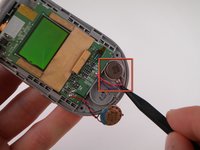
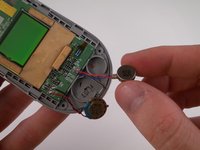
      • Remove speaker using the Spudger.

      FixBotに聞いてみる

      コメントを追加

    2. LG VX4500 display interconnect cable: 手順 17、 2の画像 1 LG VX4500 display interconnect cable: 手順 17、 2の画像 2
      • Remove vibrator using the Spudger.

      FixBotに聞いてみる

      コメントを追加

    3. LG VX4500 display interconnect cable: 手順 18、 2の画像 1 LG VX4500 display interconnect cable: 手順 18、 2の画像 2
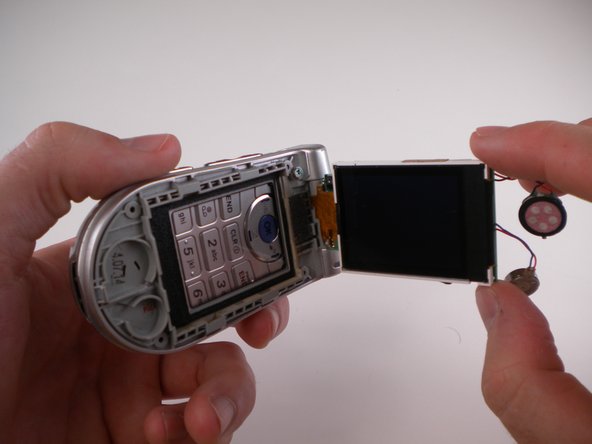
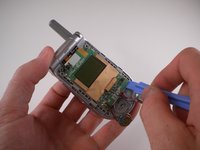
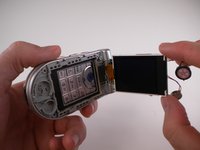
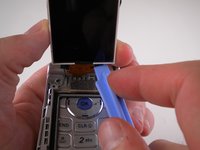
      • Lift up LCD display using iPod Opening Tool.

      FixBotに聞いてみる

      コメントを追加

    4. LG VX4500 display interconnect cable: 手順 19、 1の画像 1
      • DO NOT TOUCH THE SOLDERING IRON. IT IS EXTREMELY HOT!

      • De-solder solder joint using Soldering Iron.

      FixBotに聞いてみる

      コメントを追加

    5. LG VX4500 display interconnect cable: 手順 20、 2の画像 1 LG VX4500 display interconnect cable: 手順 20、 2の画像 2
      • Pry off ribbon cable using iPod Opening Tool.

      FixBotに聞いてみる

      コメントを追加

    1. LG VX4500 display interconnect cable, Ribbon Cable: 手順 21、 3の画像 1 LG VX4500 display interconnect cable, Ribbon Cable: 手順 21、 3の画像 2 LG VX4500 display interconnect cable, Ribbon Cable: 手順 21、 3の画像 3
      • Turn phone so that the back side is facing you.

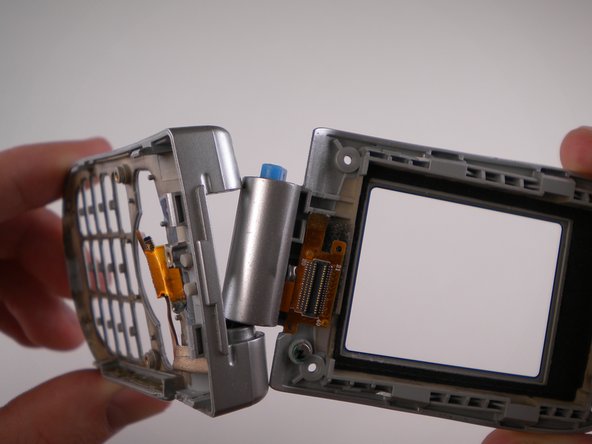
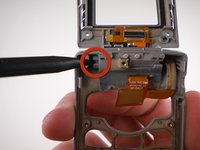
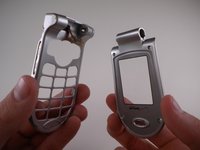
      • Press blue button and remove top half using Spudger.

      FixBotに聞いてみる

      コメントを追加

    2. LG VX4500 display interconnect cable: 手順 22、 2の画像 1 LG VX4500 display interconnect cable: 手順 22、 2の画像 2
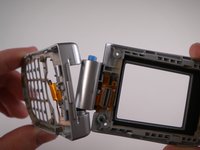
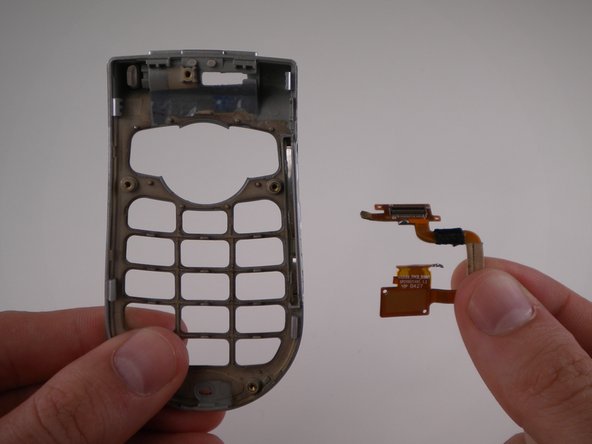
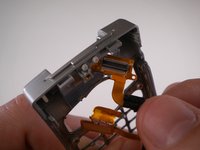
      • Remove cable from bottom section.

      FixBotに聞いてみる

      コメントを追加

終わりに

To reassemble your device, follow these instructions in reverse order.

キャンセル: このガイドを終了できませんでした。

作成者

5人の作成者と共同で作成されました。

David Foster

メンバー登録日: 04/11/10

1 ポイント

8のガイドは作成済み

チーム

Cal Poly, Team 25-88, Amido Spring 2010 Cal Poly, Team 25-88, Amido Spring 2010人のメンバー

CPSU-AMIDO-S10S25G88

4 メンバー

37のガイドは作成済み

0件のガイドコメント

コメントを追加

統計データ:

過去 24時間: 1

過去 7 日: 2

過去 30 日: 14

今までの合計 3,413