はじめに
Use this guide to replace the upper ice maker assembly in an LG refrigerator.
This guide will work for most LG refrigerators. This guide is written with an LG model LFX25973 refrigerator. If you have a different model, you may encounter some minor disassembly differences, but the overall repair process will be the same.
The upper ice maker provides the ice and the feed mechanism for the through-the-door ice and water dispenser. The assembly includes the upper ice maker, a backing plate, and the ice auger motor which is incorporated into the backing plate.
When it fails, the dispenser will not be able to dispense cubes or crushed ice.
必要な工具と部品
-
-
-
Unplug your refrigerator before you begin your repair.
-
Condenser fan motor
-
Compressor motor and thermal overload device
-
Water supply valve assembly
 FixBotに聞いてみる
-
-
-
-
-
-
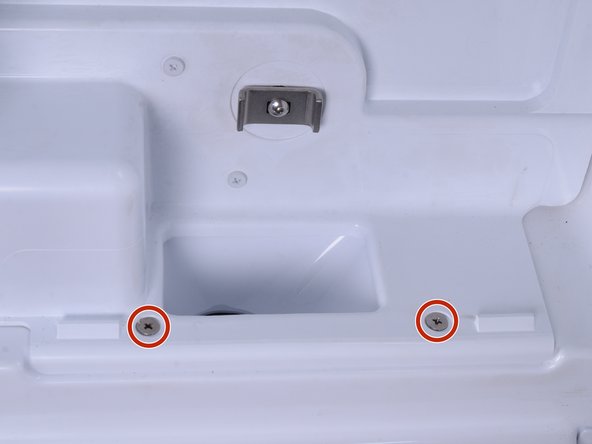
Use a #2 Philips driver to remove the screws that secure the ice maker assembly to the refrigerator door.
-
-
-
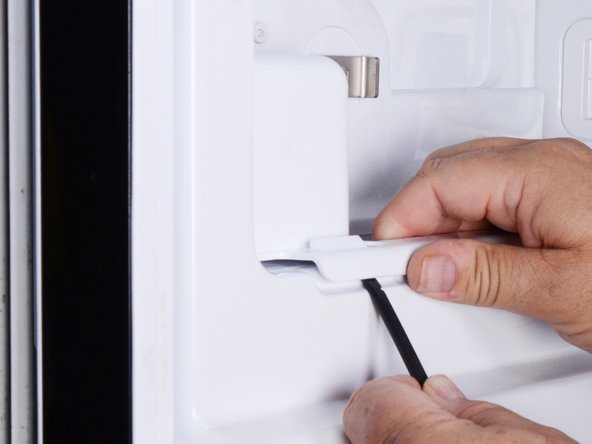
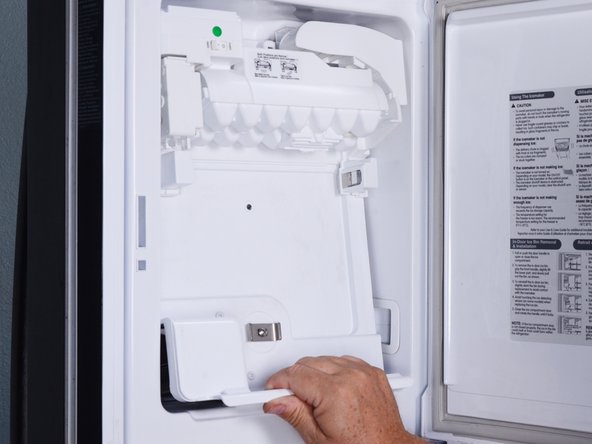
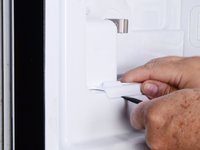
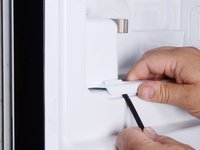
Use a spudger to lift the bottom edge of the ice maker assembly. This action will release the assembly from the refrigerator door.
-
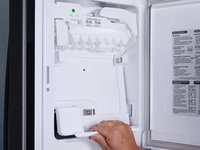
Pull the bottom edge of the ice maker assembly toward you to free it from the door.
-
-
-
Lower the ice maker assembly until you can access the connector located at the top of the assembly.
-
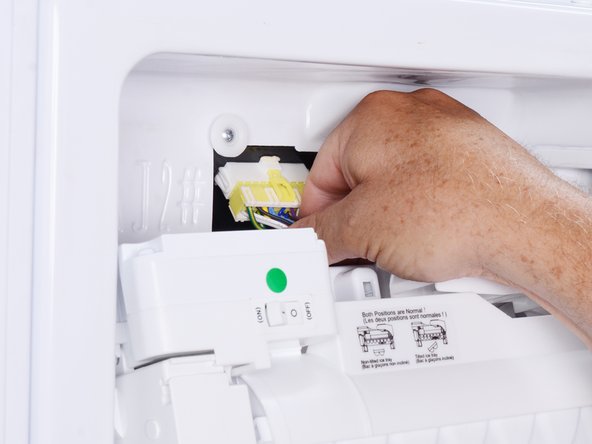
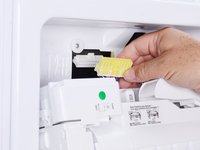
Squeeze the connector at the top of the ice maker assembly to release it.
-
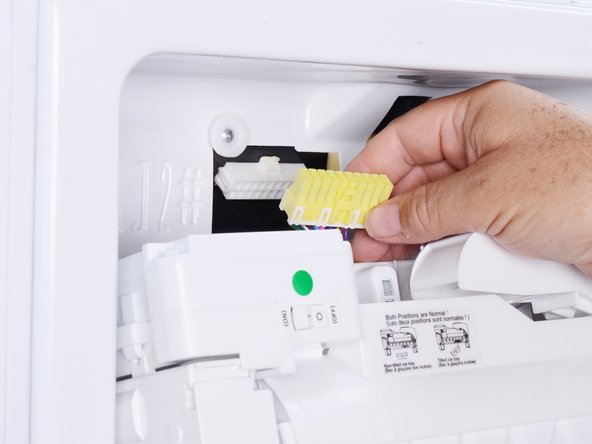
Pull the connector straight down to disconnect it.
-
-





To reassemble your device, follow these instructions in reverse order.
Take your e-waste to an R2 or e-Stewards certified recycler.
Repair didn’t go as planned? Try some basic troubleshooting, or ask our Answers community for help.


