メインコンテンツにスキップ
リペアコミュニティに参加 - アカウントの作成
LG Refrigerator Freezer Ice Maker Replacement

必要な工具と部品

    1. LG Refrigerator Freezer Ice Maker Replacement, Unplug your refrigerator: 手順 1、 1の画像 1
      • Unplug your refrigerator before you begin your repair.

      • If you are testing or repairing the following items, you may also need to shut off and disconnect the water supply:

      • Condenser fan motor

      • Compressor motor and thermal overload device

      • Water supply valve assembly

      FixBotに聞いてみる

      コメントを追加

    1. LG Refrigerator Freezer Ice Maker Replacement, Open the freezer door: 手順 2、 2の画像 1 LG Refrigerator Freezer Ice Maker Replacement, Open the freezer door: 手順 2、 2の画像 2
      • Pull open the freezer door fully.

      FixBotに聞いてみる

      コメントを追加

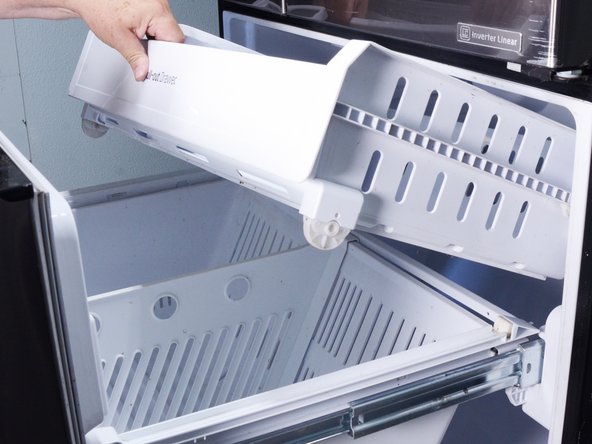
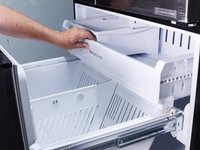
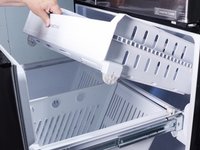
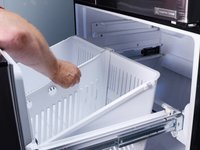
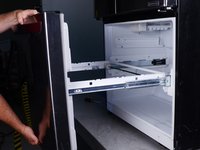
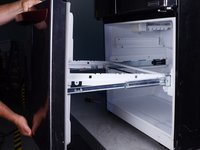
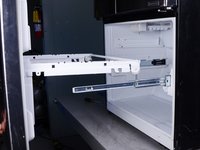
    2. LG Refrigerator Freezer Ice Maker Replacement, Remove the drawer and bin: 手順 3、 3の画像 1 LG Refrigerator Freezer Ice Maker Replacement, Remove the drawer and bin: 手順 3、 3の画像 2 LG Refrigerator Freezer Ice Maker Replacement, Remove the drawer and bin: 手順 3、 3の画像 3
      • Lift and remove the upper pull-out drawer.

      • Lift and remove the main drawer bin.

      FixBotに聞いてみる

      コメントを追加

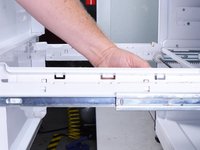
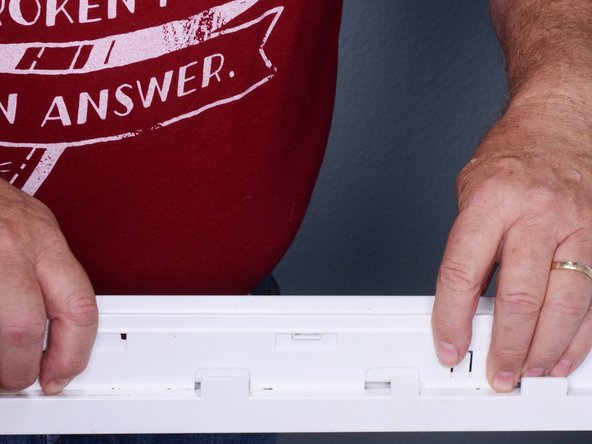
    3. LG Refrigerator Freezer Ice Maker Replacement, Remove the drawer rail covers: 手順 4、 3の画像 1 LG Refrigerator Freezer Ice Maker Replacement, Remove the drawer rail covers: 手順 4、 3の画像 2 LG Refrigerator Freezer Ice Maker Replacement, Remove the drawer rail covers: 手順 4、 3の画像 3
      • Use your finger or a flat-blade screwdriver to depress the two locking tabs on the right drawer rail cover.

      • Lift the cover off of the rail and remove it.

      • Repeat this procedure for the left drawer rail cover.

      FixBotに聞いてみる

      コメントを追加

    4. LG Refrigerator Freezer Ice Maker Replacement, Reassembly notes: 手順 5、 2の画像 1 LG Refrigerator Freezer Ice Maker Replacement, Reassembly notes: 手順 5、 2の画像 2
      • The drawer rail covers can be tricky to reinstall. Follow these steps to reinstall them:

      • Hold the drawer rail cover flush against the side of the drawer rail.

      • You should feel the locking tabs protruding.

      • Push the rail cover straight downward to install. It should click into place.

      FixBotに聞いてみる

      コメントを追加

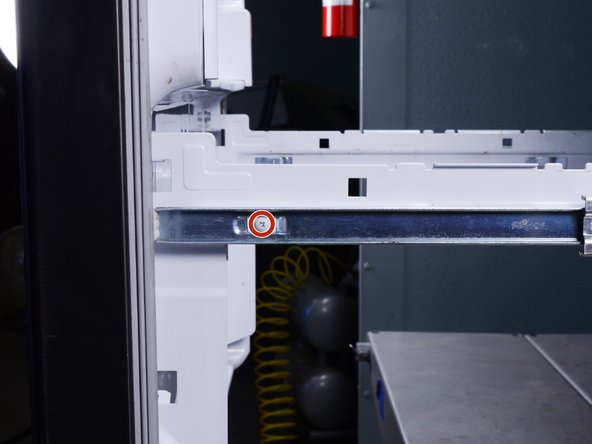
    5. LG Refrigerator Freezer Ice Maker Replacement, Remove the drawer: 手順 6、 2の画像 1 LG Refrigerator Freezer Ice Maker Replacement, Remove the drawer: 手順 6、 2の画像 2
      • Use a Phillips screwdriver to remove the screw securing the drawer to each of the drawer slides.

      FixBotに聞いてみる

      コメントを追加

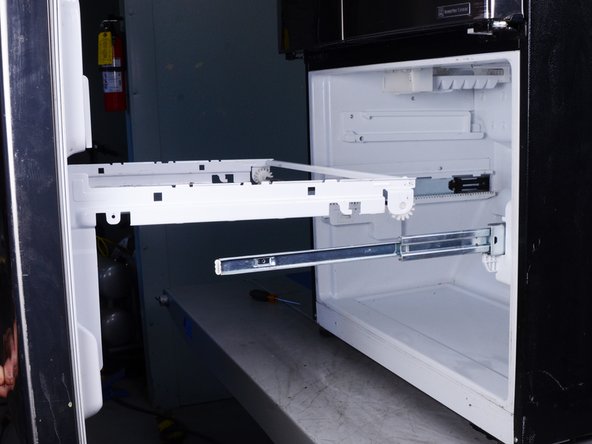
    6. LG Refrigerator Freezer Ice Maker Replacement: 手順 7、 3の画像 1 LG Refrigerator Freezer Ice Maker Replacement: 手順 7、 3の画像 2 LG Refrigerator Freezer Ice Maker Replacement: 手順 7、 3の画像 3
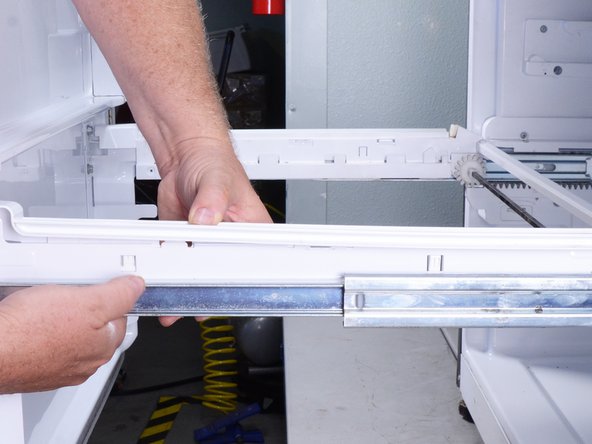
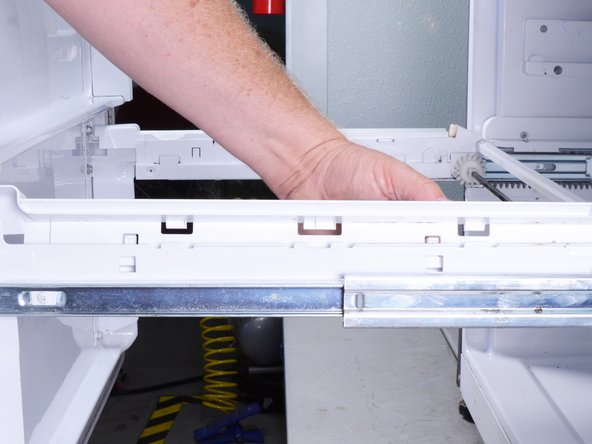
      • Lift the front of the drawer up.

      • Pull the drawer toward you to release the drawer from the drawer slides.

      • Remove the freezer drawer.

      FixBotに聞いてみる

      コメントを追加

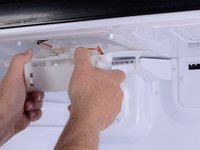
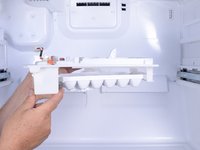
    1. LG Refrigerator Freezer Ice Maker Replacement, Release the ice maker: 手順 8、 1の画像 1
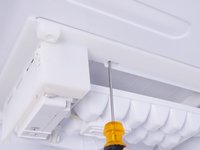
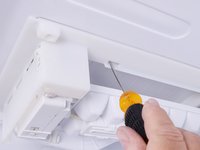
      • Use a Phillips screwdriver to remove the screws securing the ice maker to the top of the freezer compartment.

      FixBotに聞いてみる

      コメントを追加

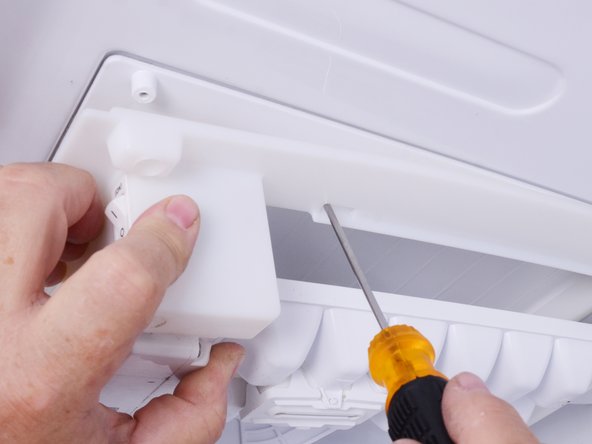
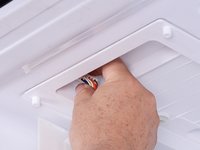
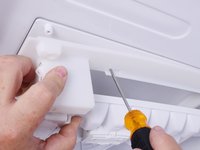
    2. LG Refrigerator Freezer Ice Maker Replacement: 手順 9、 3の画像 1 LG Refrigerator Freezer Ice Maker Replacement: 手順 9、 3の画像 2 LG Refrigerator Freezer Ice Maker Replacement: 手順 9、 3の画像 3
      • Insert a flat-blade screwdriver into the slot located on the right edge of the ice maker.

      • Pry outward with the screwdriver to release the locking tab securing the ice maker to the fridge.

      • When the tab releases, pull the right front corner of the ice maker down.

      FixBotに聞いてみる

      コメントを追加

    3. LG Refrigerator Freezer Ice Maker Replacement: 手順 10、 1の画像 1
      • Repeat the previous operation on the left side of the ice maker to release it.

      FixBotに聞いてみる

      コメントを追加

    4. LG Refrigerator Freezer Ice Maker Replacement: 手順 11、 3の画像 1 LG Refrigerator Freezer Ice Maker Replacement: 手順 11、 3の画像 2 LG Refrigerator Freezer Ice Maker Replacement: 手順 11、 3の画像 3
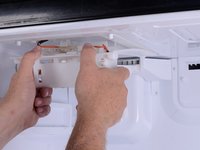
      • Grasp the front edge of the ice maker and pull it towards you.

      • Lower the ice maker.

      FixBotに聞いてみる

      コメントを追加

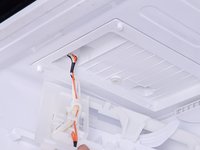
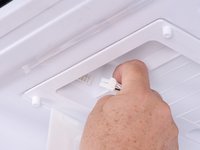
    5. LG Refrigerator Freezer Ice Maker Replacement, Disconnect and remove the ice maker: 手順 12、 3の画像 1 LG Refrigerator Freezer Ice Maker Replacement, Disconnect and remove the ice maker: 手順 12、 3の画像 2 LG Refrigerator Freezer Ice Maker Replacement, Disconnect and remove the ice maker: 手順 12、 3の画像 3
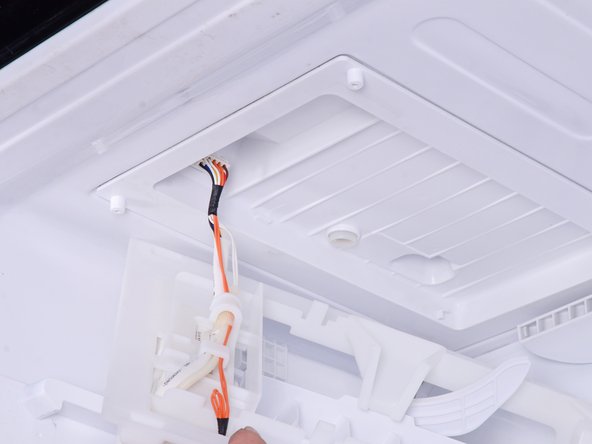
      • Squeeze the ice maker connector to release it and pull it straight out to disconnect it.

      • Remove the ice maker.

      FixBotに聞いてみる

      コメントを追加

終わりに

To reassemble your device, follow these instructions in reverse order.

Take your e-waste to an R2 or e-Stewards certified recycler.

Repair didn’t go as planned? Try some basic troubleshooting, or ask our  Answers community for help.

キャンセル: このガイドを終了できませんでした。

4 の人々がこのガイドを完成させました。

作成者

1人の作成者と共同作成されました。

Bill Gilbert

メンバー登録日: 06/30/22

40,146 ポイント

261のガイドは作成済み

チーム

iFixit iFixit人のメンバー

Staff

123 メンバー

32,283のガイドは作成済み

0件のガイドコメント

コメントを追加

統計データ:

過去 24時間: 25

過去 7 日: 122

過去 30 日: 529

今までの合計 9,428