この翻訳は、ソースガイドの最新の更新を反映していない可能性があります。 翻訳の更新に協力してください。 または ソースガイドを参照してください。
はじめに
このガイドは、Amazon Kindle 初代オリジナルのページめくりキーを交換するための作業ガイドです。
必要な工具と部品
-
-
この手順は未翻訳です。 翻訳を手伝う。
-
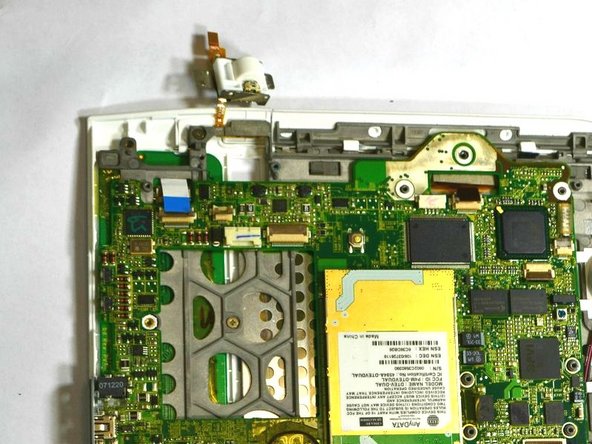
Remove the two (2) Phillips #00 screws (3 mm) connecting the ON/OFF Power and Wifi Switches.
-
-
この手順は未翻訳です。 翻訳を手伝う。
-
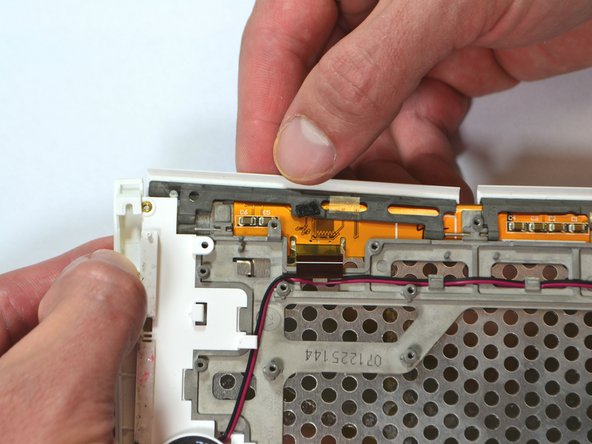
Lift the flap attaching the blue and white ribbon cable to the motherboard by lifting it vertically with the spudger.
-
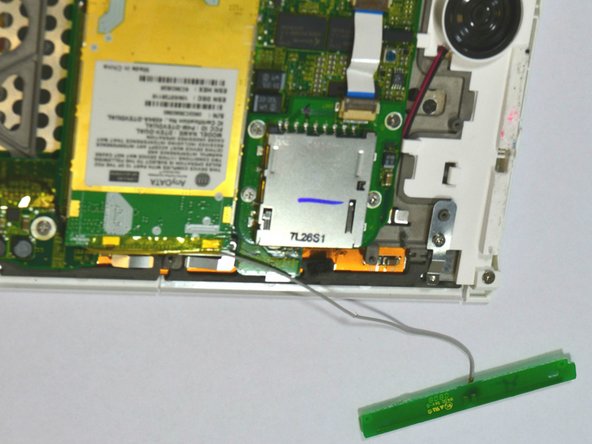
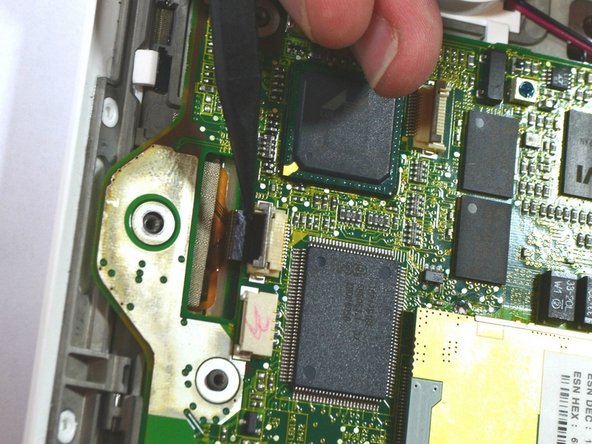
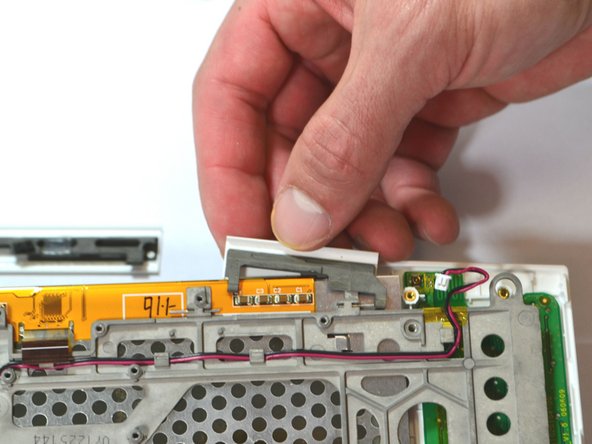
Lift the flap with the pointed-end of the spudger to detach the ribbon cable indicated in the second image.
-
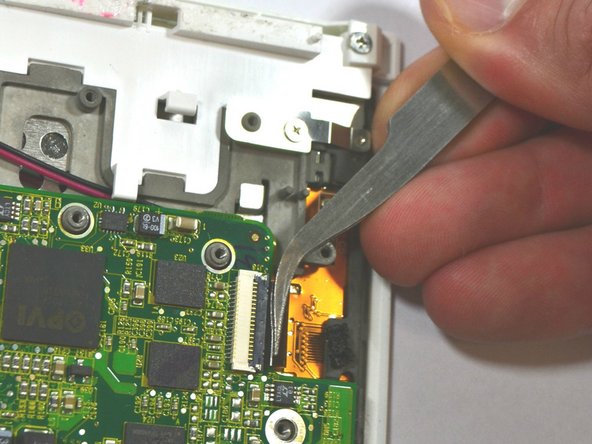
Use tweezers to pull the ribbon cable in the third image laterally to detach it.
-
-
この手順は未翻訳です。 翻訳を手伝う。
-
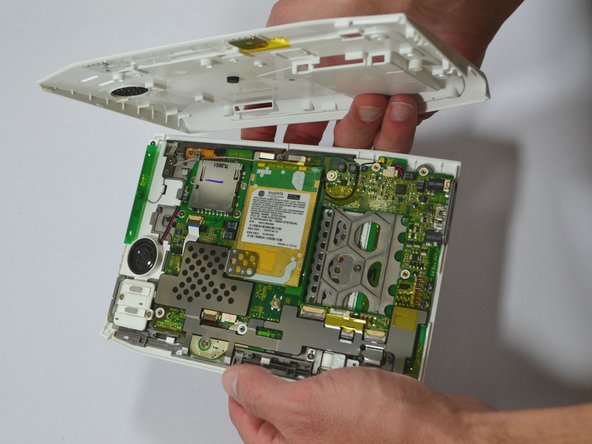
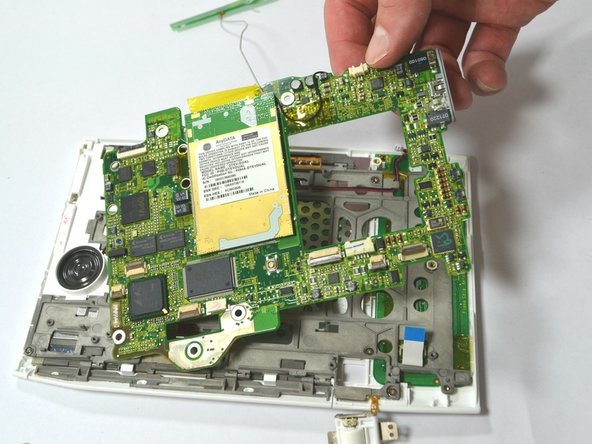
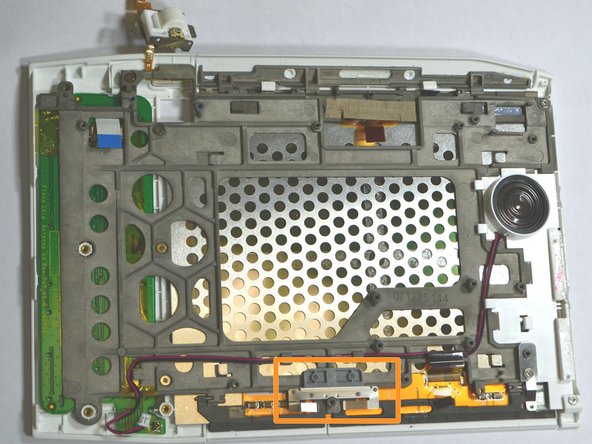
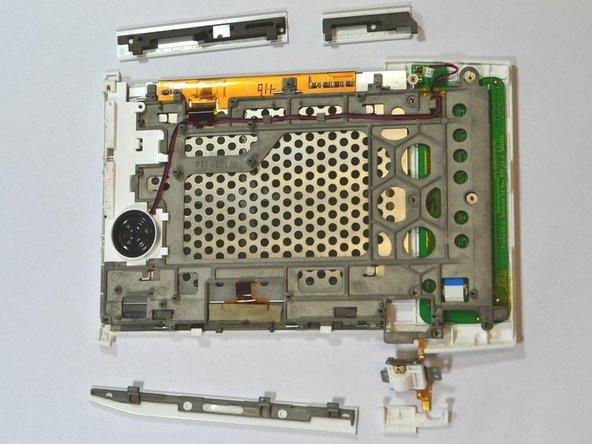
Remove the two (2) Phillips #00 screws (3 mm) which attach the motherboard to the front casing.
-
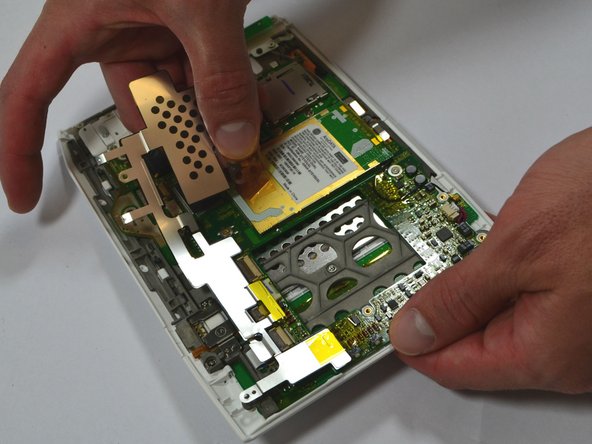
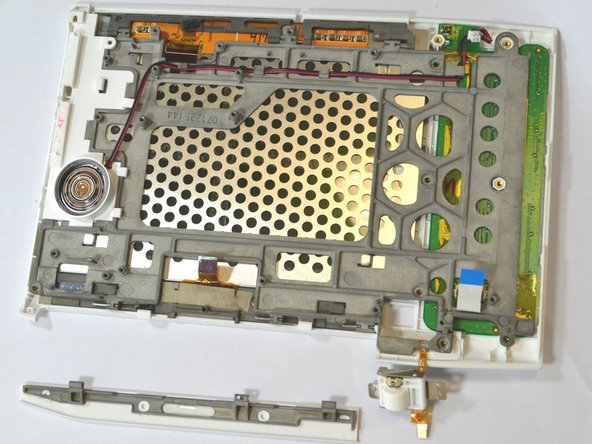
Carefully lift the motherboard off.
-
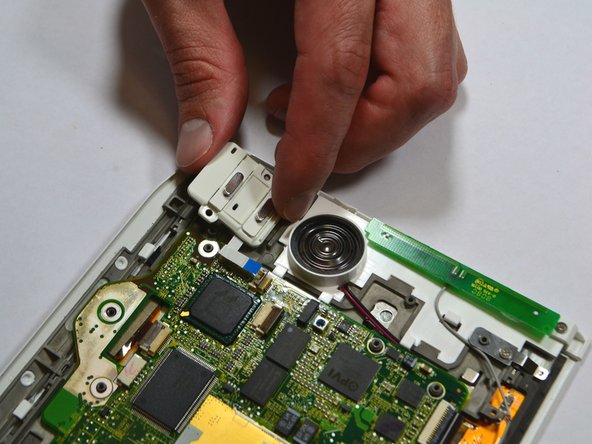
The piece marked in the third image may be loose and fall out freely. If it does not fall off, use your fingers or a plastic opening tool to snap it off. Make sure to place it under the motherboard during reassembly, as found in the image.
-


デバイスを再組み立てする際は、これらの手順を逆の順番に従って作業を進めてください。
デバイスを再組み立てする際は、これらの手順を逆の順番に従って作業を進めてください。
以下の翻訳者の皆さんにお礼を申し上げます:
25%

Midori Doiさんは世界中で修理する私たちを助けてくれています! あなたも貢献してみませんか?
翻訳を始める ›
チーム

University of Kentucky Louisville, Team 1-1, Chamberlain Spring 2013 University of Kentucky Louisville, Team 1-1, Chamberlain Spring 2013人のメンバー
LOUISVILLE-CHAMBERLAIN-S13S1G1
2 メンバー
7のガイドは作成済み