はじめに
Use this guide to replace the power button on your Kano Computer Kit Complete. The power button is a piece of hardware that turns your computer on or off. The button may need to be replaced when it no longer turns the computer on or off. In some cases, your power button may get stuck when pressed also causing it to not work as intended. This guide does not require any tools to complete. Any further questions can be answered by going to Kano’s Help site.
-
-
-
Take off the clear backing of the computer and set it aside.
-
The power button is situated on the red and black rectangular component atop the Raspberry Pi in the top left corner of the case.
 FixBotに聞いてみる
-
-
-


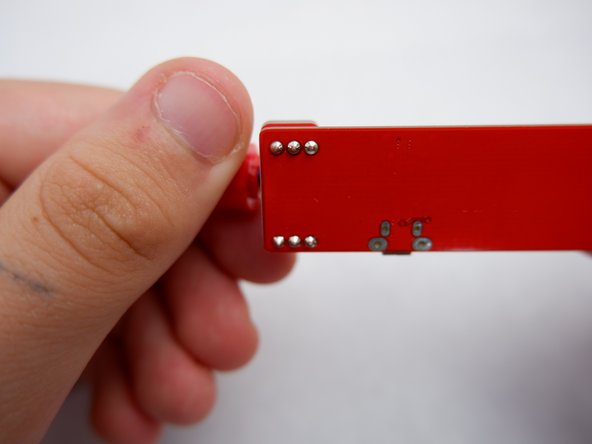
To reassemble your device, place the power button back on the Raspberry Pi.

チーム

Embry-Riddle Aeronautical University, Team S1-G4, Watkins Fall 2019 Embry-Riddle Aeronautical University, Team S1-G4, Watkins Fall 2019人のメンバー
ERAU-WATKINS-F19S1G4
4 メンバー
45のガイドは作成済み
