メインコンテンツにスキップ
リペアコミュニティに参加 - アカウントの作成

Kano Computer Kit Complete Raspberry Pi Replacement

  1. Kano Computer Kit Complete Raspberry Pi Replacement, Raspberry Pi: 手順 1、 2の画像 1 Kano Computer Kit Complete Raspberry Pi Replacement, Raspberry Pi: 手順 1、 2の画像 2
    • Take off the clear backing of the computer and set it aside.

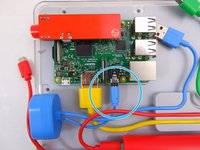
    • The Raspberry Pi is located in the top right corner of the case.

    FixBotに聞いてみる
  2. Kano Computer Kit Complete Raspberry Pi Replacement: 手順 2、 3の画像 1 Kano Computer Kit Complete Raspberry Pi Replacement: 手順 2、 3の画像 2 Kano Computer Kit Complete Raspberry Pi Replacement: 手順 2、 3の画像 3
    • Unplug the battery from the power button.

    FixBotに聞いてみる
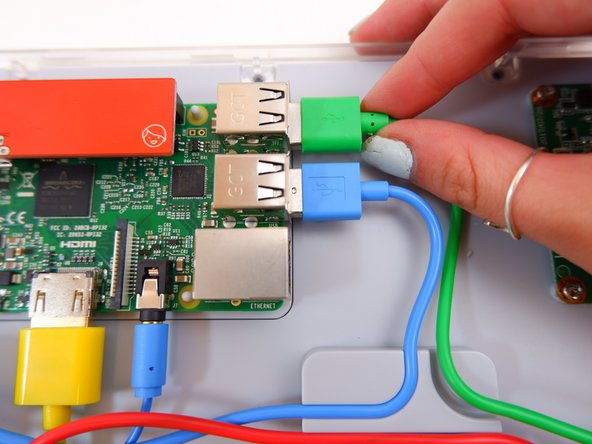
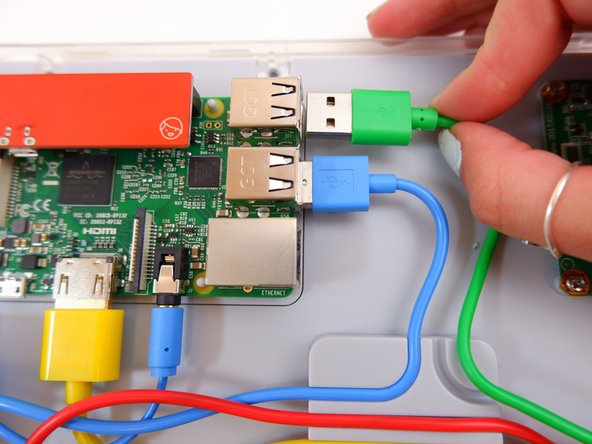
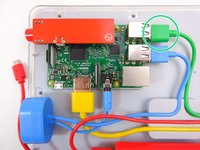
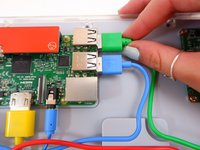
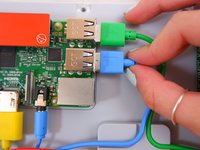
  3. Kano Computer Kit Complete Raspberry Pi Replacement: 手順 3、 3の画像 1 Kano Computer Kit Complete Raspberry Pi Replacement: 手順 3、 3の画像 2 Kano Computer Kit Complete Raspberry Pi Replacement: 手順 3、 3の画像 3
    • Unplug the green cable

    FixBotに聞いてみる
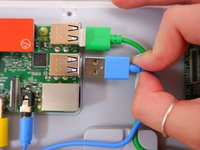
  4. Kano Computer Kit Complete Raspberry Pi Replacement: 手順 4、 3の画像 1 Kano Computer Kit Complete Raspberry Pi Replacement: 手順 4、 3の画像 2 Kano Computer Kit Complete Raspberry Pi Replacement: 手順 4、 3の画像 3
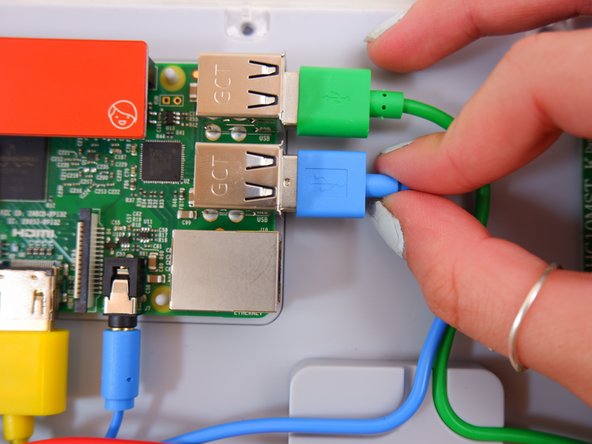
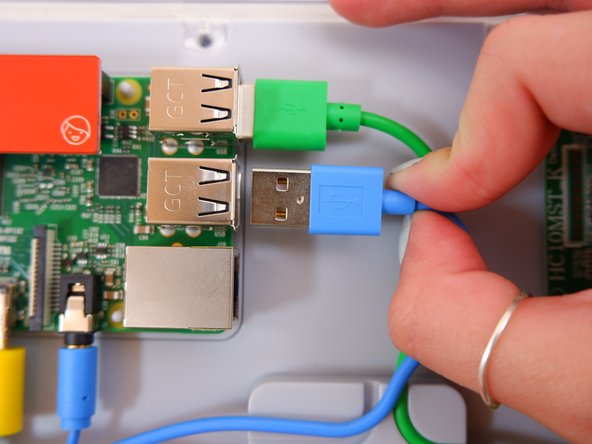
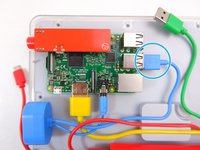
    • Unplug the blue USB cable.

    FixBotに聞いてみる
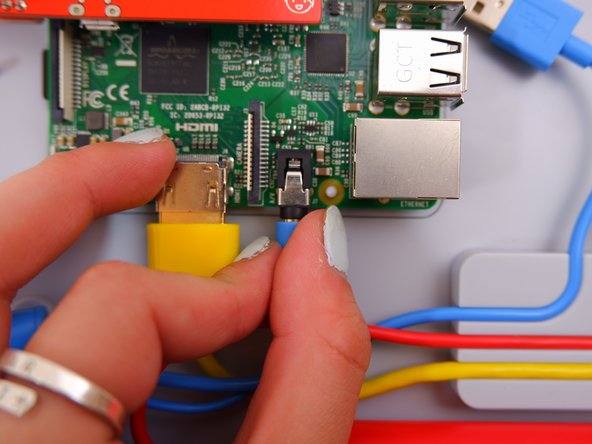
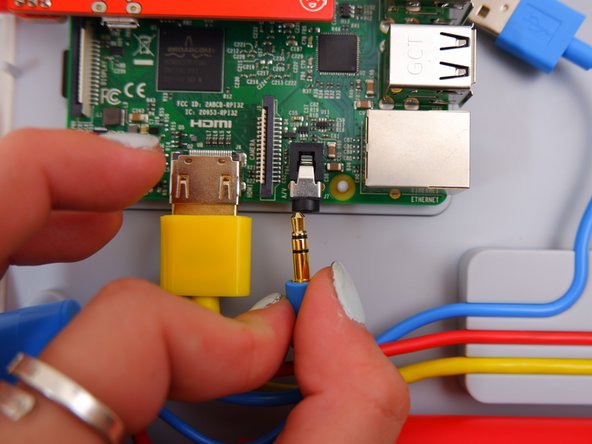
  5. Kano Computer Kit Complete Raspberry Pi Replacement: 手順 5、 3の画像 1 Kano Computer Kit Complete Raspberry Pi Replacement: 手順 5、 3の画像 2 Kano Computer Kit Complete Raspberry Pi Replacement: 手順 5、 3の画像 3
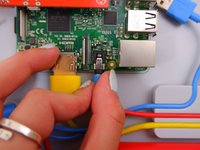
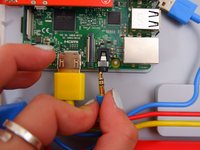
    • Unplug the blue audio jack.

    FixBotに聞いてみる
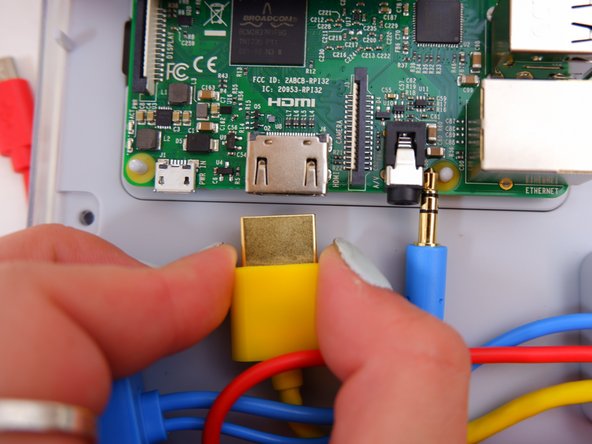
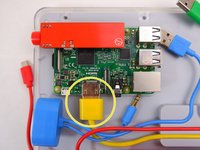
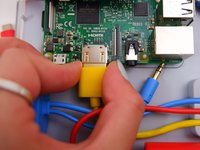
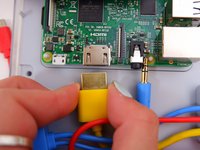
  6. Kano Computer Kit Complete Raspberry Pi Replacement: 手順 6、 3の画像 1 Kano Computer Kit Complete Raspberry Pi Replacement: 手順 6、 3の画像 2 Kano Computer Kit Complete Raspberry Pi Replacement: 手順 6、 3の画像 3
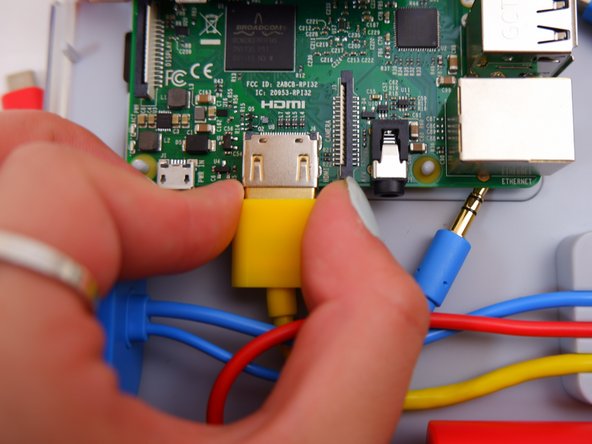
    • Unplug the yellow cable.

    FixBotに聞いてみる
  7. Kano Computer Kit Complete Raspberry Pi Replacement: 手順 7、 2の画像 1 Kano Computer Kit Complete Raspberry Pi Replacement: 手順 7、 2の画像 2
    • Pop off the entire board from of the back of the screen.

    FixBotに聞いてみる
  8. Kano Computer Kit Complete Raspberry Pi Replacement: 手順 8、 1の画像 1
    • Remove the backing off the Raspberry Pi.

    FixBotに聞いてみる
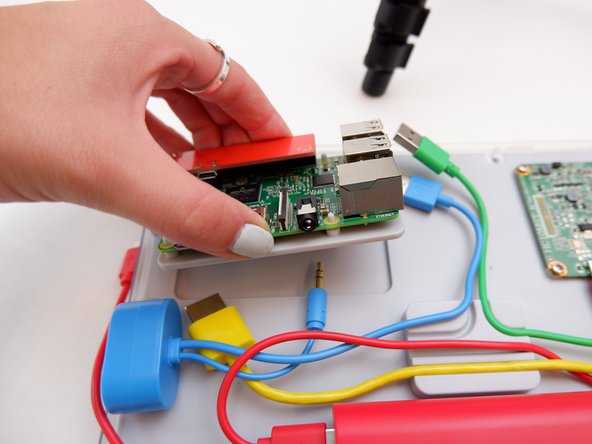
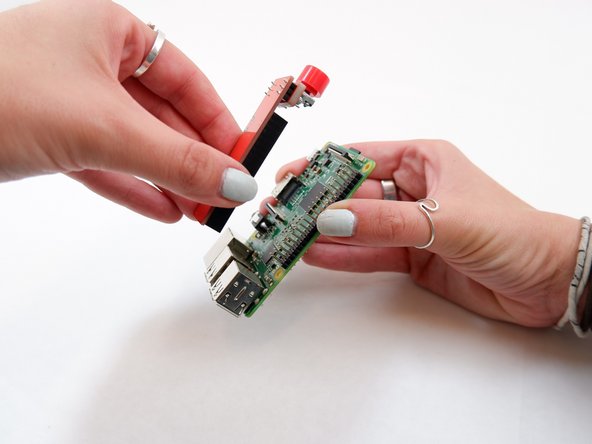
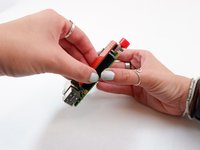
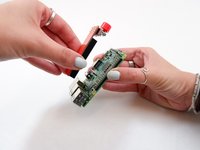
  9. Kano Computer Kit Complete Raspberry Pi Replacement: 手順 9、 2の画像 1 Kano Computer Kit Complete Raspberry Pi Replacement: 手順 9、 2の画像 2
    • Remove the power button from the Raspberry Pi.

    FixBotに聞いてみる
終わりに

To reassemble your device, follow these instructions in reverse order with the new Raspberry Pi.

ある他の人がこのガイドを完成しました。

作成者

5人の作成者と共同で作成されました。

Julia Sherrill

メンバー登録日: 09/20/19

735 ポイント

5のガイドは作成済み

チーム

0件のガイドコメント

コメントを追加

統計データ:

過去 24時間: 0

過去 7 日: 15

過去 30 日: 73

今までの合計 1,850