はじめに
このガイドを参照して、お持ちのHuawei P9 Liteのディスプレイを交換しましょう。
必要な工具と部品
-
-
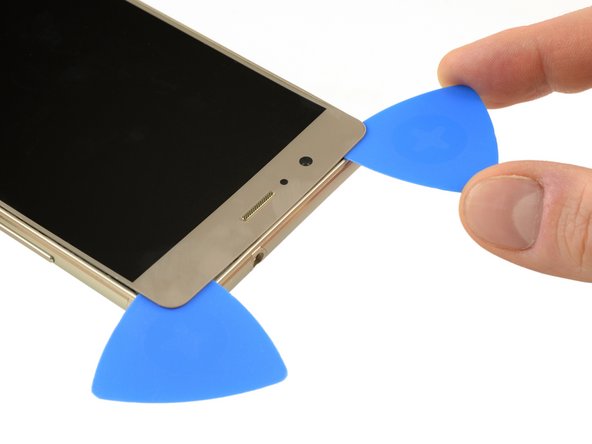
開口ピックを捻って、バックカバーを持ち上げ、接着剤から剥がします。
Most of the adhesive is around the fingerprint cell and on the battery itself. You can slowly pull the back cover from its side but make sure not to break it. Push the mediator or a longer piece of plastic under the back cover to slowly destroy the adhesive.
Slowly, slowly wins the day. Nicolas is right and comes off a charm. The most nerve wracking part of this longish repair.
-
-
-
バックカバーの接着剤が剥がれたら、手で完全に取り外せます。
Hi! Im so sad! At the begginig of the operation i ve broken the white seal/connector that in one side is connected to the board and the other side is "glued" to the battery. Can someone help me? how can i solve this?? There is no image displayed on the screen. but there is vibration, sound, notifications... can someone help me please???
What you broke is handling the NFC, and doesn’t have anything to do with the display. You probably damaged the ribbon right below the battery, since that’s what links the display to the motherboard.
Polaris -
Oups ! L’antenne NFC était solidement collée à l’intérieur de la coque et j’ai donc déchiré sa nappe en ouvrant la coque. Heureusement, je n’utilise pas les fonctions NFC et, à part cela, tout a l’air de fonctionner normalement.
-
-
-
スマートフォン底部に留められた次のネジを外します:
-
2.9mm #00プラスネジ 3本
-
3.8mm #00プラスネジ 4本
-
これで、ラウドスピーカーユニットを掴んで外せます。
-
-
-
メタル製シールドプレートに留められた#00プラスネジを9本外します。
Qu’est ce qu’un “indicateur d’eau”?
Une petite pastille qui change de couleur au contact de l’eau. Les fabricants s’en servent pour nullifier la garantie : si ta pastille indique que de l’eau s’est infiltré, tu devra payer ta réparation.
Polaris -
Are all the screws the same size ?
yes they are
Adam M -
-
-
-
-
スパッジャーを使って、マザーボードから指紋センサーの接続を外します。
-
メタル製プレートからNFCアンテナケーブルを剥がします。
can we just remove NFC antenna and dont want to install int back?
Note there are two plastic tabs at the top of the shield plate. Unlock them with a mediator, the plate will come easily after that.
Buongiorno,
va sostituita l'intera piastra metallica contenente il sensore impronte e la fotocamera, oppure il sensore é estraibile dalla piastra?
Grazie
LUIGI
Yes, it is possible to remove just the fingerprint sensor from the motherboard shield. Remove the small metal plate on the inside of the shield covering the sensor and push the fingerprint sensor through from the other side.
-
-
-
図で示されている箇所のバッテリーの下にスパッジャーをスライドし、ゆっくりと持ち上げてバッテリーを外します。
-
スマートフォンを再度組み立てる際は、古い接着剤を両面テープやプレカットされた接着ストリップに交換してください。
Bonjour ! Alors deux options sont possibles :
1) la batterie était complètement vide et cela prend du temps avant que le téléphone s’allume et affiche que la batterie est en train de charger.
2) vérifiez que les connexions des nappes à l’intérieur, surtout celle de cette étape. Cette nappe relie en effet le circuit inférieur au supérieur, fait donc le lien entre la batterie et le port de recharge.
Bonne chance !
Claire (iFixit EU)
Super !
J’ai réussi. Le plus pénible sont les différents endroits collés.
Particulièrement sous la batterie… et l’antenne NFC ! Qu’on ne peut pas recoller ! (jai mis du scotch, j’espère que ça ira…)
A priori, le sèche-cheveux aide un peu pour ramollir la colle sous la batterie.
J’ai pu aussi enlever de la colle en soulevant l’autre côté (doucement). Prendre son temps est essentiel ^^
Par contre pas remis de l’adhésif dessous comme indiqué.
The battery i removed yesterday had way more adhesive on the under side than in the above pic. I ended up having to get the old battery fairly warm before the adhesive would release. A tip if you are doing this is to use an old credit card cut in to narrow strips and insert them in to the gap where the adhesive release. That way the battery shouldn’t re-stick before you remove it.
-
-
-
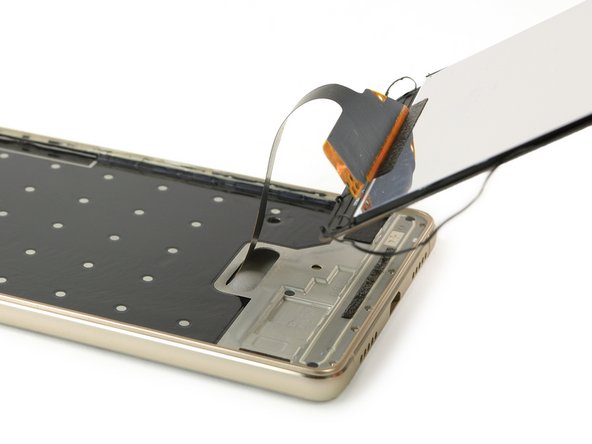
スパッジャーの平面側先端を使って、ディスプレイフレックスケーブルの接続を外します。
-
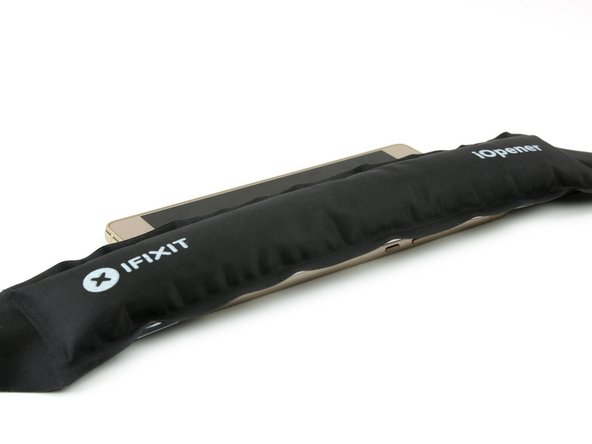
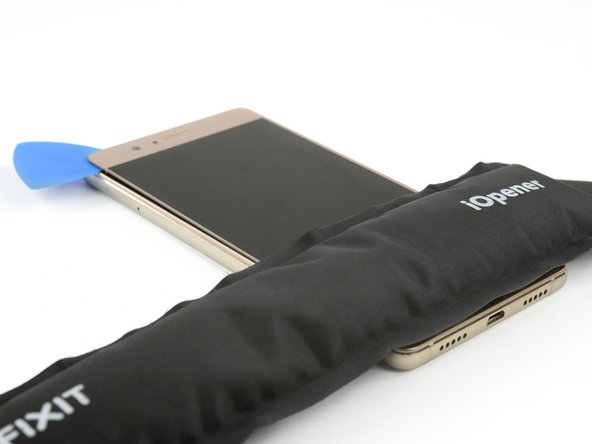
スマートフォンを裏返し、iOpenerを使って、ディスプレイ端に留められた接着剤をほぐします。
-
-
-
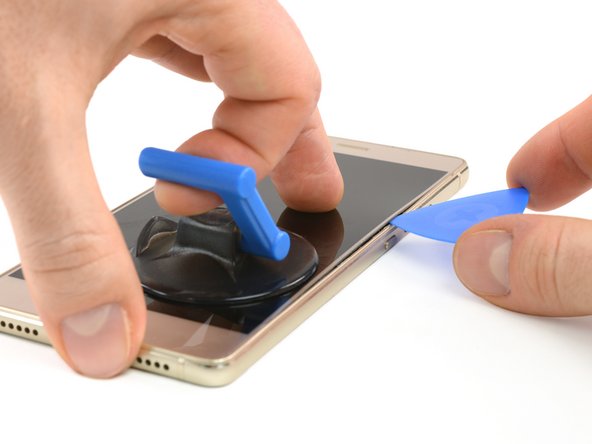
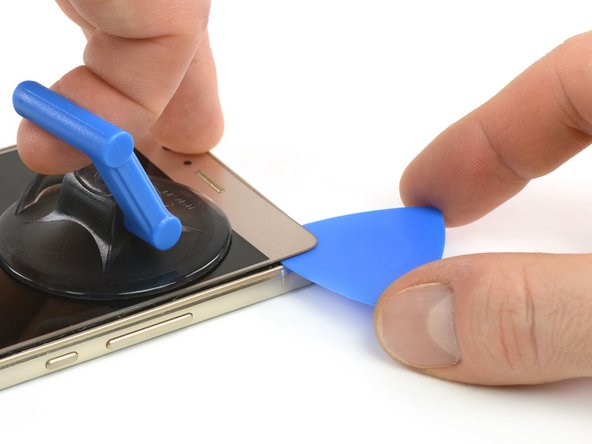
ディスプレイ周辺を作業する際は、吸盤ハンドルを使って、ディスプレイ上部を持ち上げてフレームから外します。
-
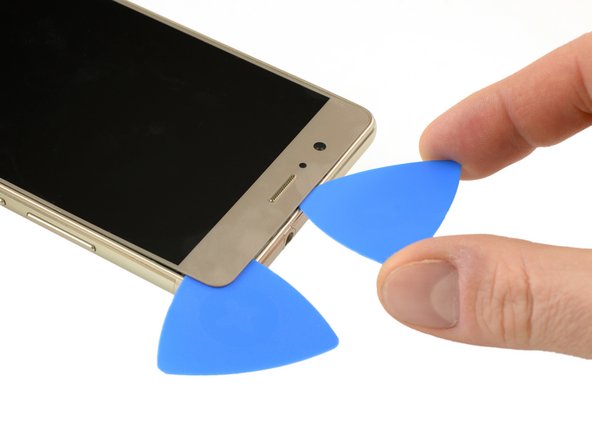
ディスプレイ下部をヒンジにして慎重に開いて、残りの接着剤を剥がします。
-
これで、ディスプレイフレックスケーブルが、フレームの隙間に通せます。
割れがある場合はかなり剥がしにくい。画面を温め、マイナスドライバーの極細で抉った所、フレーム周りの白い枠ごと剥がそうとしたたため枠が折れてしまった。ここは注意して欲しい。特に撮影レンズ付近は接着が強めにしてあるため最後に剥がすのが良いと思う。順番はサイド→下→上部がベストと感じた。はがした後にきづいたが、撮影レンズ裏、ディスプレイフレックスケーブル等の穴から押せばディスプレイが浮きやすいのではないかと感じた。
アドバイス、ありがとうございました!
-


デバイスを再度組み立てるには、この説明書の逆の順番で組み立ててください。
デバイスを再度組み立てるには、この説明書の逆の順番で組み立ててください。
26 の人々がこのガイドを完成させました。
以下の翻訳者の皆さんにお礼を申し上げます:
100%

これらの翻訳者の方々は世界を修理する私たちのサポートをしてくれています。 あなたも貢献してみませんか?
翻訳を始める ›

チーム

3 件のコメント
About release battery ... fishing braided line works better :) battery taken without any destruction.
Grazie a questa guida ho potuto sostituire batteria e schermo da me. Grazie!
Non si può sostituire solo il vetro? X forza anche lcd?
What could you use instead of an opening pick??
Alfredo - 返信
Like, could a guitar pick wor? Or anything else?
Alfredo - 返信
A guitar pick will also do.
Tobias Isakeit -
what can still be used besides guitar pick
Tarshia Thompson - 返信
I had a hard time to open the back cover by opening pick. Then I used little, really little knife at first, and I continue to opening back cover using opening pick.
Andy B - 返信
Heating up aroud the finger sensor to loosen the square adhesive tape ..
Hishamchohan - 返信
If you do not have any picks, You can also adapt an old credit or utility card by cutting it in to thirds. Then with some fine emery or sand paper, rub a sharp point on the one edge of the card. This will help you get access to the clips that hold the rear cover on. The one i did yesterday had quite a lot of adhesive around the edge & around the finger print sensor. Another tip with an old credit card is to cut it in to narrow strips to insert in to where you have separated the cover from the frame to stop it getting stuck to the adhesive again.
gazza667 - 返信