はじめに
prereq daughterboard replacement
必要な工具と部品
-
-
Before you begin, switch off your phone.
-
Apply a heated iOpener to the back of the phone to loosen the adhesive beneath the back cover. Apply the iOpener for at least two minutes.
-
-
-
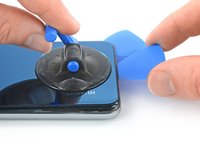
Secure a suction handle to the bottom of the back cover, as close to the edge as possible.
-
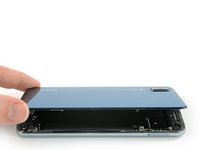
Lift the back cover with the suction handle to create a small gap between the cover and the frame.
-
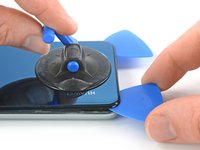
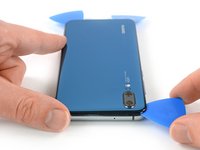
Insert an opening pick into the gap.
-
If you have trouble, apply more heat to further soften the adhesive. Follow the iOpener instructions to avoid overheating.
-
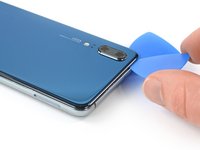
Slide the opening pick to the bottom right corner.
-
-
-
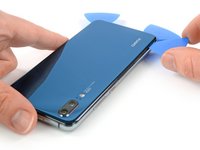
If the adhesive becomes hard to cut it most likely cooled down. Use your iOpener to reheat it.
-
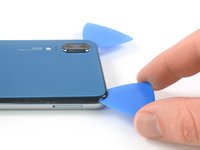
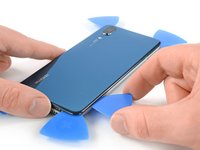
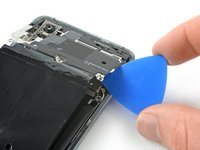
Insert a fourth opening pick under the top left corner of the back cover.
-
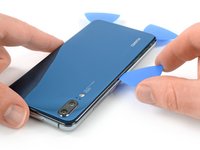
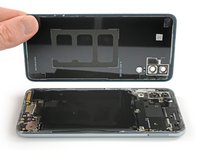
Slide the opening pick along the top edge of the phone to cut the adhesive.
-
Leave the opening pick in the top right corner to prevent the adhesive from resealing.
-
-
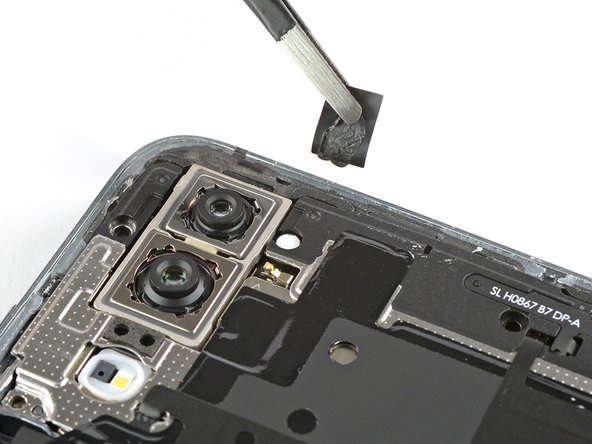
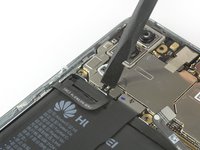
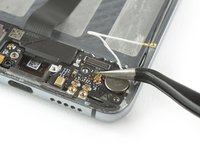
この手順で使用する道具:Tweezers$4.99
-
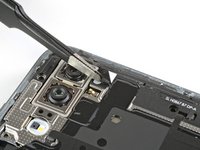
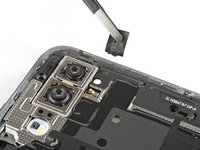
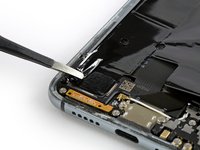
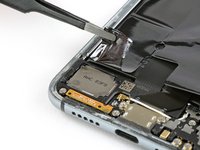
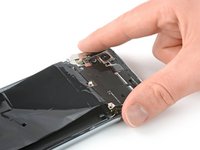
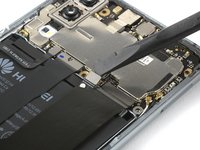
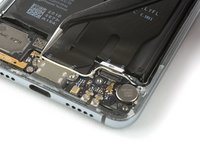
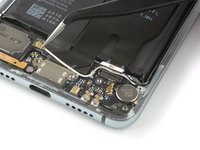
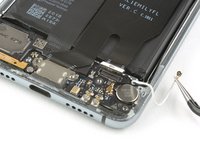
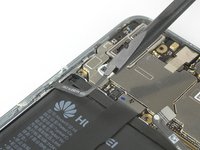
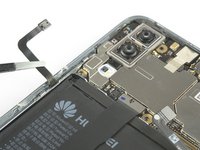
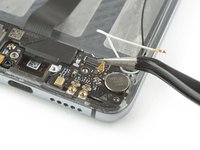
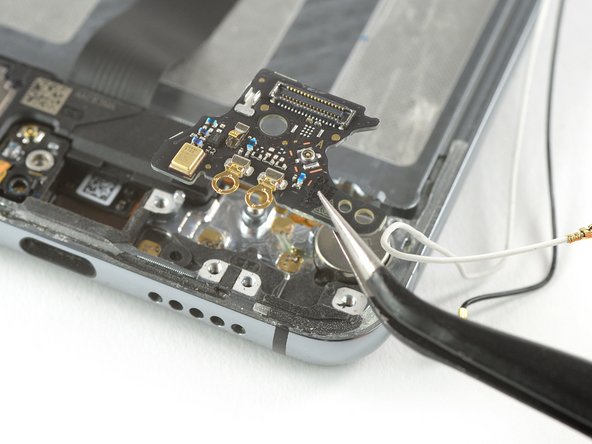
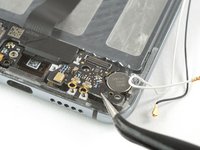
Use a pair of tweezers to peel the black tape next to the rear camera off the motherboard cover.
-
-
-
-
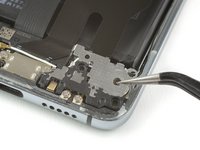
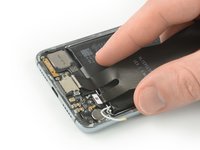
Apply a heated iOpener to the screen to loosen the adhesive beneath the battery. Apply the iOpener for at least two minutes.
-
-
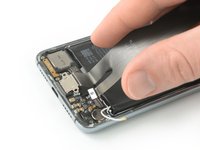
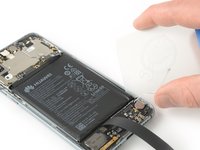
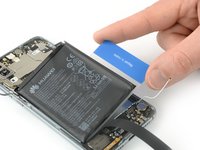
この手順で使用する道具:Plastic Cards$2.99
-
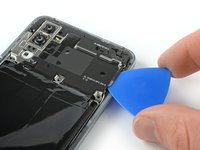
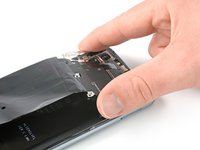
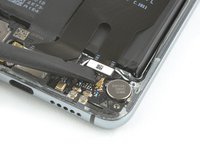
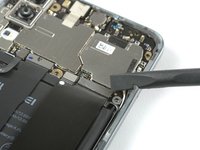
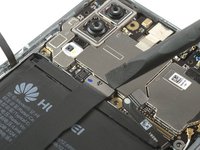
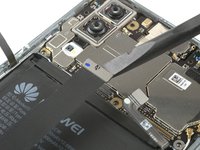
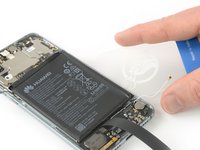
Start to slide a plastic card under the bottom right corner of the battery to cut the adhesive.
-
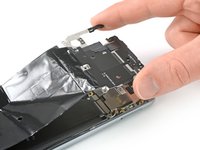
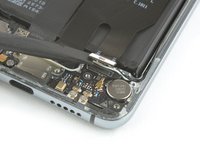
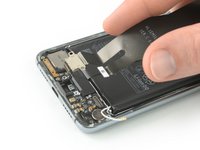
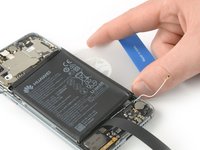
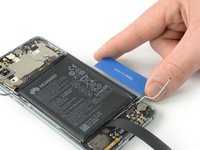
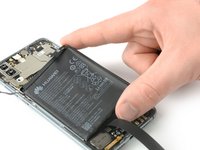
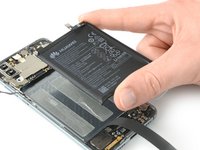
Slide the plastic card along the right side of the battery to further release the adhesive. Gently start to pry up the battery while doing so.
-


To reassemble your device, follow these instructions in reverse order.
To reassemble your device, follow these instructions in reverse order.

