はじめに
Use this guide to replace the display adhesive in your Apple Watch and reseal it.
This is a general resealing guide based on an Apple Watch Series 6 44 mm. The resealing procedure for the Apple Watch Series 5 and newer models is more or less the same, despite slightly different inner workings.
You’ll need replacement adhesive to reattach the display when reassembling the device.
必要な工具と部品
-
この手順で使用する道具:Adhesive Cleanup Kit (Set of 12)$7.99
-
Apply a little bit of isopropyl alcohol (>90%) to a cotton swab, or Q-tip (or use a cleaning pad) and gently remove the old adhesive on top of the watch frame.
 FixBotに聞いてみる
-
-
-
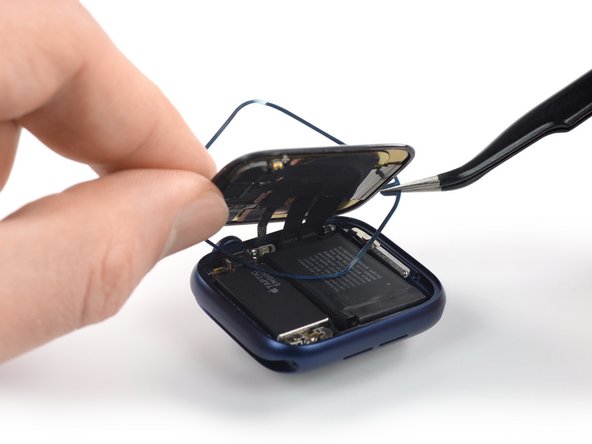
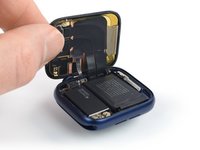
Flip the Apple Watch upside down so the display lays flat and lift the watch body.
-
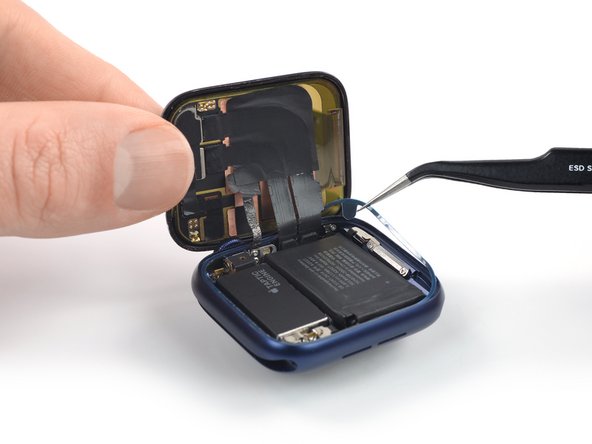
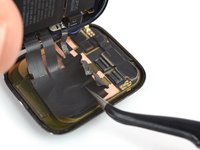
Gently remove the old adhesive on the rear side of the display.
-
-
この手順で使用する道具:Tweezers$4.99
-
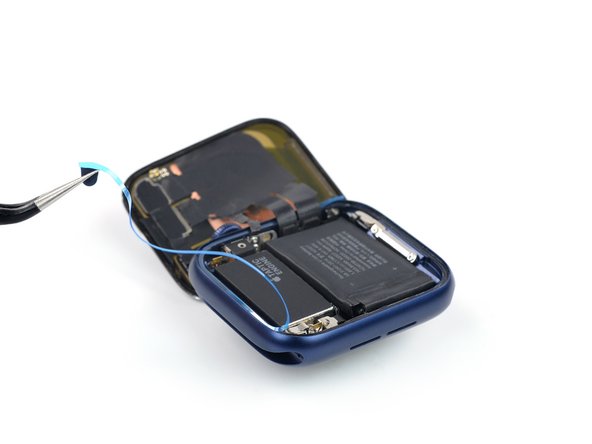
Use a pair of tweezers to carefully remove the replacement adhesive (including the blue protective film) from the backing paper.
-
-
-
Hold the replacement adhesive diagonally and thread it over the display.
-
Slightly tilt the display forward to align the adhesive with the frame.
-
Position the replacement adhesive on the watch frame, where the old adhesive was located.
-
-
-
この手順で使用する道具:Adhesive Cleanup Kit (Set of 12)$7.99
-
Apply a little bit of isopropyl alcohol (>90%) to a cotton swab, or Q-tip (or use a cleaning pad) and gently remove the old adhesive on top of the watch frame.
-
-
-
Gently remove the old adhesive on the rear side of the display.
-
-
-
Use a pair of tweezers to carefully remove the replacement adhesive (including the blue protective film) from the backing paper.
-
-
-
Hold the replacement adhesive diagonally and thread it over the display cables.
-
Slightly tilt the display cables forward to align the adhesive with the frame.
-
Position the replacement adhesive on the watch frame, where the old adhesive was located.
-
-
-
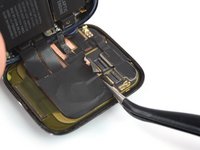
Lay your display flat on your working surface.
-
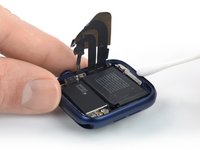
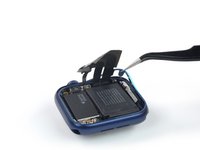
Hold the watch body in an upright position and grab the display cables with a pair of tweezers.
-
Align the display cables parallel to the ZIF connectors and push them in.
-
-
-
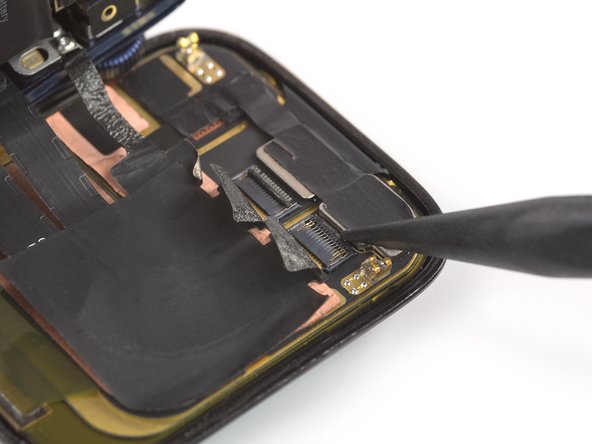
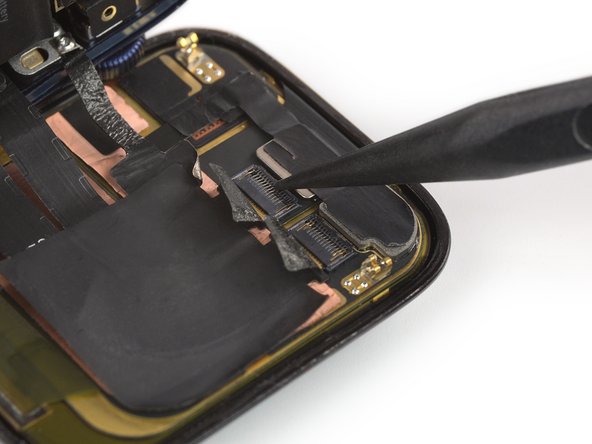
Use the pointed end of a spudger and fold down the black flaps on top of the ZIF connectors to secure the cables.
-
-
-
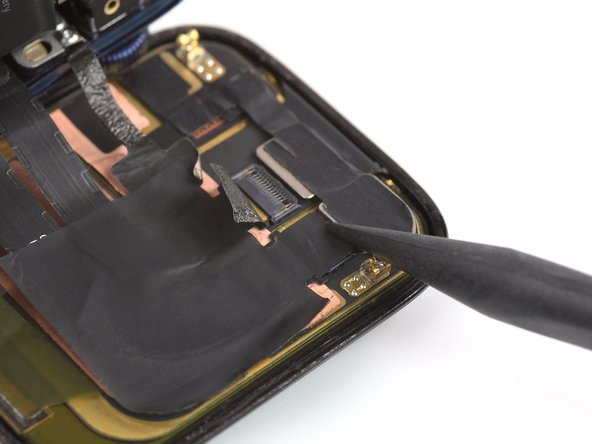
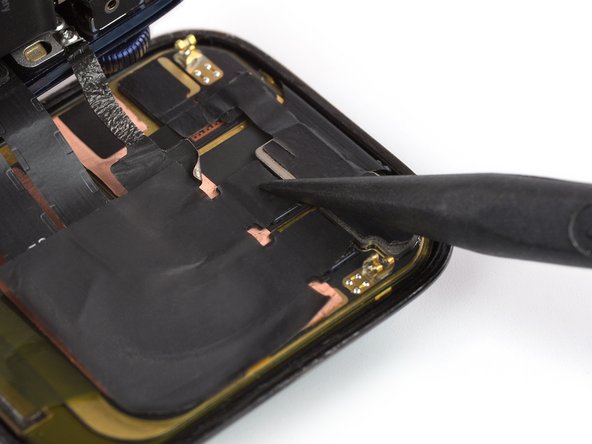
Carefully adhere the old heat dissipation stickers to the ZIF connectors on the rear side of the display or apply new heat dissipation stickers where the old ones were located.
-
-
-
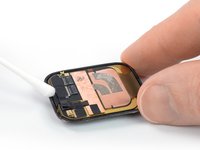
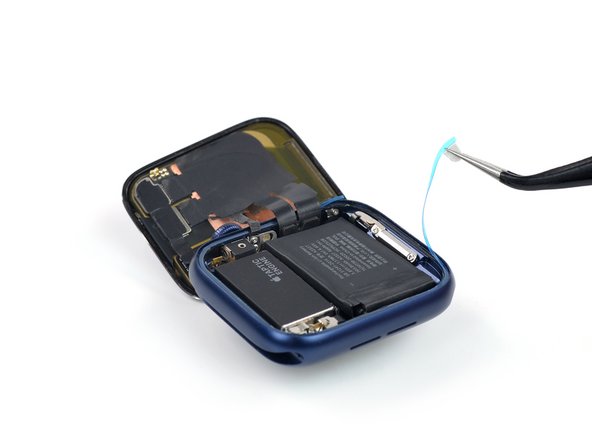
Use tweezers and a pair of scissors to lift and cut a corner of the protective film.
-
Remove the film from the display adhesive.
-
-
-
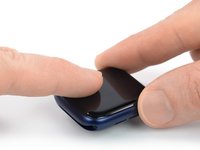
Align the screen and press it down firmly onto the adhesive.
-


Take your e-waste to an R2 or e-Stewards certified recycler.
Repair didn’t go as planned? Try some basic troubleshooting, or ask our Answers community for help.
11 の人々がこのガイドを完成させました。

