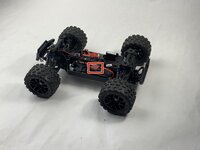
メインコンテンツにスキップ
リペアコミュニティに参加 - アカウントの作成

Haiboxing 18859 Motor Replacement

必要な工具と部品

  1. Haiboxing 18859 Motor Replacement, Battery: 手順 1、 3の画像 1 Haiboxing 18859 Motor Replacement, Battery: 手順 1、 3の画像 2 Haiboxing 18859 Motor Replacement, Battery: 手順 1、 3の画像 3
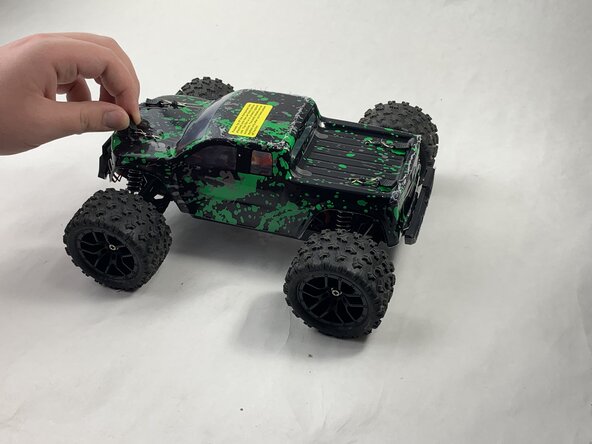
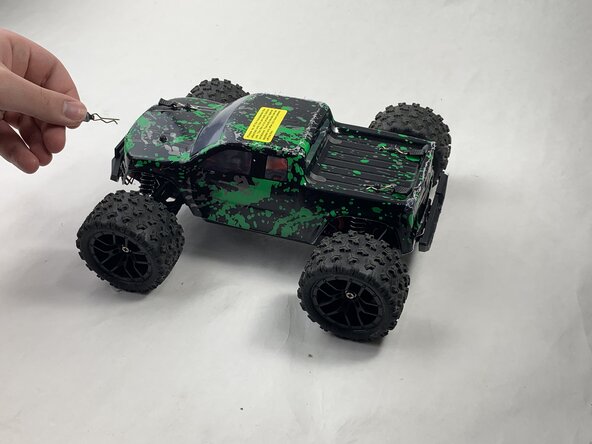
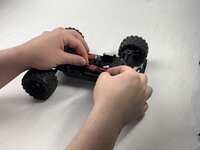
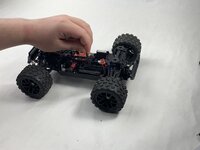
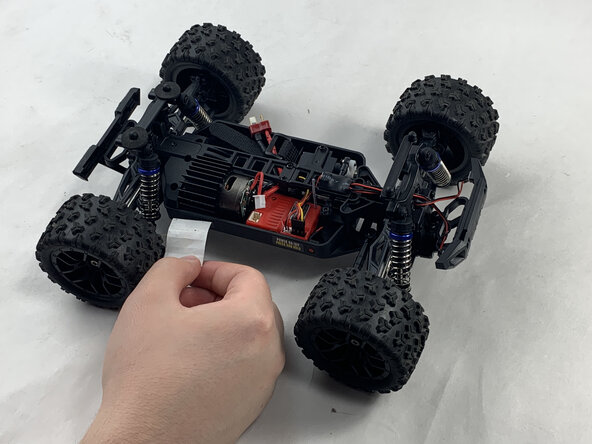
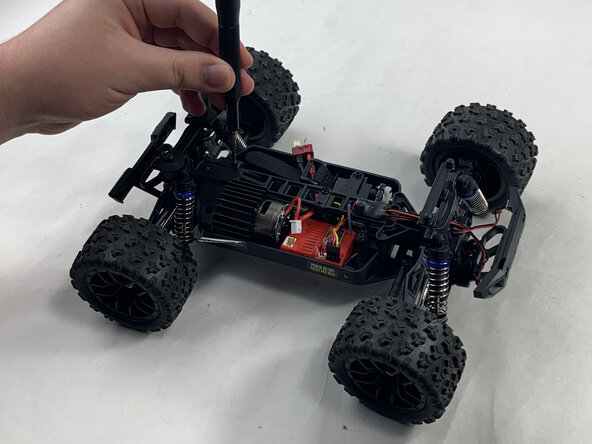
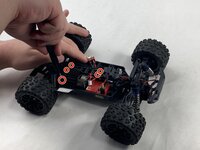
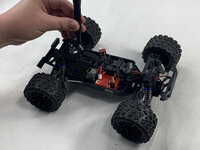
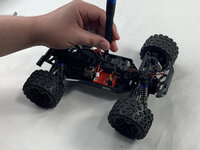
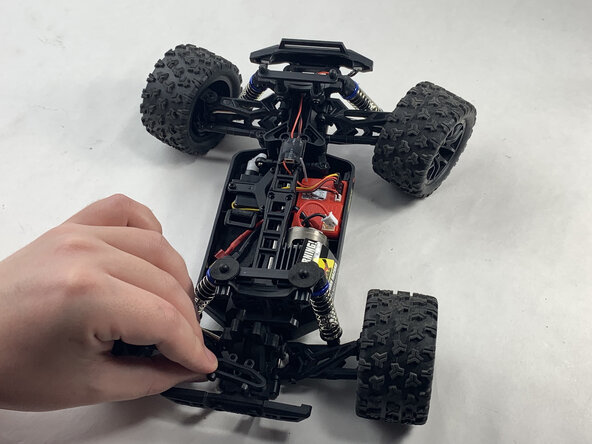
    • Remove the 4 clips holding down the hard plastic shell of the RC car. Do this by pinching them with your thumb and index finger and pulling away.

    FixBotに聞いてみる

    コメントを追加

  2. Haiboxing 18859 Motor Replacement: 手順 2、 1の画像 1
    • Lift the hard plastic shell off of the RC car.

    FixBotに聞いてみる

    コメントを追加

  3. Haiboxing 18859 Motor Replacement: 手順 3、 3の画像 1 Haiboxing 18859 Motor Replacement: 手順 3、 3の画像 2 Haiboxing 18859 Motor Replacement: 手順 3、 3の画像 3
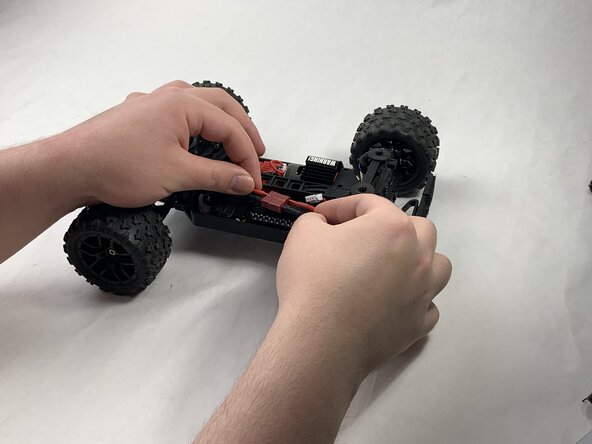
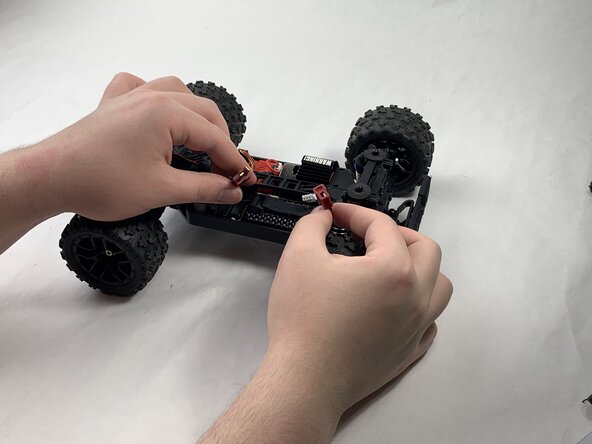
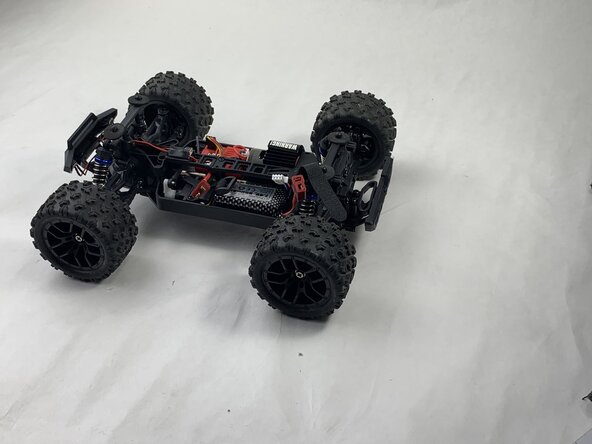
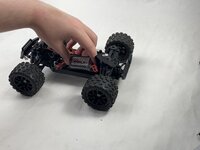
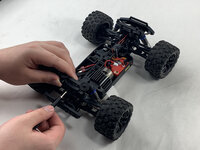
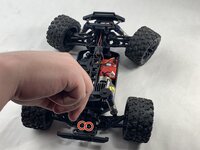
    • Disconnect the Lego-style battery connector by gripping either side and pulling them away from each other, slowly and consistently.

    FixBotに聞いてみる

    コメントを追加

  4. Haiboxing 18859 Motor Replacement: 手順 4、 3の画像 1 Haiboxing 18859 Motor Replacement: 手順 4、 3の画像 2 Haiboxing 18859 Motor Replacement: 手順 4、 3の画像 3
    • Unfasten the Velcro strap that secures the battery.

    FixBotに聞いてみる

    コメントを追加

  5. Haiboxing 18859 Motor Replacement: 手順 5、 2の画像 1 Haiboxing 18859 Motor Replacement: 手順 5、 2の画像 2
    • Remove the battery.

    FixBotに聞いてみる

    コメントを追加

  6. Haiboxing 18859 Motor Replacement, Motor: 手順 6、 1の画像 1
    • Unplug the motor from the receiver.

    FixBotに聞いてみる

    コメントを追加

  7. Haiboxing 18859 Motor Replacement: 手順 7、 1の画像 1
    • Peel back the warning tape covering the motor.

    FixBotに聞いてみる

    コメントを追加

  8. Haiboxing 18859 Motor Replacement: 手順 8、 3の画像 1 Haiboxing 18859 Motor Replacement: 手順 8、 3の画像 2 Haiboxing 18859 Motor Replacement: 手順 8、 3の画像 3
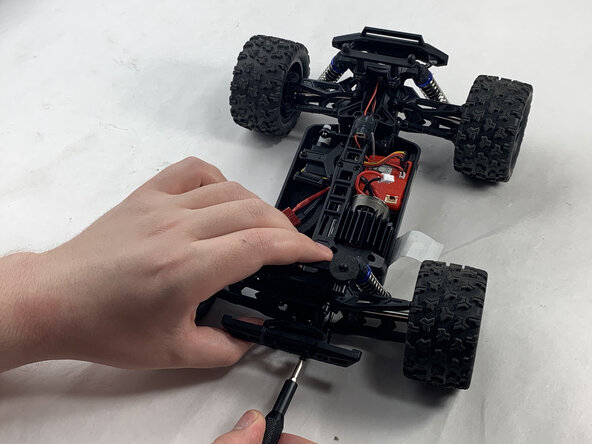
    • Unscrew the 10 mm Phillips #0 screws holding down the motor. This includes the shaft attached down the middle.

    • Place the mounting screws where you won't lose them, such as in a plastic bag or container.

    FixBotに聞いてみる

    コメントを追加

  9. Haiboxing 18859 Motor Replacement: 手順 9、 3の画像 1 Haiboxing 18859 Motor Replacement: 手順 9、 3の画像 2 Haiboxing 18859 Motor Replacement: 手順 9、 3の画像 3
    • Unscrew the 16 mm Phillips #1 screws at the rear of the Haiboxing.

    FixBotに聞いてみる

    コメントを追加

  10. Haiboxing 18859 Motor Replacement: 手順 10、 2の画像 1 Haiboxing 18859 Motor Replacement: 手順 10、 2の画像 2
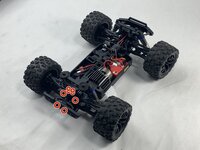
    • Remove the upwards facing rear-most 8 mm Phillips #1 screws.

    • Remove the trapezoid-shaped part.

    FixBotに聞いてみる

    コメントを追加

  11. Haiboxing 18859 Motor Replacement: 手順 11、 1の画像 1
    • Lift out the motor and the shaft it is attached to.

    FixBotに聞いてみる

    コメントを追加

  12. Haiboxing 18859 Motor Replacement: 手順 12、 1の画像 1
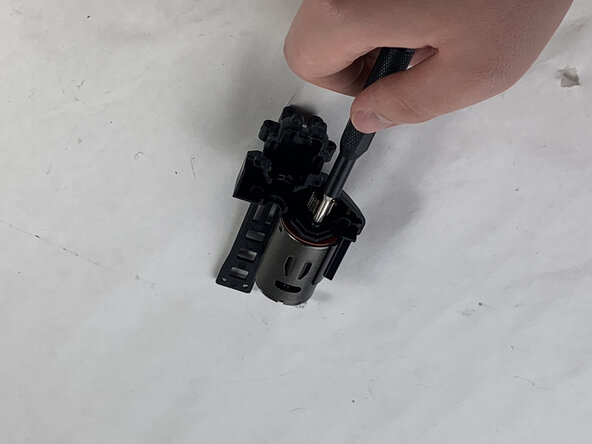
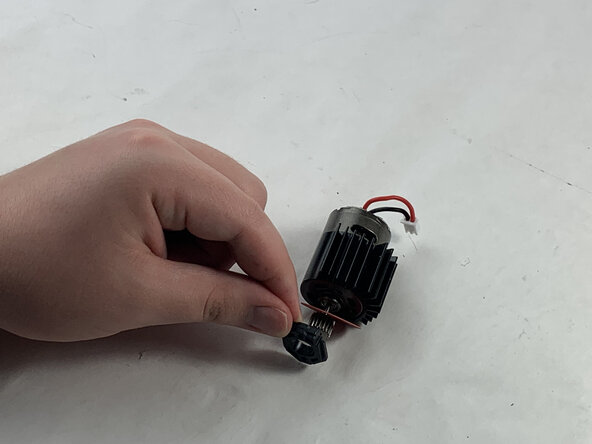
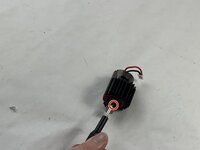
    • Remove the 6 mm Phillips #0 screw holding the motor to the black, plastic shaft.

    FixBotに聞いてみる

    コメントを追加

  13. Haiboxing 18859 Motor Replacement: 手順 13、 2の画像 1 Haiboxing 18859 Motor Replacement: 手順 13、 2の画像 2
    • Flip over.

    • Detach the shaft from motor.

    FixBotに聞いてみる

    コメントを追加

  14. Haiboxing 18859 Motor Replacement: 手順 14、 3の画像 1 Haiboxing 18859 Motor Replacement: 手順 14、 3の画像 2 Haiboxing 18859 Motor Replacement: 手順 14、 3の画像 3
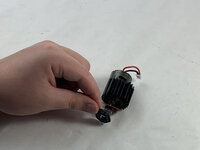
    • Remove the remaining 6 mm Phillips #0 screw holding black, plastic washer in place.

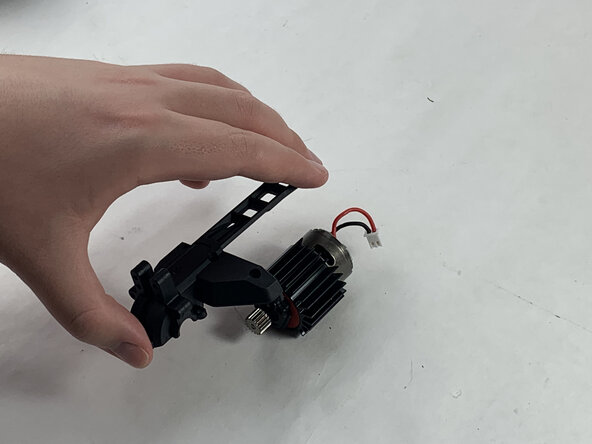
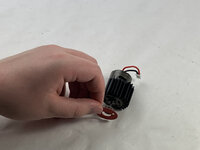
    • Remove the black, plastic washer.

    • Remove the red, paper washer.

    FixBotに聞いてみる

    コメントを追加

終わりに

To reassemble your device, follow the above steps in reverse order.
Take your e-waste to an R2 or e-Stewards certified recycler.
Repair didn’t go as planned? Try some basic troubleshooting or ask our Answers community for help.

キャンセル: このガイドを終了できませんでした。

作成者

3人の作成者と共同で作成されました。

Ty.

メンバー登録日: 03/21/25

219 ポイント

1ガイドが承認済み

チーム

UMass Dartmouth, Team 6-3, Botvin Spring 2025 UMass Dartmouth, Team 6-3, Botvin Spring 2025人のメンバー

UMASSD-BOTVIN-S25S6G3

3 メンバー

5のガイドは作成済み

0件のガイドコメント

コメントを追加

統計データ:

過去 24時間: 4

過去 7 日: 23

過去 30 日: 67

今までの合計 629