はじめに
Use this guide to replace the display assembly on your HTC One M8. This assembly includes the digitizer and the LCD panel.
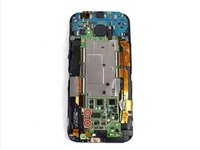
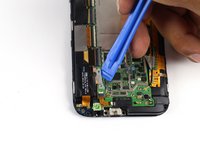
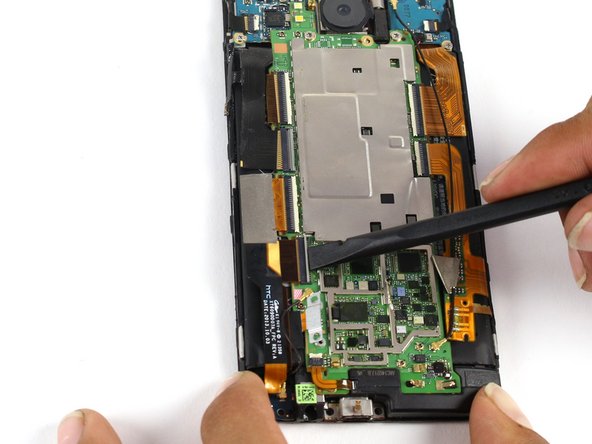
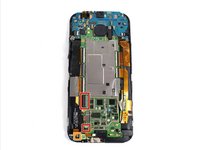
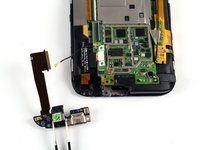
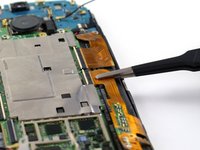
Please note that your device may have a large amount of copper shielding and tape covering the back of the display assembly, as shown here. If this is the case, you'll need to gently remove it to get at the motherboard.
必要な工具と部品
-
-
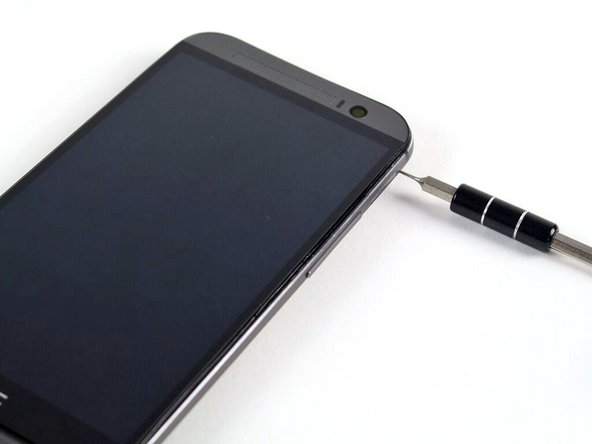
Insert a SIM card eject tool or a paperclip into the small hole in the SIM card tray, located on the upper left hand side of the phone.
-
Press to eject the tray.
 FixBotに聞いてみる
-
-
-
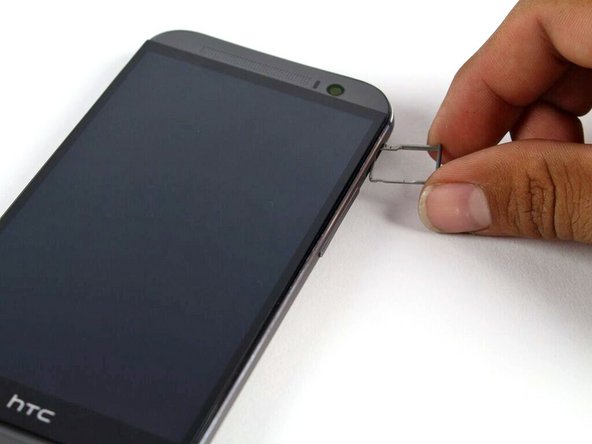
Insert a SIM card eject tool or a paperclip into the small hole in the microSD card tray, located on the upper right hand side of the phone.
-
Press to eject the tray.
-
-
-
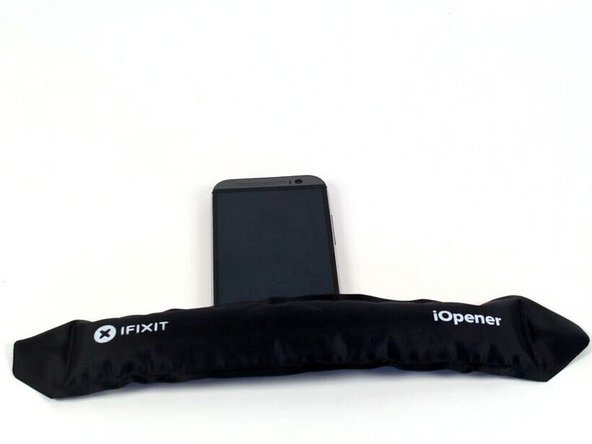
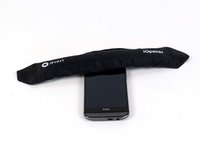
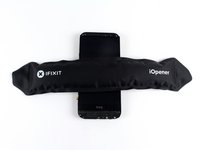
Use an iOpener or heat gun to loosen the adhesive on the upper and lower speaker grilles.
-
-
-
-
Remove the two silver 3 mm Phillips #00 screws from the top.
-
Remove the four black 4 mm T5 Torx screws from the bottom.
-
-
-
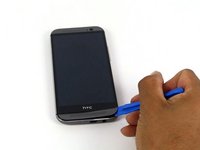
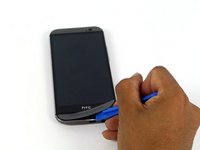
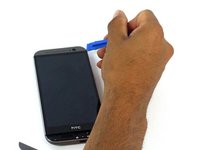
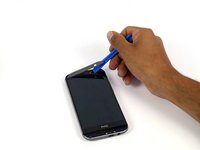
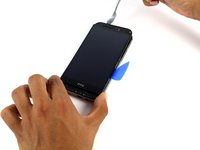
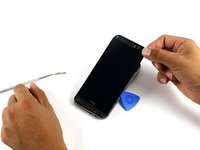
Work your way around the perimeter of the phone with a spudger and plastic opening picks to free the clips that secure the rear case to the display assembly.
-
-
-
Remove the two silver 2mm Phillips #00 screws securing the battery connector to the motherboard.
-
Use a plastic opening tool to gently pry up the battery connector.
-
-
この手順で使用する道具:Tweezers$4.99
-
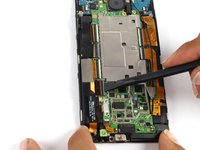
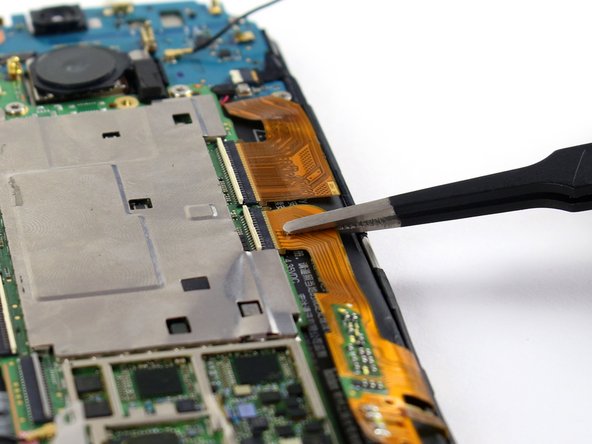
Use a spudger to disconnect the two ZIF connectors.
-
Use the flat end of a spudger to disconnect the black antenna cable.
-
Use a set of tweezers to pull the two ribbon cables free of the ZIF connectors.
-
-
-
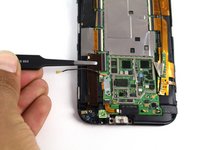
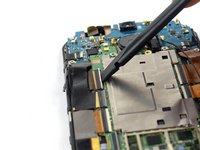
Remove the single silver 4mm T5 Torx screw securing the headphone jack/micro USB board.
-
Use a pair of tweezers or a plastic opening tool to gently pry the headphone jack/micro USB board up and out of the phone.
-
-
この手順で使用する道具:Tweezers$4.99
-
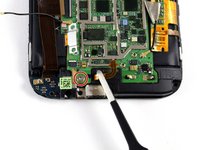
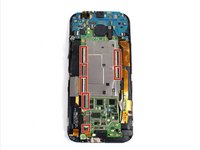
Use the tip of a spudger to disconnect the seven ZIF connectors.
-
Use a pair of tweezers to gently pull the seven ribbon cables free of the connectors.
-
-
-
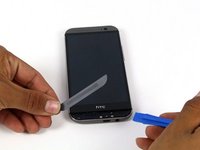
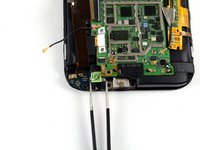
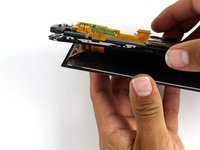
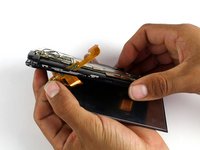
Use an iOpener to loosen the adhesive securing the display assembly to the rest of the device.
-
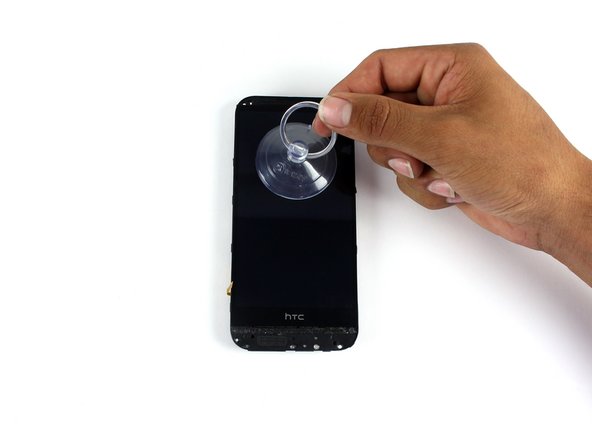
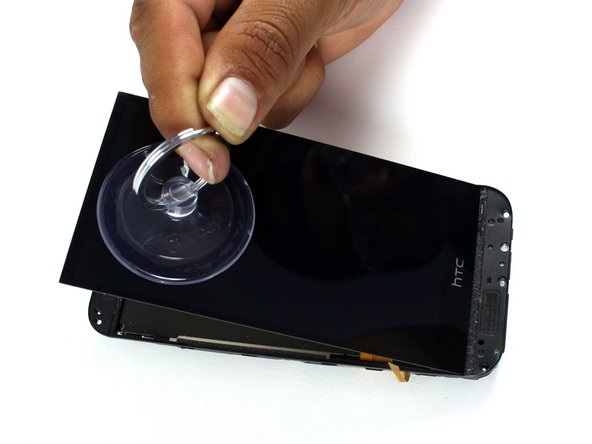
Use a suction cup to gently separate the display assembly from the rest of the device.
-
-
-
Carefully guide the display assembly ribbon cable through the midframe for removal.
-


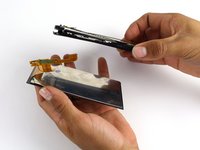
To reassemble your device, follow these instructions in reverse order.
70 の人々がこのガイドを完成させました。

チーム

Cal Poly, Team 5-9, Maness Spring 2015 Cal Poly, Team 5-9, Maness Spring 2015人のメンバー
CPSU-MANESS-S15S5G9
4 メンバー
30のガイドは作成済み
10件のガイドコメント
Be careful when reassembling:
Make sure the power button is put in the right way, it may look symmetrical but it's not! When put in the wrong way it does not work. Check if the shape of the button aligns with the edge of the casing, it's pretty easy to see if you pay attention to it.
Also keep an eye on the back camera. The round black cover glass may shift when trying to click the phone in its casing.
I ended up taking it apart at least 4 times because of this :(
Also, if you want to heat things up you can also use an incandescent light bulb and put your phone over it.
Jan de Vries - 返信 共有
position of the square block on the power button is a little bit left from the center (phone facing you with screen)
AG Draaijer - 返信 共有
don't follow step 13 in fact &&^& this guide listen to byrn
very helpful, thanks
Stuart Gilks - 返信 共有