はじめに
This guide goes over how to replace the controller's joystick on the circuit board.
If you are experiencing problems with the joystick, you will want to open up the device to fix the problem. A common solution associated with this problem is to take a small dry tissue or towel and clean the parts of the controller to ensure there is no debris limiting the joystick’s range of motion. If that doesn’t work, move the shaft underneath the joystick around to see how fluid it is. If the shaft is the problem, the joystick component will have to be replaced.
To complete this task you will need the indicated screwdriver and spudger. Note that you will need to solder to replace the joystick component which can be a potential danger.
必要な工具と部品
-
-
-
-
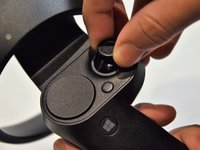
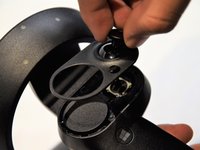
Grip the main body and pull the joystick outwards until the entire front panel pops off.
-
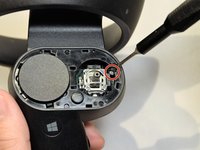
Remove the 6mm screw in the corner of the joystick well using a Phillips #00 screwdriver.
-
-
-
-
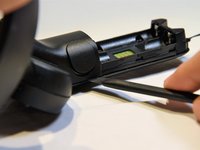
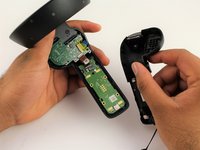
Use a spudger to pry apart the two halves of the assembly.
-
Work slowly, prying a small section at a time until the halves are completely separated.
-
-
-
-
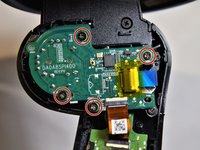
Using a Phillips #00 screwdriver, remove the four 4mm screws located on the joystick circuit board underneath the top half of the controller.
-
-
-
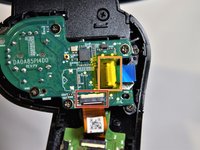
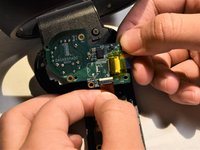
Remove the orange flat cable by pulling the orange tab parallel to the circuit board.
-
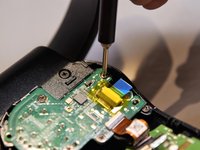
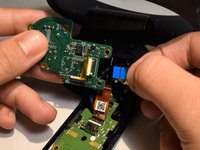
Release the blue flat cable by lifting up the white latch with a spudger.
-
-
-
-
-
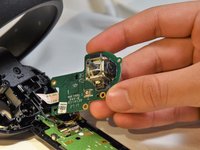
The joystick controller is soldered directly to the circuit board. You can find instructions for removing soldered components here.
-
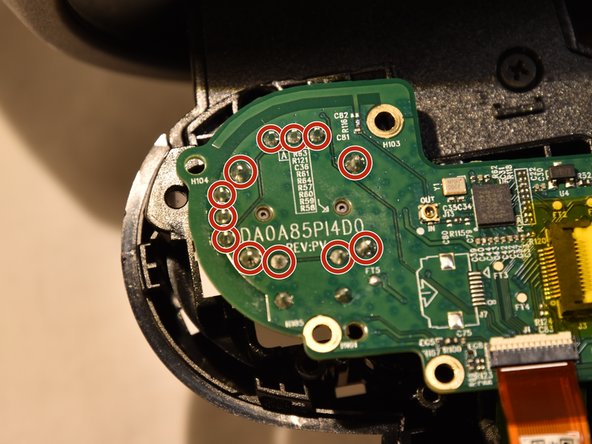
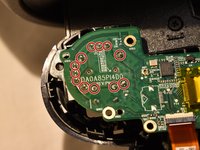
The joystick controller is secured by 12 solder connections. Once these have been desoldered, the controller can be removed.
-
-


 FixBotに聞いてみる









To reassemble your device, follow these instructions in reverse order.
3 の人々がこのガイドを完成させました。

チーム

Cal Poly, Team S18-G5, White Winter 2019 Cal Poly, Team S18-G5, White Winter 2019人のメンバー
CPSU-WHITE-W19S18G5
2 メンバー
20のガイドは作成済み
3件のガイドコメント
I think this might be the stick: https://www.mouser.com/ProductDetail/Alp...
Alps RKJXV 23 degree 10K ohm multi-directional switches
I haven’t soldered it yet so do not take my word as fact, it just looks right.
