はじめに
Use this guide to remove the triggers in your GuliKit KingKong 2 Pro controller.
必要な工具と部品
-
-
Use a Phillips #00 screwdriver to remove the four 11 mm-long screws securing the back cover.
-
-
-
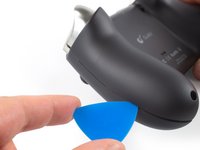
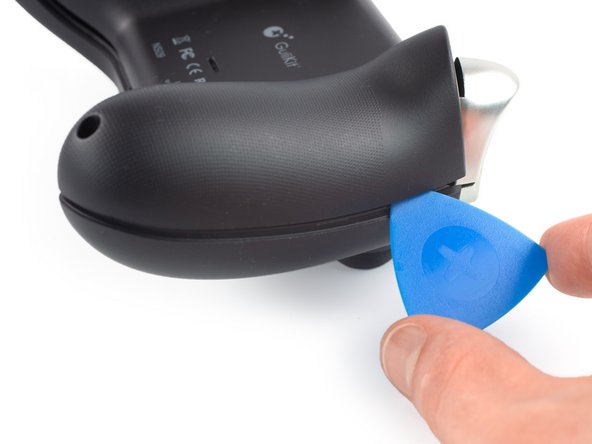
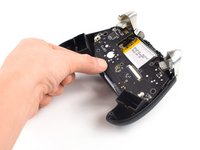
Insert an opening pick into the gap between the front assembly and the back cover at the bottom edge of the controller.
-
Tilt your opening pick downwards to widen the gap.
-
-
-
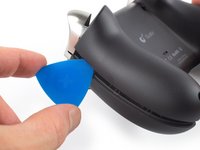
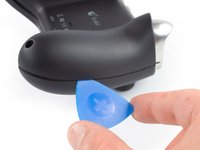
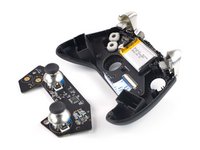
Insert an opening pick into the gap between the front assembly and the back cover at the outside of the right controller handle.
-
Slide the opening pick along the gap to separate the front assembly from the back cover.
-
-
この手順で使用する道具:Tweezers$4.99
-
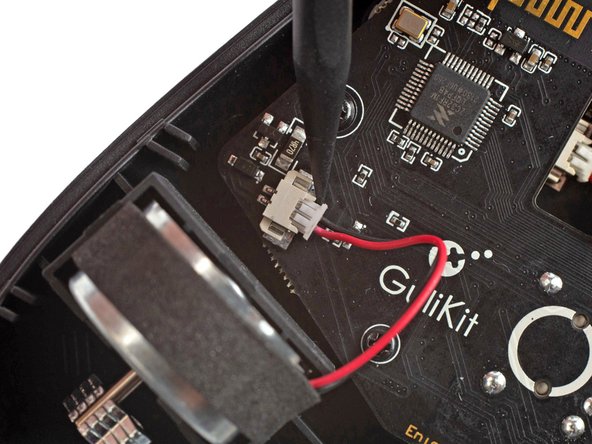
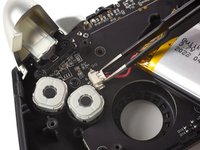
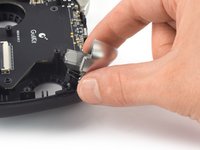
Use the point of a spudger to disconnect the right vibration motor by pushing the connector straight out of its socket.
-
-
-
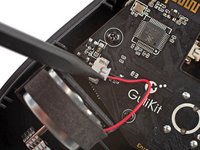
Use the point of a spudger to disconnect the left vibration motor by pushing the connector straight out of its socket.
-
-
-
-
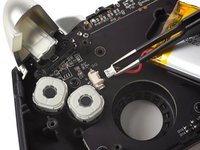
Remove the vibration motors by lifting them out of the controller housing.
-
-
-
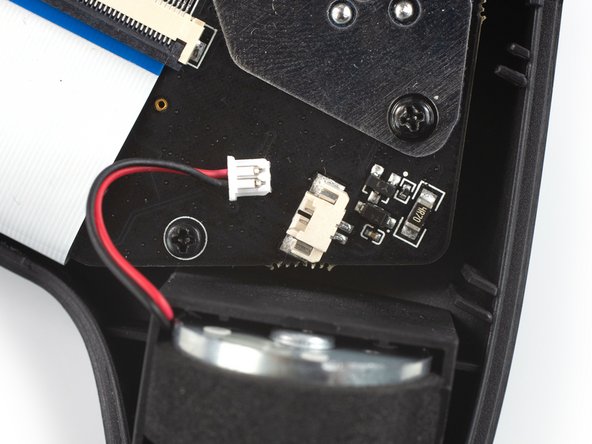
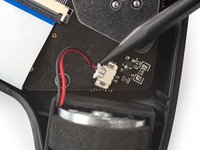
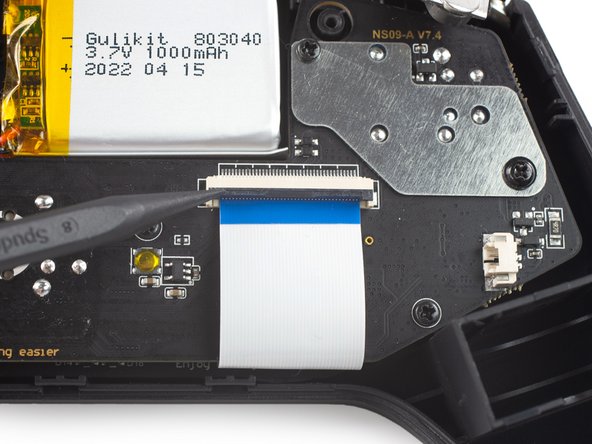
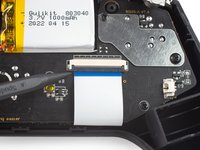
Use a spudger, an opening tool, or your fingernail to flip up the small, hinged locking flap on the interconnect cable's ZIF connector.
-
-
-
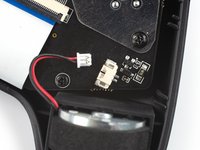
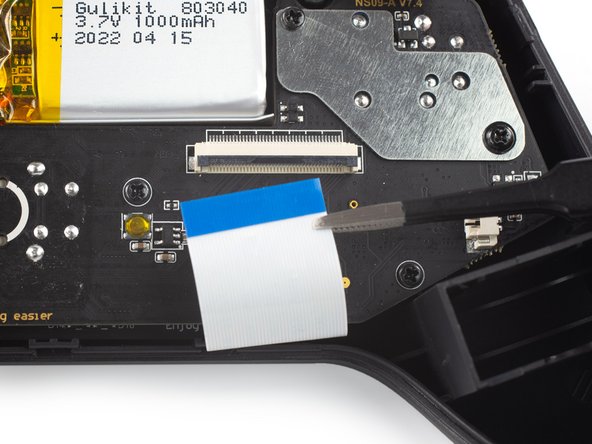
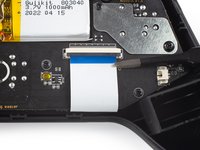
Use a pair of blunt nose tweezers to disconnect the interconnect cable by pulling the cable straight out of the connector.
-
-
-
Use a Phillips #00 screwdriver to remove the screws securing the mainboard assembly:
-
Four 7.8 mm-long screws.
-
Two 11 mm-long screws.
-
-
-
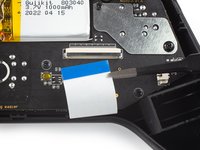
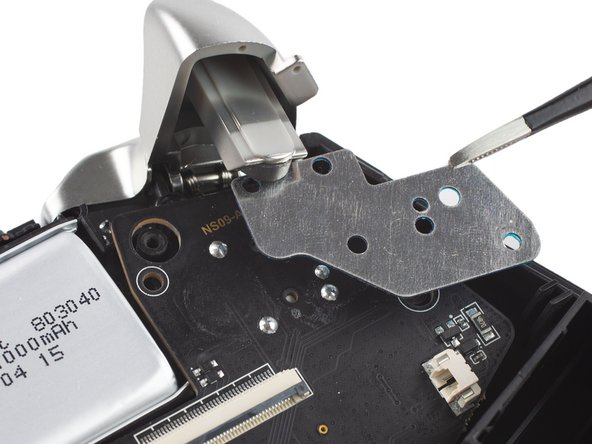
Use a pair of blunt nose tweezers to remove the metal shield from the mainboard assembly.
-
-
-
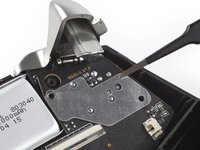
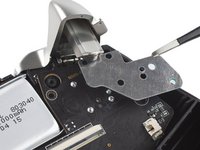
Remove the mainboard assembly by lifting it out of the controller housing.
-
-
-
Use a Phillips #00 screwdriver to remove the single 7.8 mm-long screw securing the battery frame.
-
-
-
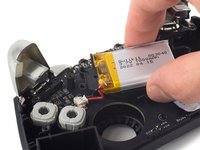
Free the battery frame by lifting it off the plastic pins holding it in place.
-
-
この手順で使用する道具:Tweezers$4.99
-
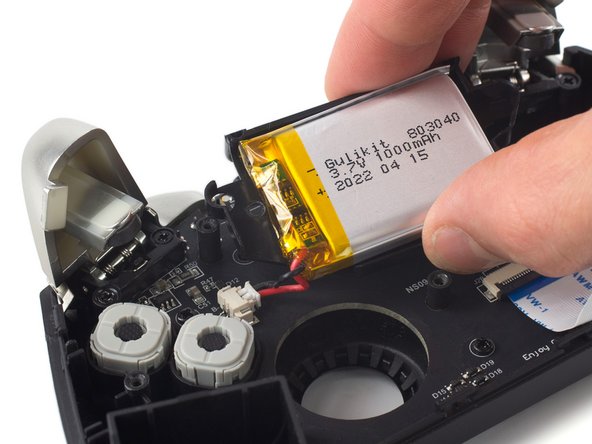
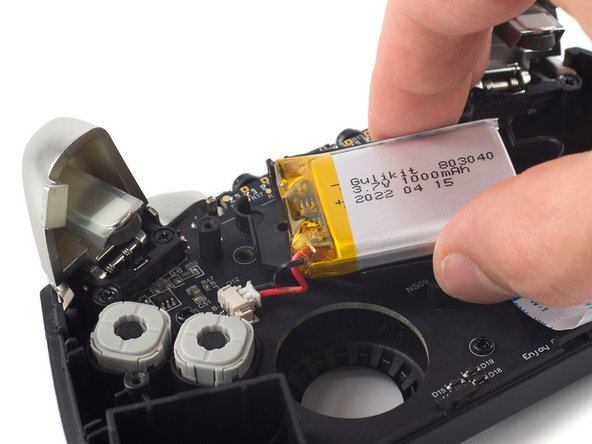
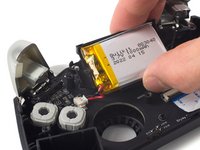
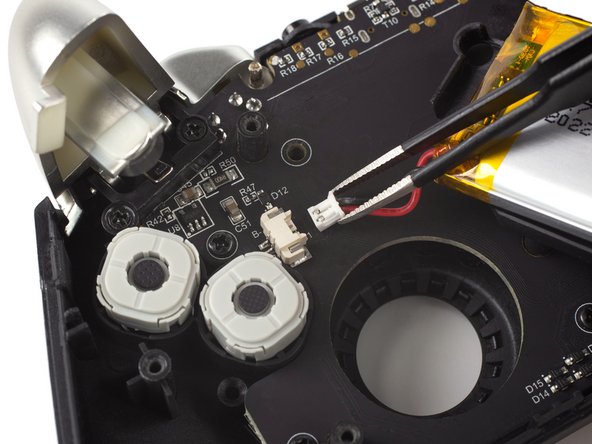
Use a pair of blunt nose tweezers to disconnect the battery connector by pulling it straight out of its socket.
-
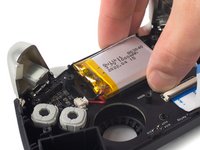
Remove the battery and its frame from the controller housing.
-
-
-
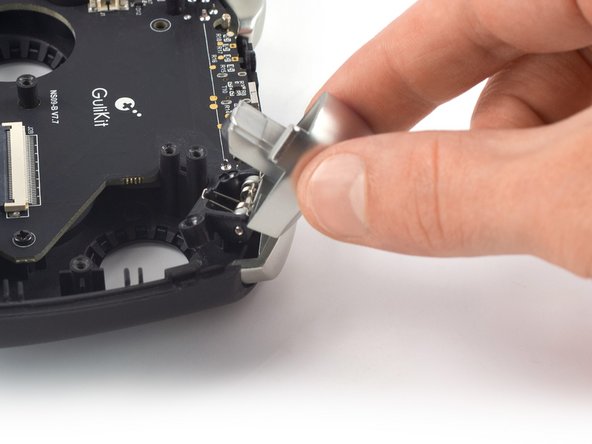
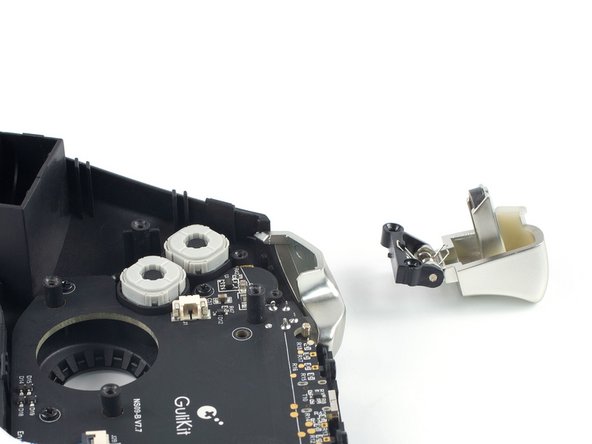
Use a Phillips #00 screwdriver to remove the four 7.8 mm-long screws securing the triggers.
-
-
-
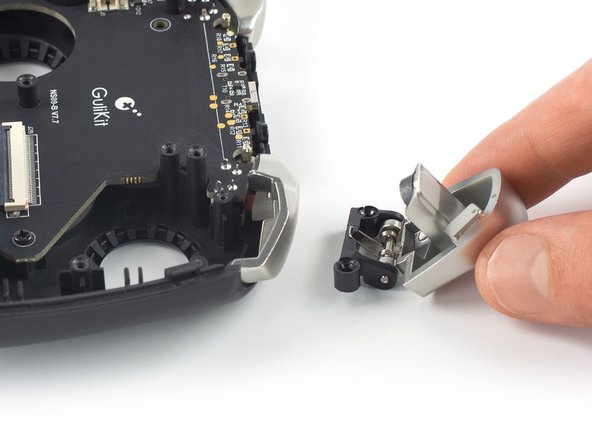
Use your fingers to lift the left trigger off its bracket.
-
Remove the left trigger.
-
-
-
Repeat the previous procedure and lift the right trigger off its bracket to remove it.
-


To reassemble your device, follow these instructions in reverse order.
Take your e-waste to an R2 or e-Stewards certified recycler.
Repair didn’t go as planned? Check out our Answers community for troubleshooting help.


10件のガイドコメント
Do you know where to buy a replacement zr trigger? The Black piece of Plastic,as in your last picture ,is broken on mine.
My Gulikit Kingkong 2 (non-pro) controller bought in Dec 2022 only uses PH01 screws. No PH00 ones. Otherwise this guide is very helpful for any disassembly you may want to do.
When replacing the triggers, you need to recalibrate the controller before the new trigger(s) will work. I followed I followed the instructions found here for recalibrating when updating the firmware.
"Just press the four buttons of L,R,left of D-pad and A at the same time to quickly calibrate the sticks ZR,ZL with a vibration to solve this issue"
Mate. You just show how to remove the triggers. How bout replacement ?????