-
-
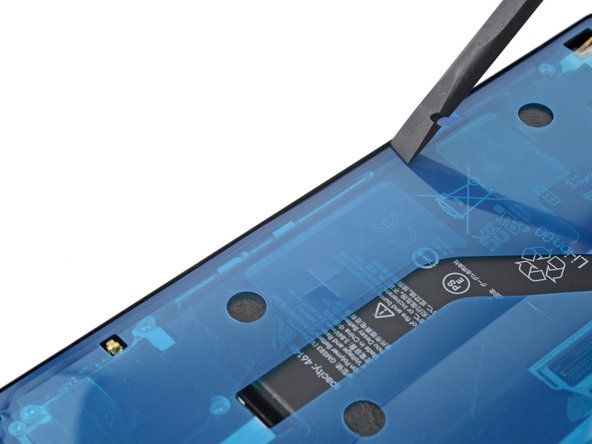
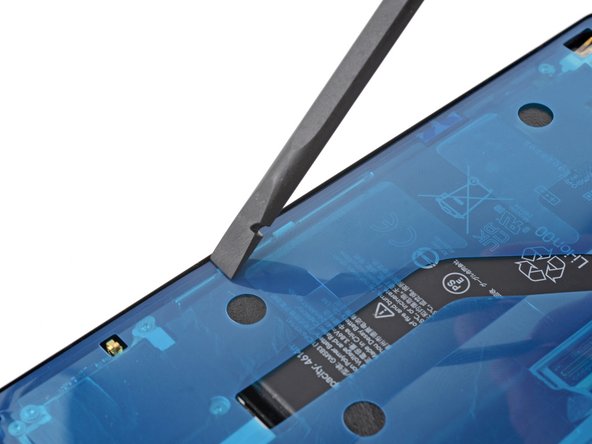
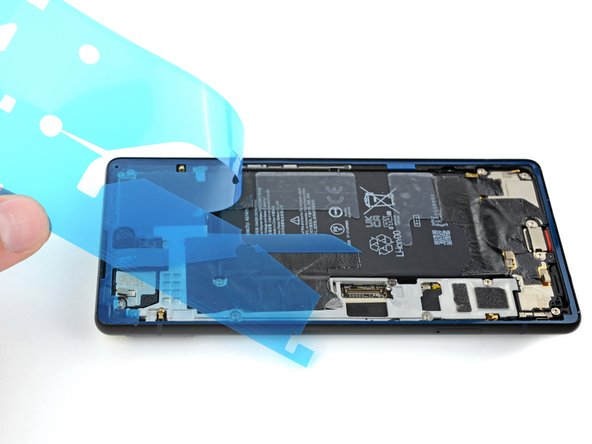
スパッジャーの平面側先端を使って、できる限り接着剤を削り取ります。
-
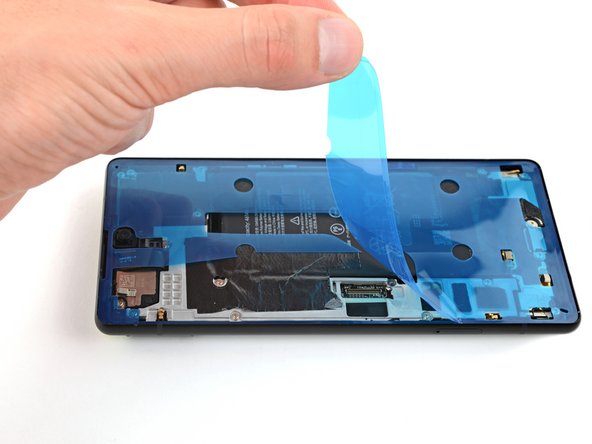
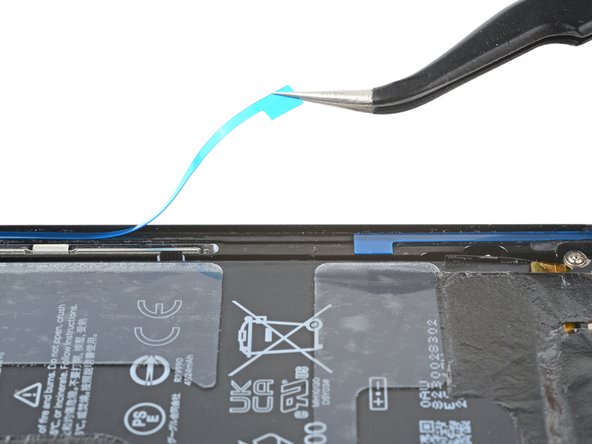
ピンセットもしくは指で、残りの接着剤を綺麗に除去します。
-
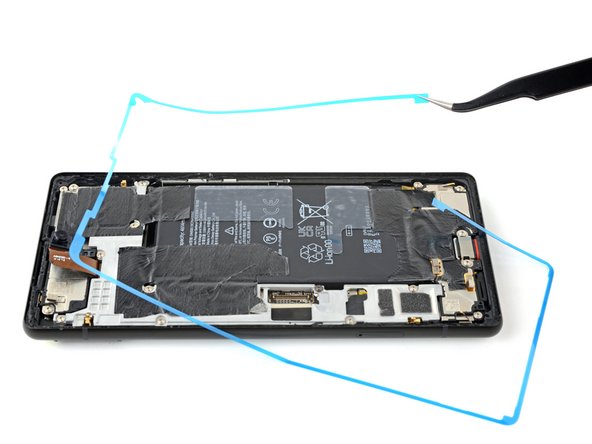
少量の高濃度イソプロピルアルコール(90%以上)と無塵布もしくはマイクロファイバークロスで、フレームの周囲をクリーニングします。
-
-
-
-
スクリーン用のバイスクランプがあれば、カメラバーの周囲を作業できます。クランプをデバイスの周囲に固定します。
-
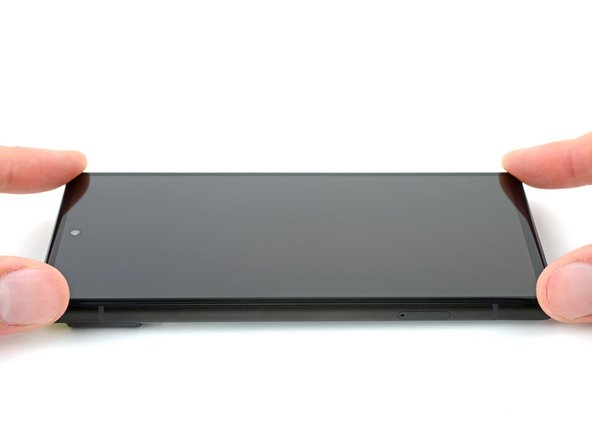
リアガラスの周囲にテープを貼り、フィニッシュを保護します。
-
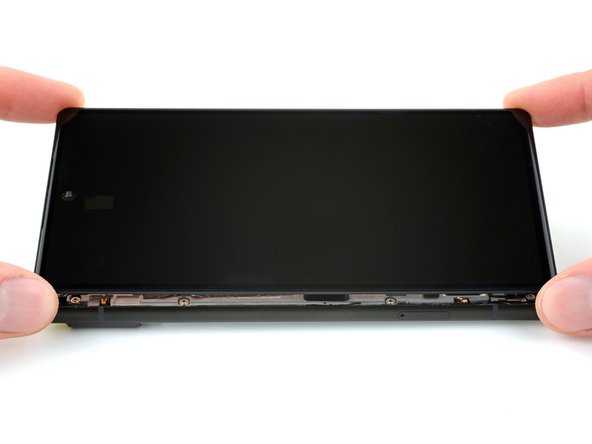
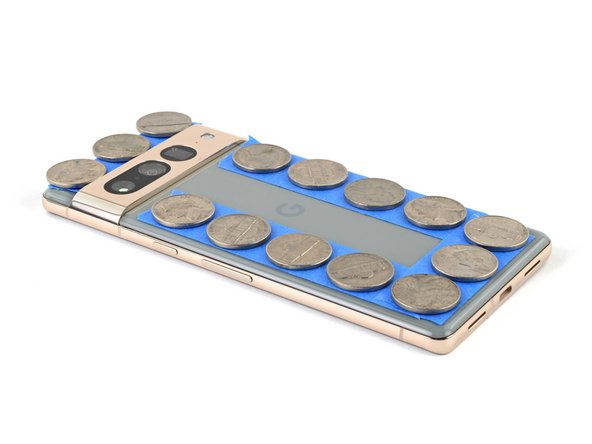
リアガラスの縁に沿ってコインまたは同様の厚さのものを置きます。カメラバーと同じかそれ以上の厚さにする。
-
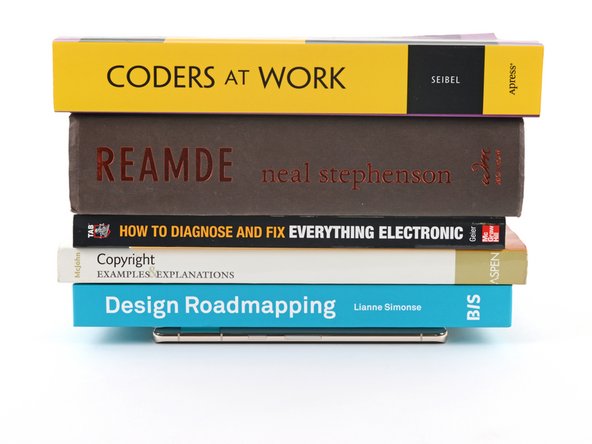
デバイスの上に本などの重さのあるものを複数冊重ね、30分以上そのままにしておきます。理想的には、一晩そのままにします。
-


66 の人々がこのガイドを完成させました。
以下の翻訳者の皆さんにお礼を申し上げます:
100%

これらの翻訳者の方々は世界を修理する私たちのサポートをしてくれています。 あなたも貢献してみませんか?
翻訳を始める ›


14 件のコメント
Clear and to the point guide, which worked perfectly from the first go, kudos!
Why not align the adhesive with the liner covers on?
-Remove the display side of the adhesive then attach display to phone. Then adhesive should be lined up on the display and you should only need to remove the phone body adhesive cover and press the phone and display together.
Hi Beau! This is a clever idea. We've taken this approach with some simpler adhesives before. While I can't say exactly why it wouldn't work, I can assume that applying the adhesive the screen-side-first will make it more difficult to visually check that the adhesive lined up properly on the screen. It doesn't seem impossible for any reason, though.
where is the guide for reassembly?
The exact guide depends on which phone you have. Click here for the list of Google Pixel 6 guides, pick the guide you were working on, and find where you left off!