メインコンテンツにスキップ
リペアコミュニティに参加 - アカウントの作成

Garmin inReach Explorer Plus Antenna Replacement

必要な工具と部品

  1. Garmin inReach Explorer Plus Antenna Replacement, Battery: 手順 1、 1の画像 1
    • Using the TR6 Torx Security screwdriver, remove six 10 mm screws from the back cover of the device.

    FixBotに聞いてみる
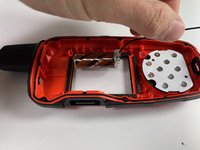
  2. Garmin inReach Explorer Plus Antenna Replacement: 手順 2、 1の画像 1
    • Remove the back cover.

    FixBotに聞いてみる
  3. Garmin inReach Explorer Plus Antenna Replacement: 手順 3、 2の画像 1 Garmin inReach Explorer Plus Antenna Replacement: 手順 3、 2の画像 2
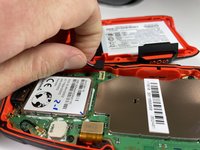
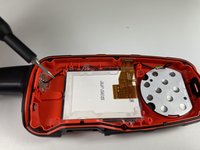
    • Gently grasp the battery wire and disconnect it from the device.

    • Remove the battery from the device.

    FixBotに聞いてみる
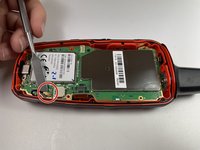
  4. Garmin inReach Explorer Plus Antenna Replacement, Motherboard: 手順 4、 2の画像 1 Garmin inReach Explorer Plus Antenna Replacement, Motherboard: 手順 4、 2の画像 2
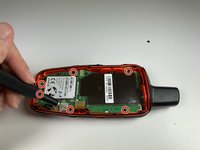
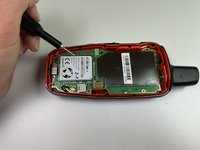
    • Using the T5 Torx screwdriver, remove the six 6 mm screws from the motherboard.

    FixBotに聞いてみる
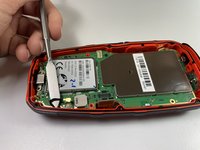
  5. Garmin inReach Explorer Plus Antenna Replacement: 手順 5、 2の画像 1 Garmin inReach Explorer Plus Antenna Replacement: 手順 5、 2の画像 2
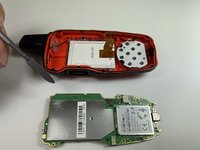
    • Disconnect the LCD screen from the motherboard by lifting on the flap with the nylon spudger.

    • The metal spudger should only be used for serious prying power. If used incorrectly, the metal spudger may damage the components of a device.

    FixBotに聞いてみる
  6. Garmin inReach Explorer Plus Antenna Replacement: 手順 6、 2の画像 1 Garmin inReach Explorer Plus Antenna Replacement: 手順 6、 2の画像 2
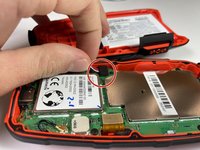
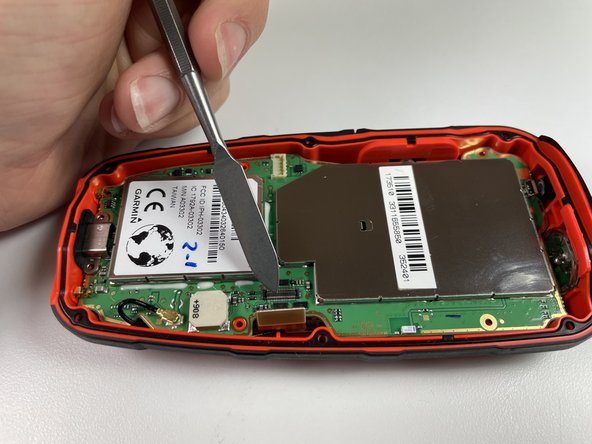
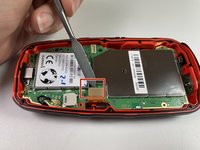
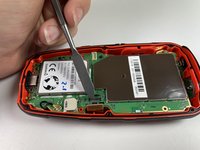
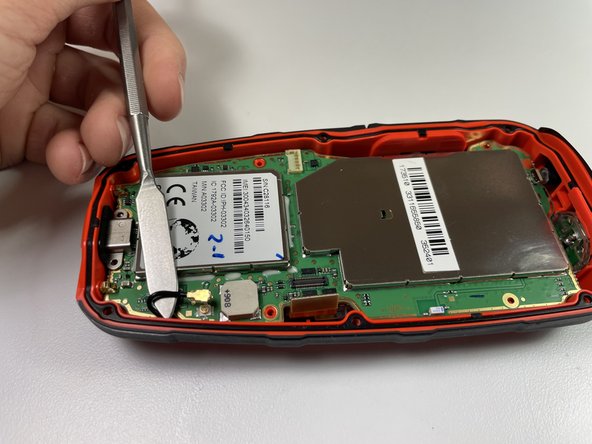
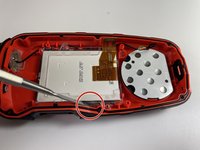
    • Disconnect the antenna from the motherboard by lifting the wire with a nylon spudger.

    FixBotに聞いてみる
  7. Garmin inReach Explorer Plus Antenna Replacement: 手順 7、 3の画像 1 Garmin inReach Explorer Plus Antenna Replacement: 手順 7、 3の画像 2 Garmin inReach Explorer Plus Antenna Replacement: 手順 7、 3の画像 3
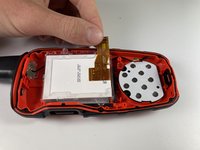
    • Gently lift the motherboard up and out of the device.

    FixBotに聞いてみる
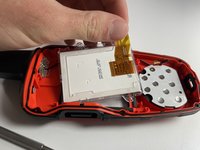
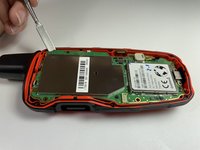
  8. Garmin inReach Explorer Plus Antenna Replacement, LCD Screen: 手順 8、 2の画像 1 Garmin inReach Explorer Plus Antenna Replacement, LCD Screen: 手順 8、 2の画像 2
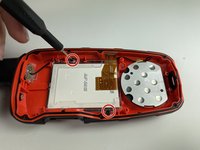
    • Using the T5 Torx screwdriver, remove the two 6 mm screws from the LCD screen.

    FixBotに聞いてみる
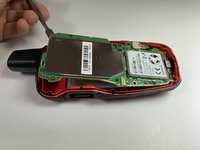
  9. Garmin inReach Explorer Plus Antenna Replacement: 手順 9、 3の画像 1 Garmin inReach Explorer Plus Antenna Replacement: 手順 9、 3の画像 2 Garmin inReach Explorer Plus Antenna Replacement: 手順 9、 3の画像 3
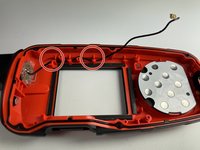
    • Use a nylon spudger to separate the LCD screen from the main body and remove the LCD screen.

    • The metal spudger should only be used for serious prying power. If used incorrectly, the metal spudger may damage the components of a device.

    FixBotに聞いてみる
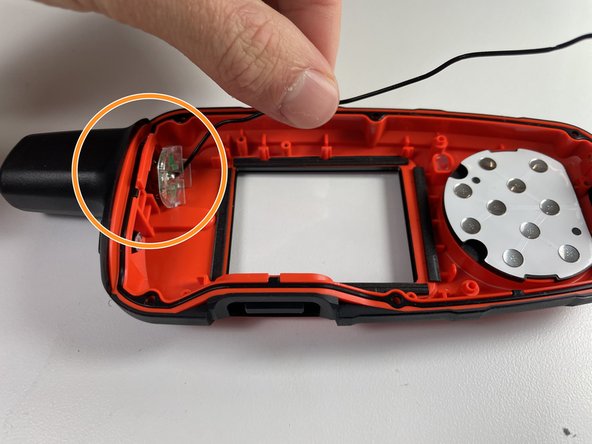
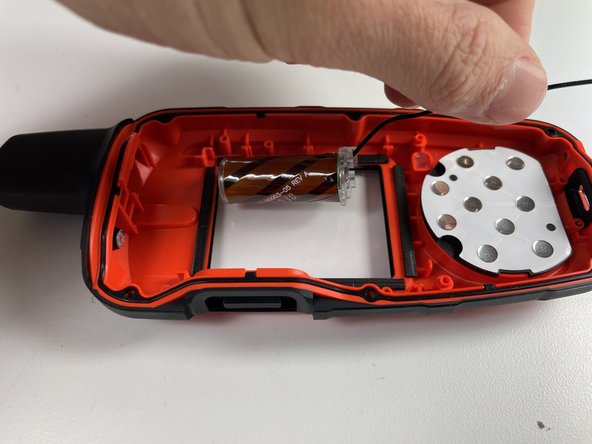
  10. Garmin inReach Explorer Plus Antenna Replacement, Antenna: 手順 10、 3の画像 1 Garmin inReach Explorer Plus Antenna Replacement, Antenna: 手順 10、 3の画像 2 Garmin inReach Explorer Plus Antenna Replacement, Antenna: 手順 10、 3の画像 3
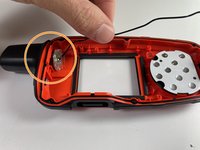
    • Gently pull out the antenna wire and remove the antenna from the device.

    • The antenna should now slide out easily. If the antenna is stuck, use the spudger to gently dislodge the antenna from its housing.

    FixBotに聞いてみる
終わりに

To reassemble your device, follow these instructions in reverse order.

作成者

2人の作成者と共同で作成されました。

Sean Kelley

メンバー登録日: 09/28/21

387 ポイント

4のガイドは作成済み

チーム

Clemson, Team 5-4, Hunter Fall 2021 Clemson, Team 5-4, Hunter Fall 2021人のメンバー

CLEM-HUNTER-F21S5G4

4 メンバー

5のガイドは作成済み

0件のガイドコメント

コメントを追加

統計データ:

過去 24時間: 0

過去 7 日: 5

過去 30 日: 40

今までの合計 757