はじめに
The motherboard is one of the most important components of any electronic device. Damage to the motherboard could result for a variety of reasons. Replacing it may be the best option to get your Vivoactive back to running like new.
The Garmin team did a fantastic job backing a lot of punch into this tiny board, some of the most notable components are:
- GPS and GLONASS antenna
- Bluetooth antenna
- Heartbeat Sensor antenna
- Non-Volatile Flash Memory and RAM
If you're having problems with any of these components, you should consider following this replacement guide for a solution.
必要な工具と部品
-
-
-
Hold the the metal screwdriver, with a T5 Torx bit, in your dominant hand.
-
Hold the rubber screwdriver, with a Hex T6 Torx bit, in your other hand.
-
While holding the rubber screwdriver in place, simultaneously unscrew the pin (counterclockwise) with the metal screwdriver in your dominant hand.
 FixBotに聞いてみる
-
-
-
Once the 1mm screw is removed, reinsert the metal screwdriver in that same hole.
-
Gently push the strap's pin out. It will begin to protrude from the other end.
-
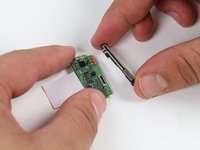
Use your fingers to grab the exposed pin and slide it free. The strap should now be disconnected from the device.
-
-
-
-
-
Place a heated iOpener over the display to loosen the adhesive.
-
After about a minute, the iOpener may be removed.
-
-
-
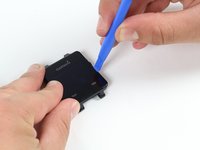
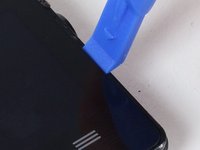
Place the blue plastic opening tool in-between the screen and plastic casing of the watch and slowly pry up one side of the screen.
-
-
-
Once the first side has come free, wedge the blue pick in between the screen and watch unit on that side.
-
Complete one pass around the perimeter of the screen to break the adhesive bond on all four sides.
-
-
-
-
Use the blue plastic opening tool to pry up the side of the glass. Raise it to a point where your fingernail can fit in the gap.
-
Do the same on the opposite side of the device until you have a good grip of the screen.
-
-
-
Obtain a careful grip of the screen from two of its sides.
-
Slowly lift the screen off of the case. Separate it just enough so as not to damage the connection to the motherboard.
-
-
-
Detach the orange tab that connects the screen to the motherboard with a gentle uplift using a plastic opening tool.
-
Upon completing this step, the screen should be free from the rest of the device.
-
-
-
-
-
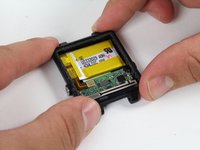
Follow previous guides until you've exposed the battery as shown.
-
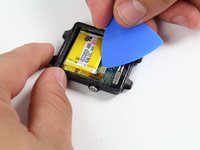
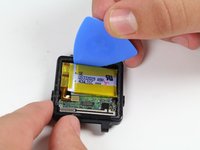
Begin by removing the battery connector tab.
-
-
-
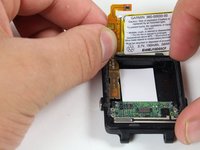
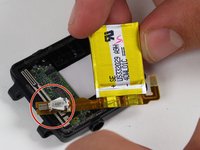
With the battery loose from the case, rotate it to expose the attached tab
-
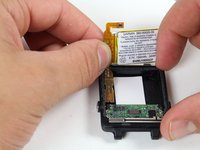
Gently pry up the attached tab with a fingernail.
-
-
-
-
-
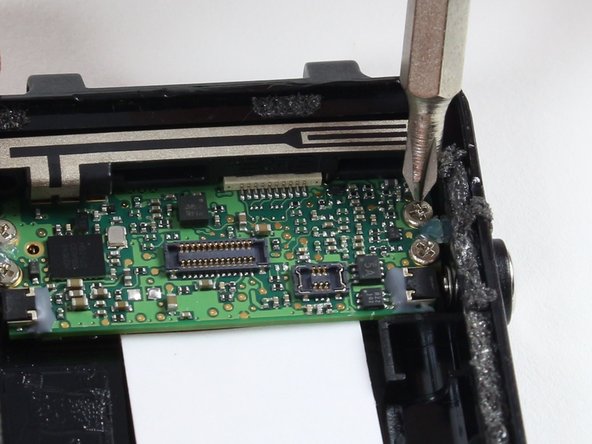
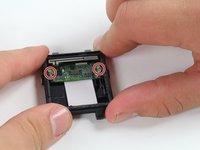
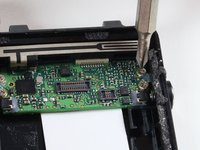
Remove the four 2.4 mm screws with a PH00 Phillips head screwdriver.
-
-
-
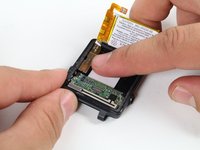
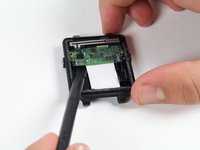
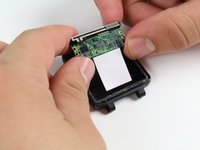
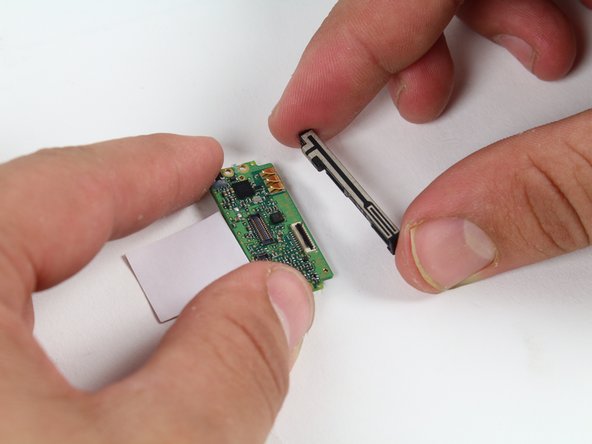
Use the spudger to pry up the board from the case.
-
Wiggle the exposed side of the board from each end until it comes free.
-
-












To reassemble your device, follow these instructions in reverse order.
2 の人々がこのガイドを完成させました。

チーム

Cal Poly, Team 1-21, Maness Fall 2015 Cal Poly, Team 1-21, Maness Fall 2015人のメンバー
CPSU-MANESS-F15S1G21
4 メンバー
17のガイドは作成済み
