メインコンテンツにスキップ
リペアコミュニティに参加 - アカウントの作成

Garmin Nuvi 42LM Screen Replacement

必要な工具と部品

    1. Garmin Nuvi 42LM Screen Replacement, Back Cover: 手順 1、 3の画像 1 Garmin Nuvi 42LM Screen Replacement, Back Cover: 手順 1、 3の画像 2 Garmin Nuvi 42LM Screen Replacement, Back Cover: 手順 1、 3の画像 3
      • Remove the four screws on the back of the GPS using the T5 Torx screwdriver.

      FixBotに聞いてみる

      コメントを追加

    2. Garmin Nuvi 42LM Screen Replacement: 手順 2、 3の画像 1 Garmin Nuvi 42LM Screen Replacement: 手順 2、 3の画像 2 Garmin Nuvi 42LM Screen Replacement: 手順 2、 3の画像 3
      • Pry the GPS open using a plastic opening tool.

      • When prying open the device, use caution to avoid damaging the motherboard.

      FixBotに聞いてみる

      コメントを追加

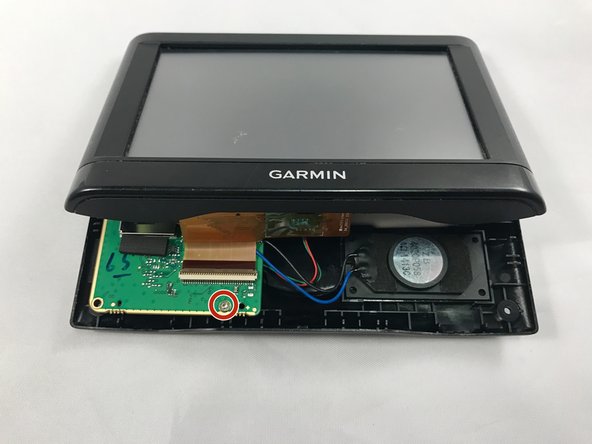
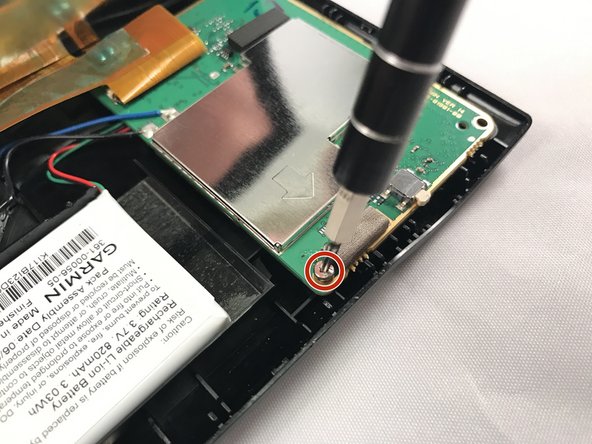
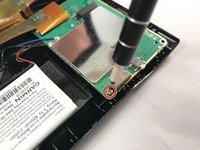
    1. Garmin Nuvi 42LM Screen Replacement, Motherboard: 手順 3、 3の画像 1 Garmin Nuvi 42LM Screen Replacement, Motherboard: 手順 3、 3の画像 2 Garmin Nuvi 42LM Screen Replacement, Motherboard: 手順 3、 3の画像 3
      • Using the T5 Torx screwdriver, remove the two screws located on the motherboard.

      • There are two screws - one in the back and one in the front.

      FixBotに聞いてみる

      コメントを追加

    2. Garmin Nuvi 42LM Screen Replacement: 手順 4、 1の画像 1
      • Move the motherboard from from its designated location on the GPS.

      • Do not pull on red, green, and black cables when repositioning the motherboard.

      FixBotに聞いてみる

      コメントを追加

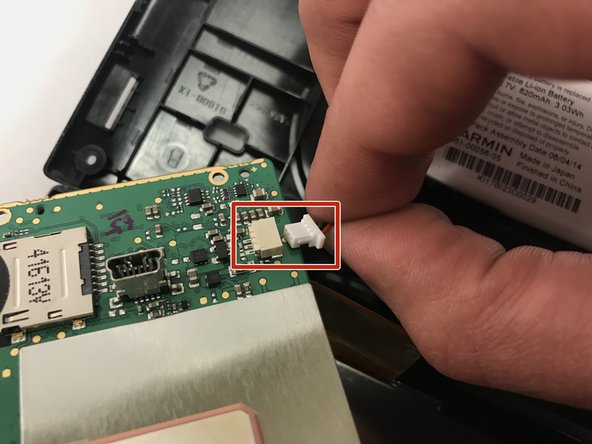
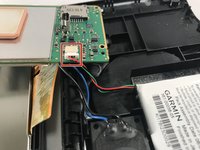
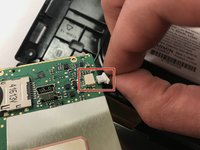
    3. Garmin Nuvi 42LM Screen Replacement: 手順 5、 2の画像 1 Garmin Nuvi 42LM Screen Replacement: 手順 5、 2の画像 2
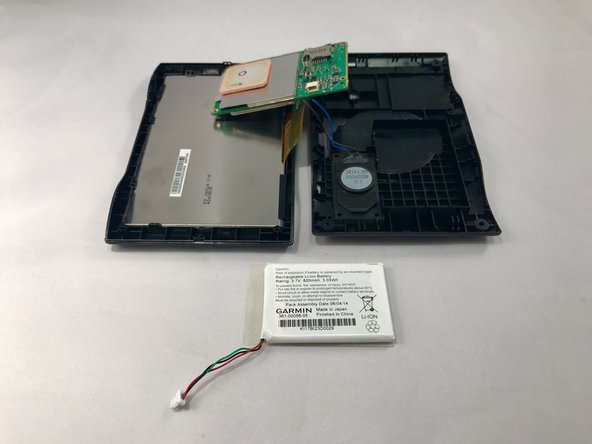
      • Gently unplug the red, green, and black bundled cable to remove the battery.

      FixBotに聞いてみる

      コメントを追加

    4. Garmin Nuvi 42LM Screen Replacement: 手順 6、 2の画像 1 Garmin Nuvi 42LM Screen Replacement: 手順 6、 2の画像 2
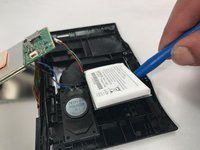
      • Use blue plastic opening tool to carefully pry the battery from the GPS.

      • You might need to use additional force when prying because there is adhesive glue on the back of the battery.

      FixBotに聞いてみる

      コメントを追加

    5. Garmin Nuvi 42LM Screen Replacement: 手順 7、 1の画像 1
      • Using a soldering iron, desolder the black and blue wires connected to the motherboard.

      • Once the black and blue wires are desoldered, llift the motherboard out and away from the device.

      • Check out this awesome guide on how to solder and desolder connections.

      FixBotに聞いてみる

      コメントを追加

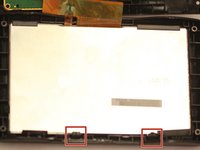
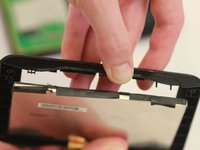
    1. Garmin Nuvi 42LM Screen Replacement, Screen: 手順 8、 2の画像 1 Garmin Nuvi 42LM Screen Replacement, Screen: 手順 8、 2の画像 2
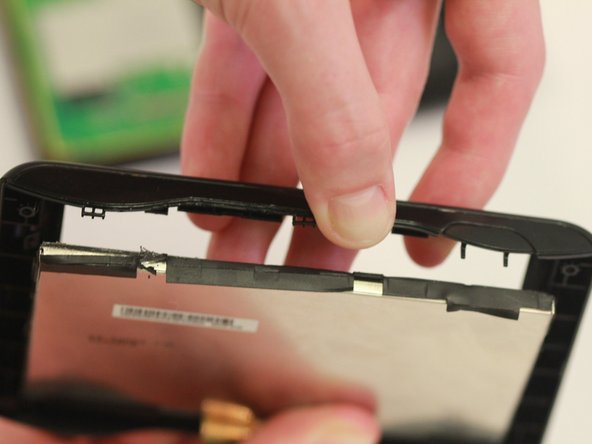
      • Push out the screen by pulling back the black clips.

      • The screen is attached to the motherboard and needs to be replaced with it.

      FixBotに聞いてみる

      コメントを追加

終わりに

To reassemble your device, follow these instructions in reverse order.

キャンセル: このガイドを終了できませんでした。

2 の人々がこのガイドを完成させました。

作成者

3人の作成者と共同で作成されました。

Elina Zhukov

メンバー登録日: 01/18/17

558 ポイント

5のガイドは作成済み

チーム

Eastern Washington University, Team 2-1, Crane Winter 2017 Eastern Washington University, Team 2-1, Crane Winter 2017人のメンバー

EWU-CRANE-W17S2G1

4 メンバー

12のガイドは作成済み

1件のガイドコメント

Where do I purchase the screen for the Nuvi 42LM?

DR ROGER BROWNE - 返信 共有

コメントを追加

統計データ:

過去 24時間: 1

過去 7 日: 4

過去 30 日: 22

今までの合計 723