はじめに
The GamStop Universal System is a device that allows you to connect multiple systems to your television while easily switching between the systems. The selector button allows the user to choose which system to switch between when different gaming platforms are simultaneously running.
If your selector button is malfunctioning and not allowing you to properly choose which platform to use, follow this guide. It will demonstrate how to replace the selector button. Before starting this repair be sure to power off your device to avoid further damage. This simple guide requires minimal time and some patience to replace the selector button.
必要な工具と部品
-
-
-
Remove the three front panel screws on the bottom of the device using the Phillips #00 Screwdriver.
 FixBotに聞いてみる
-
-
-
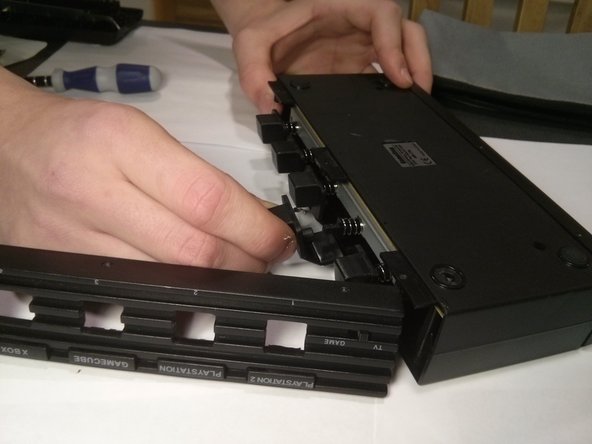
Carefully pry off the front panel of the device to reveal the button in need of replacement.
-
-
-




The system selector button should now be working properly. Take your e-waste to an R2 or e-Stewards certified recycler.
ある他の人がこのガイドを完成しました。

チーム

UMass Dartmouth, Team 4-6, Vijaybhaskar Fall 2013 UMass Dartmouth, Team 4-6, Vijaybhaskar Fall 2013人のメンバー
UMASSD-VIJAYBHASKAR-F13S4G6
4 メンバー
10のガイドは作成済み
