メインコンテンツにスキップ
リペアコミュニティに参加 - アカウントの作成

Framework Desktop Mainboard Replacement

必要な工具と部品

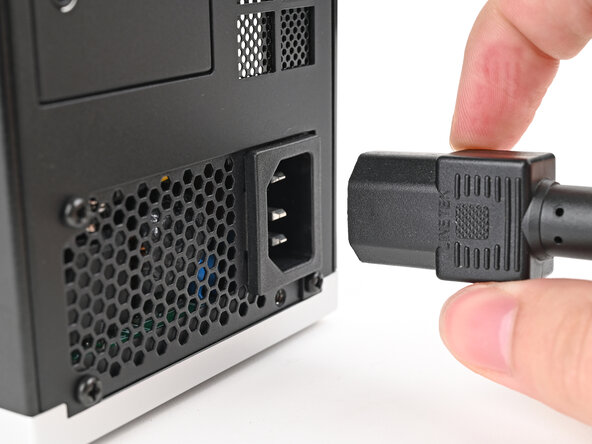
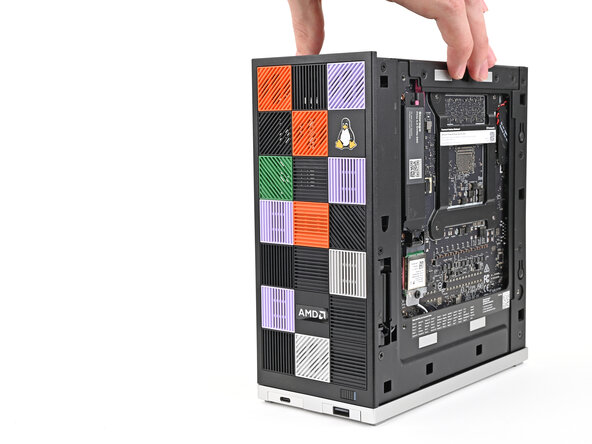
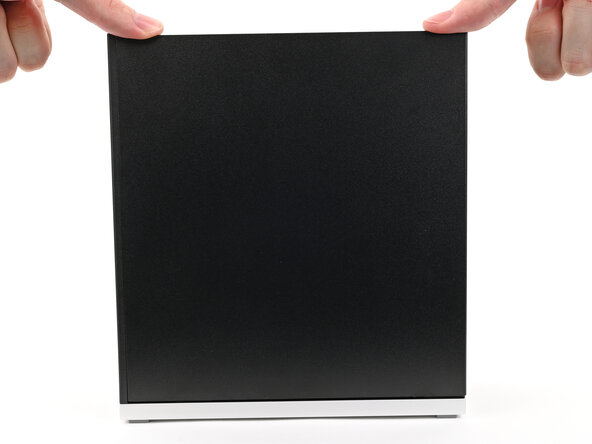
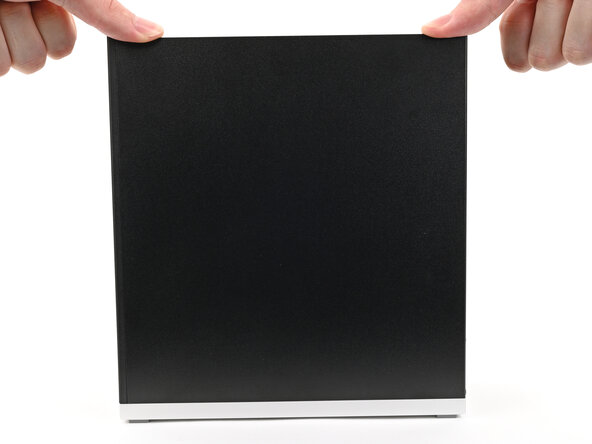
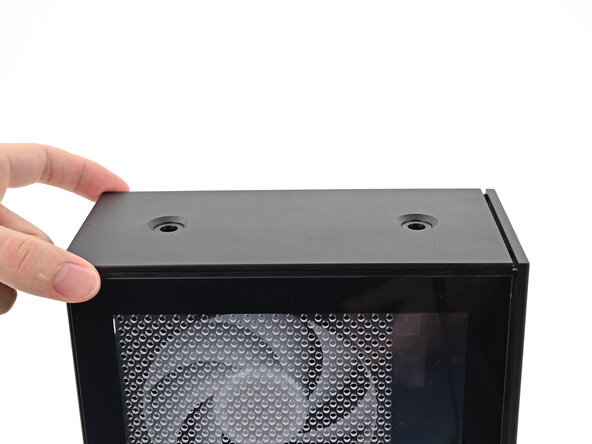
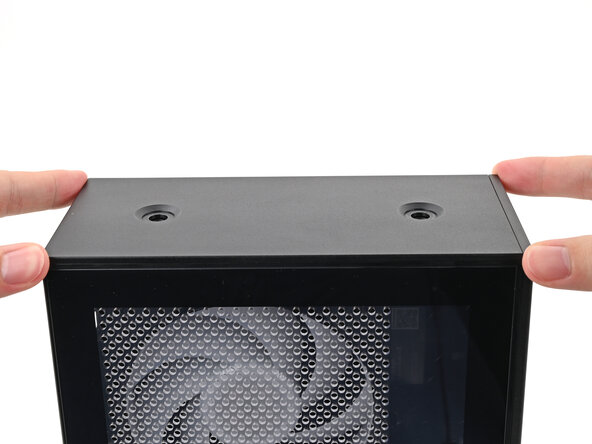
  1. Framework Desktop Mainboard Replacement, Power down your Desktop: 手順 1、 2の画像 1 Framework Desktop Mainboard Replacement, Power down your Desktop: 手順 1、 2の画像 2
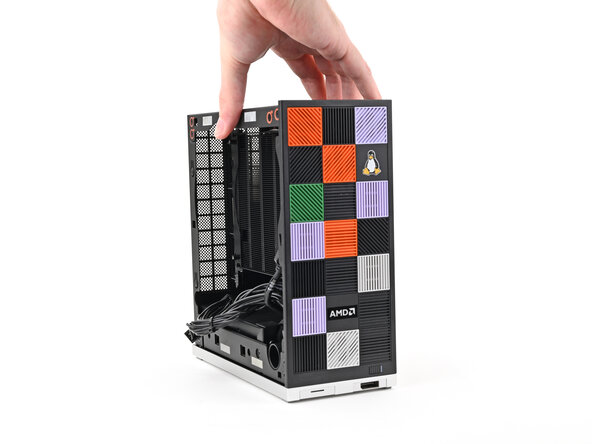
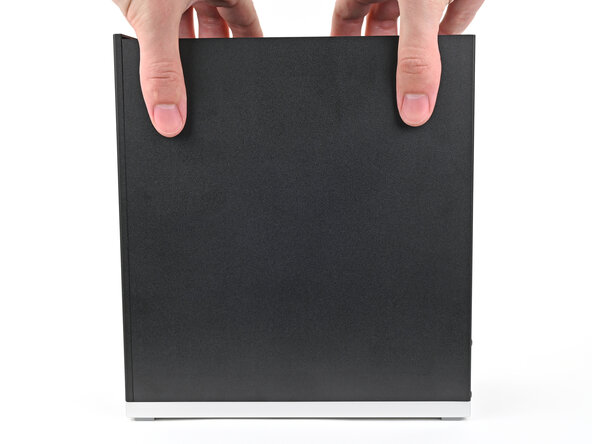
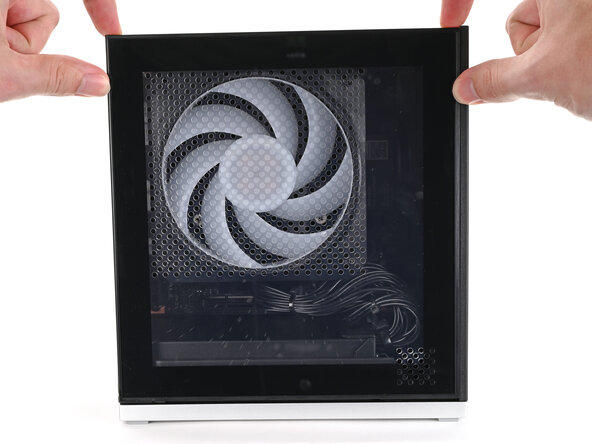
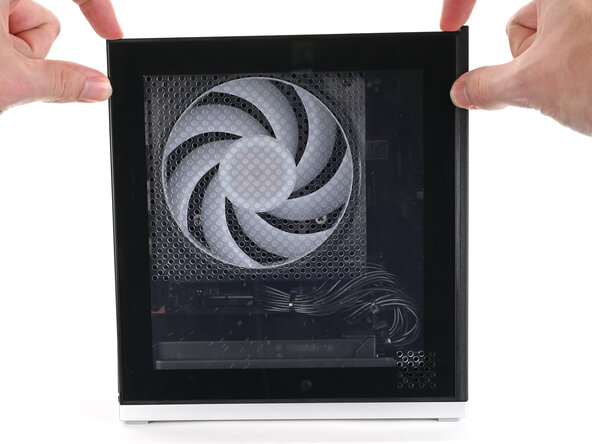
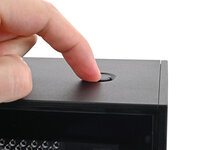
    • Before you begin repairs, shut down your Desktop from the operating system and unplug it.

    • Wait one minute before continuing to allow your Desktop to fully power down.

    FixBotに聞いてみる
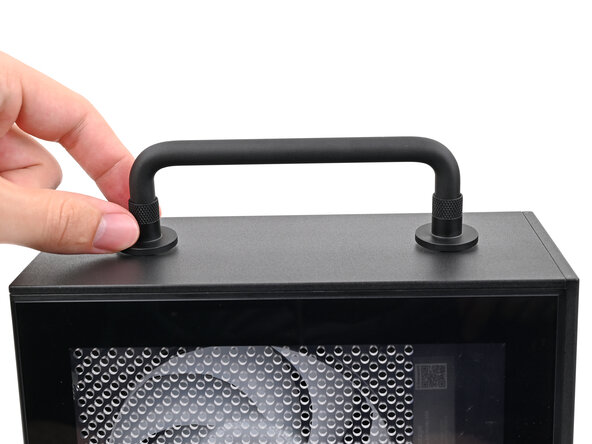
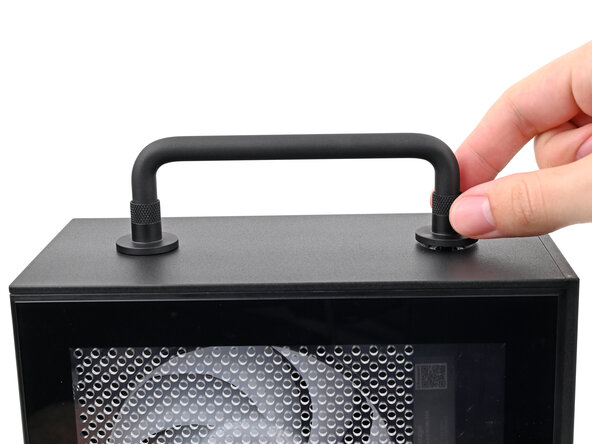
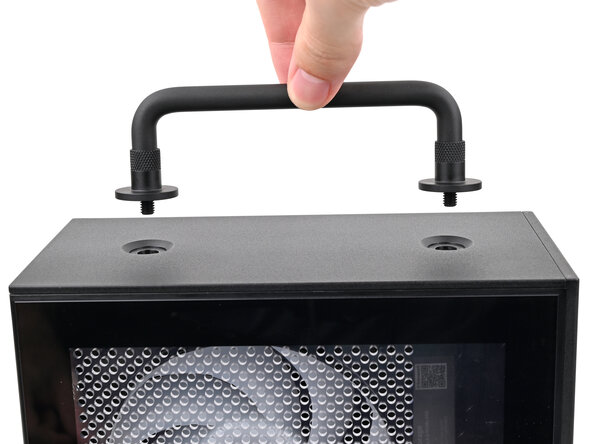
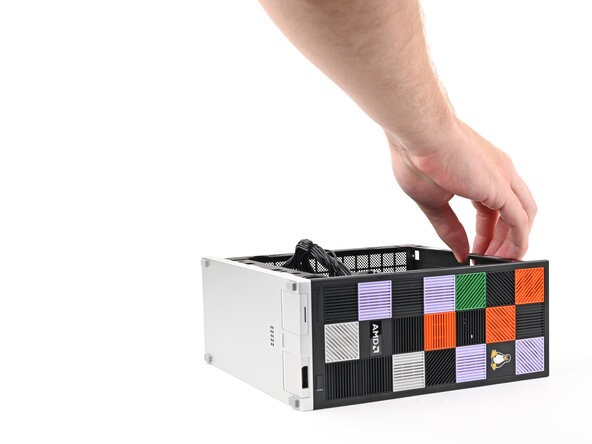
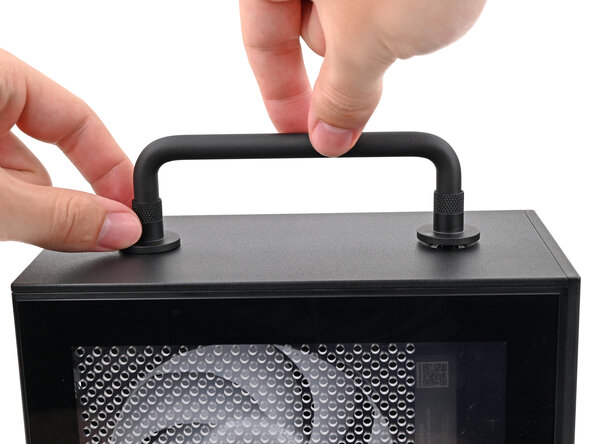
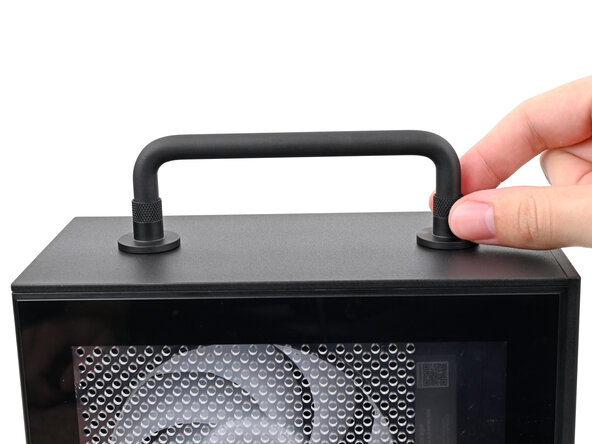
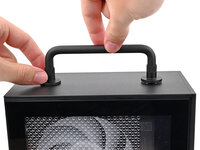
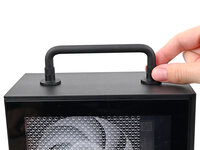
  2. Framework Desktop Mainboard Replacement, Remove the Handle: 手順 2、 3の画像 1 Framework Desktop Mainboard Replacement, Remove the Handle: 手順 2、 3の画像 2 Framework Desktop Mainboard Replacement, Remove the Handle: 手順 2、 3の画像 3
    • If you installed the Handle on your Desktop, follow this step. Otherwise, skip it.

    • Rotate the Handle's screw threads counterclockwise on both sides until it comes free.

    • Remove the Handle.

    FixBotに聞いてみる
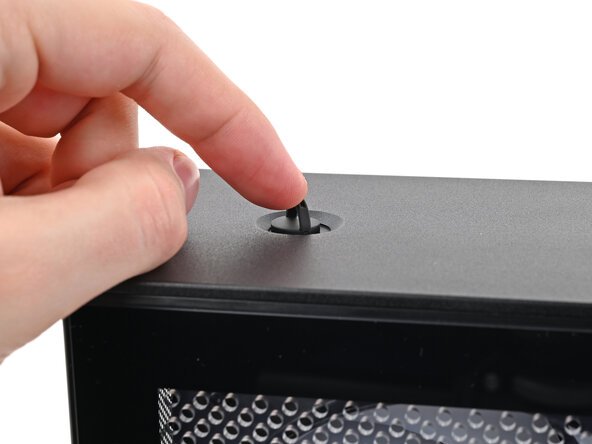
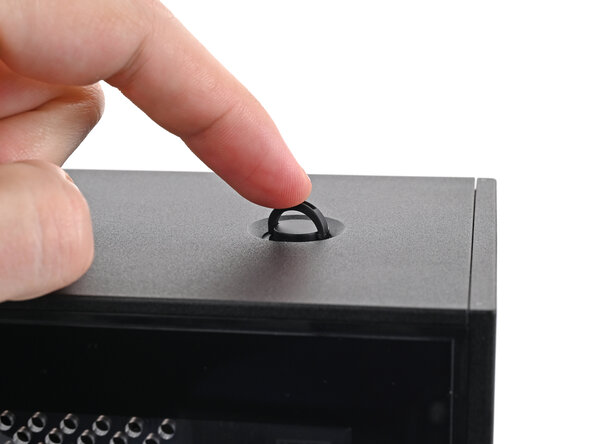
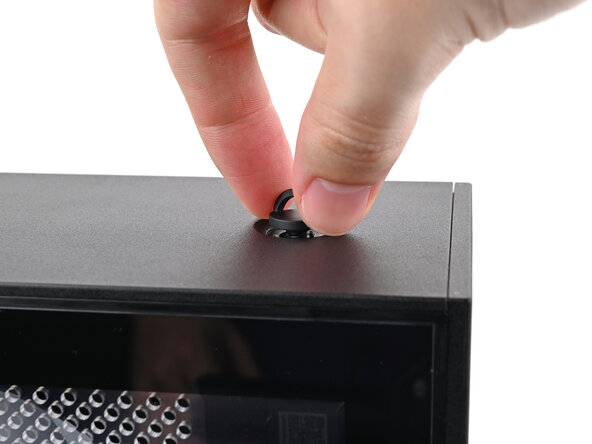
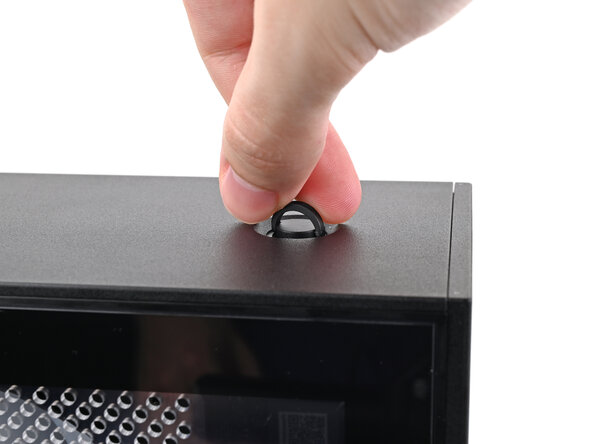
  3. Framework Desktop Mainboard Replacement, Remove the Top Panel screws: 手順 3、 3の画像 1 Framework Desktop Mainboard Replacement, Remove the Top Panel screws: 手順 3、 3の画像 2 Framework Desktop Mainboard Replacement, Remove the Top Panel screws: 手順 3、 3の画像 3
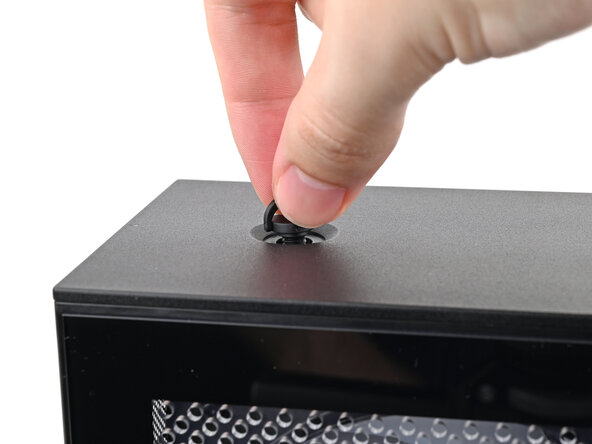
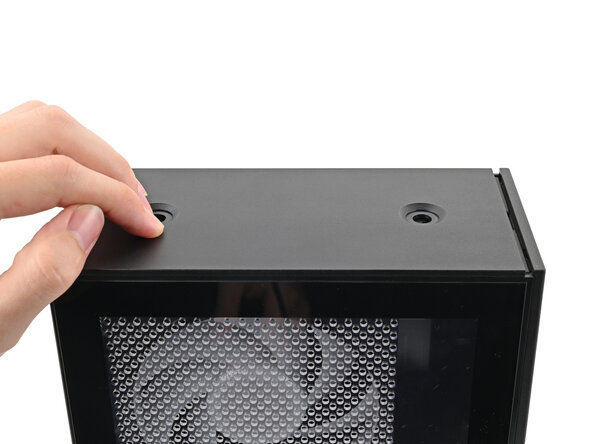
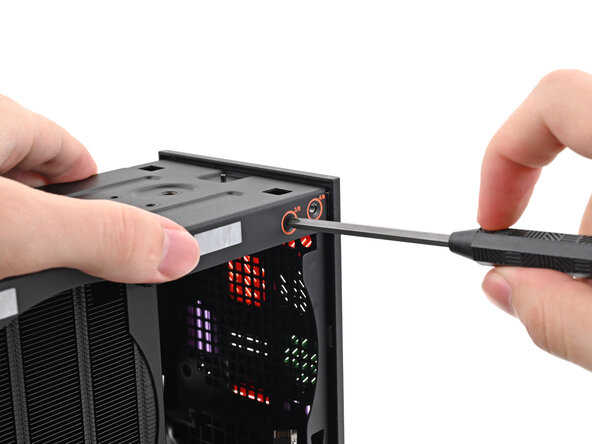
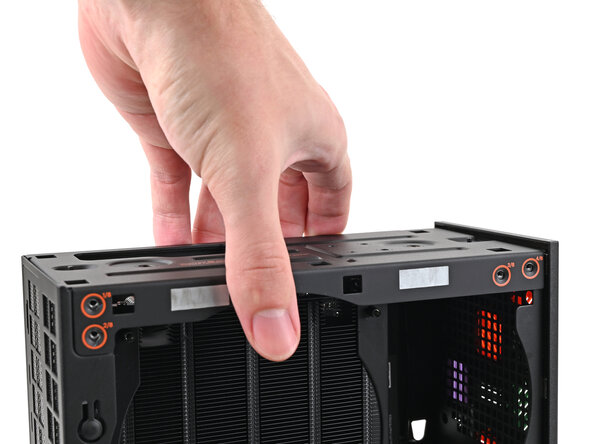
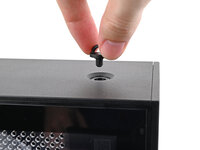
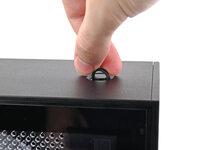
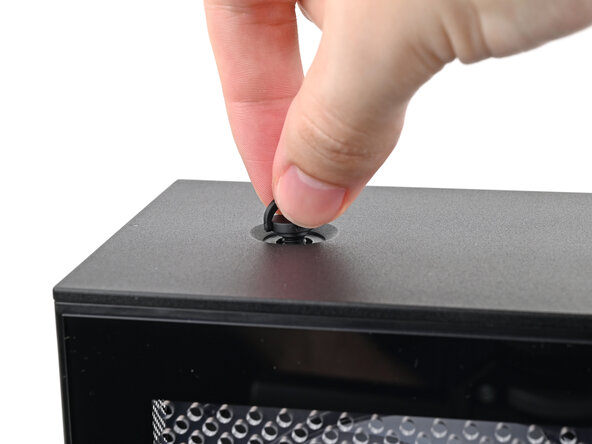
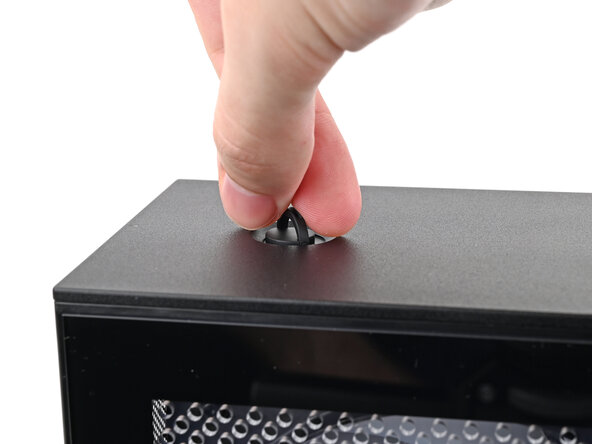
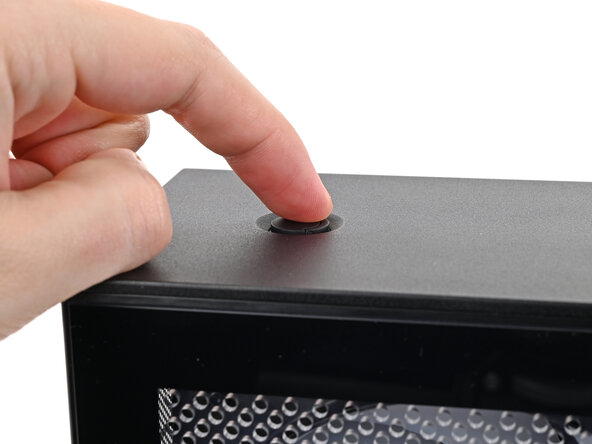
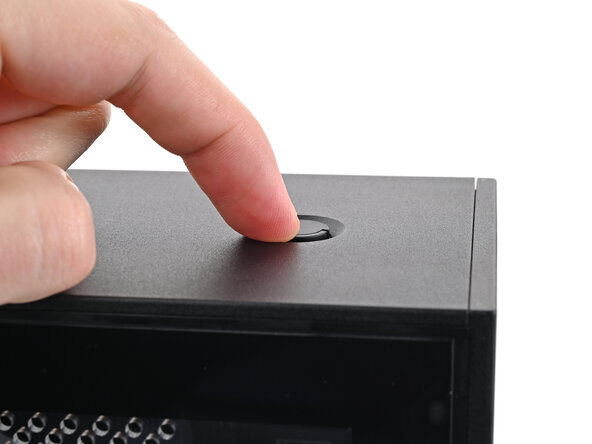
    • Use your finger to lift up the two D-rings on the Top Panel screws.

    FixBotに聞いてみる
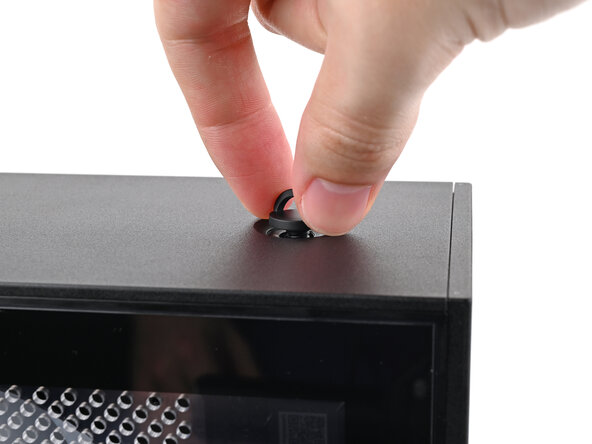
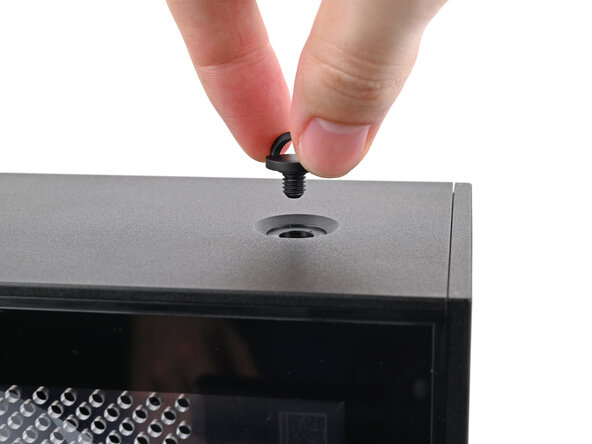
  4. Framework Desktop Mainboard Replacement: 手順 4、 3の画像 1 Framework Desktop Mainboard Replacement: 手順 4、 3の画像 2 Framework Desktop Mainboard Replacement: 手順 4、 3の画像 3
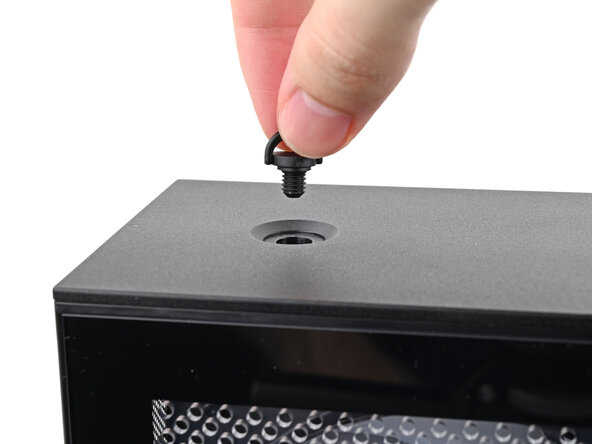
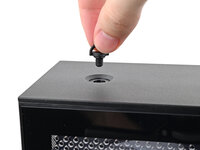
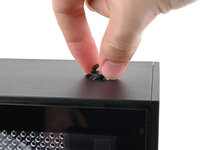
    • Use your fingers to twist the screw counter-clockwise and loosen it.

    • Remove the Top Panel screw.

    FixBotに聞いてみる
  5. Framework Desktop Mainboard Replacement: 手順 5、 3の画像 1 Framework Desktop Mainboard Replacement: 手順 5、 3の画像 2 Framework Desktop Mainboard Replacement: 手順 5、 3の画像 3
    • Repeat the same procedure for the other Top Panel screw.

    FixBotに聞いてみる
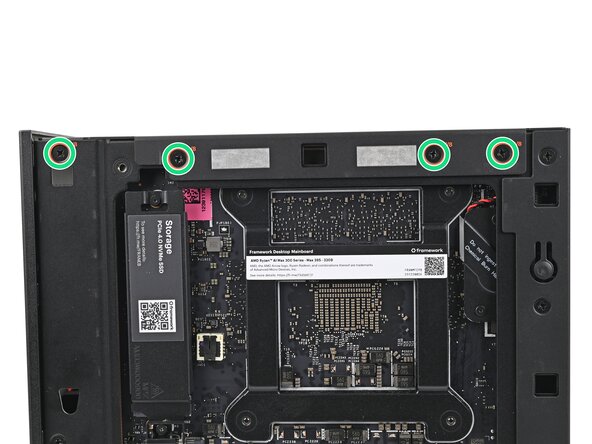
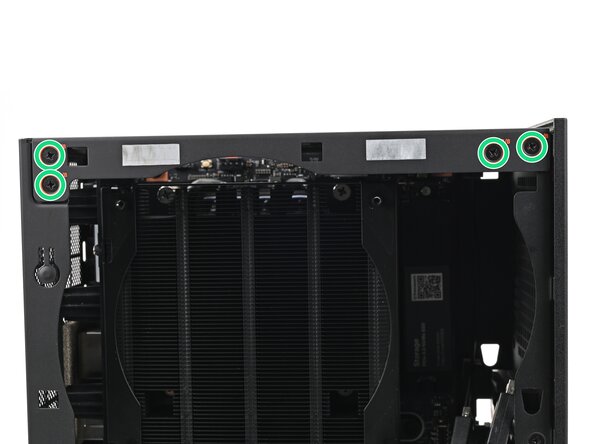
  6. Framework Desktop Mainboard Replacement, Remove the Top Panel: 手順 6、 3の画像 1 Framework Desktop Mainboard Replacement, Remove the Top Panel: 手順 6、 3の画像 2 Framework Desktop Mainboard Replacement, Remove the Top Panel: 手順 6、 3の画像 3
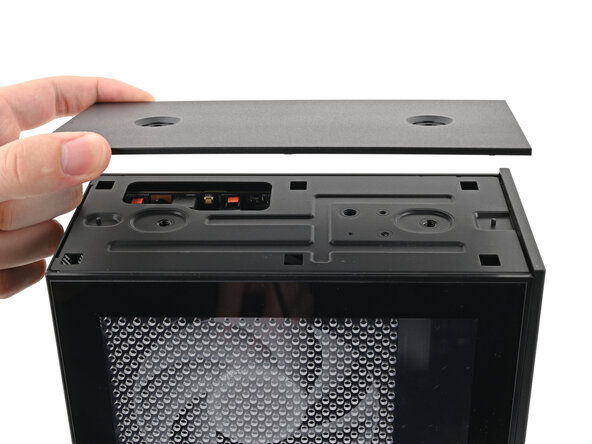
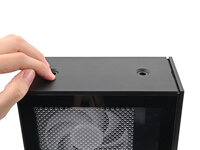
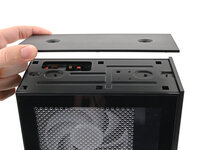
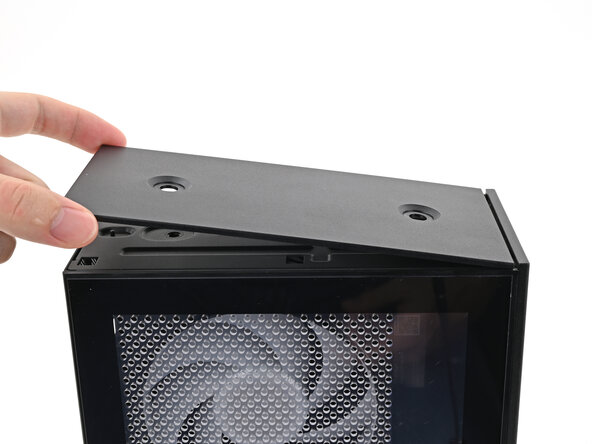
    • Slide the Top Panel towards the rear of the computer to release the clips securing it to the chassis.

    • If you're having a hard time gripping the Top Panel, use the screw holes to get a better handhold.

    • Lift the Top Panel off the chassis and remove it.

    FixBotに聞いてみる
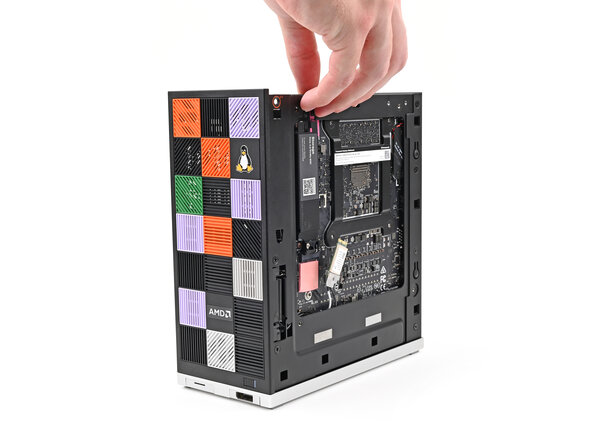
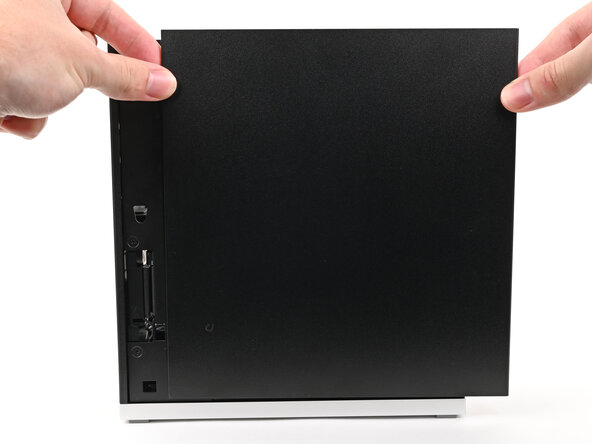
  7. Framework Desktop Mainboard Replacement, Remove the Left Panel: 手順 7、 3の画像 1 Framework Desktop Mainboard Replacement, Remove the Left Panel: 手順 7、 3の画像 2 Framework Desktop Mainboard Replacement, Remove the Left Panel: 手順 7、 3の画像 3
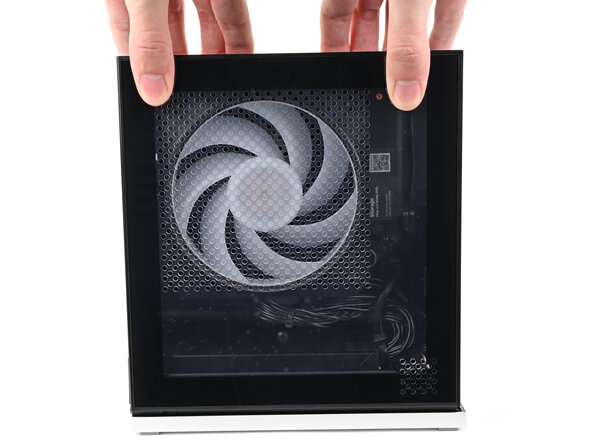
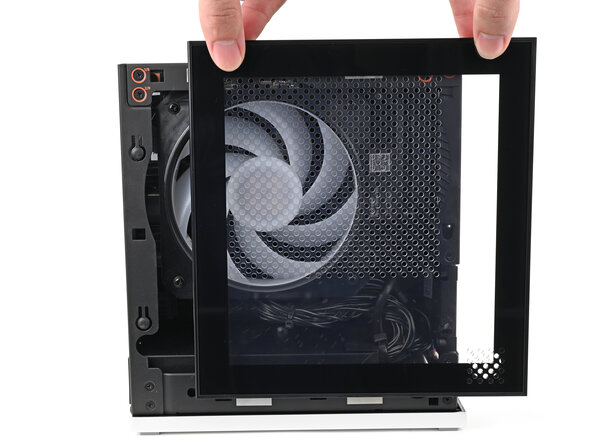
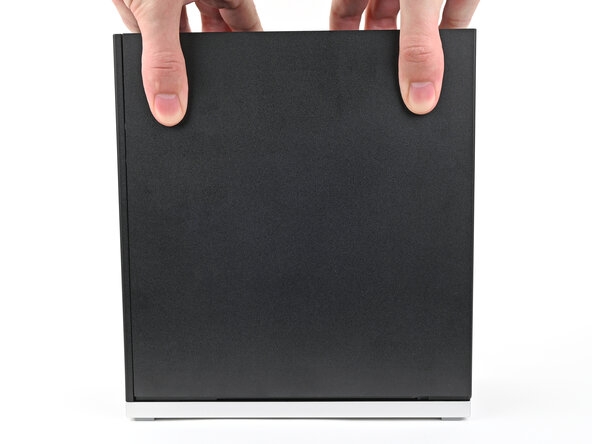
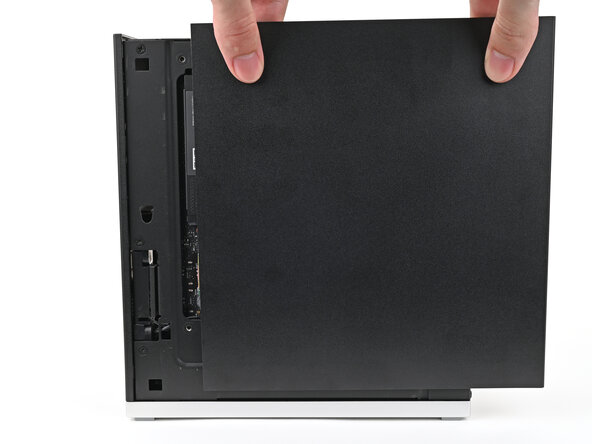
    • Use your fingers to grip the top of the Left Panel and slide it upward to release its clips.

    • Remove the Left Panel.

    FixBotに聞いてみる
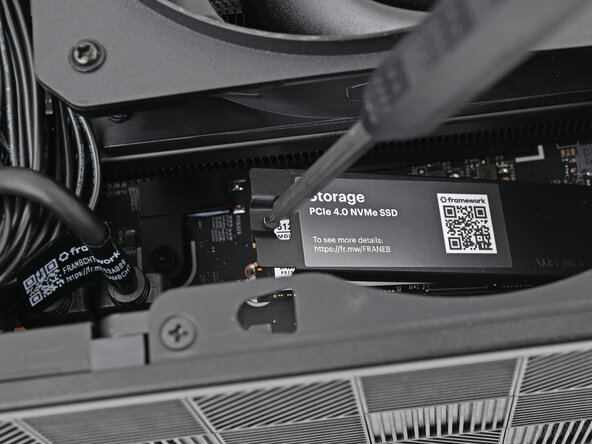
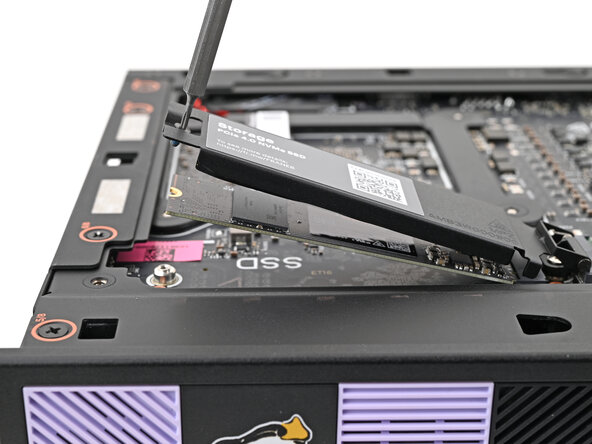
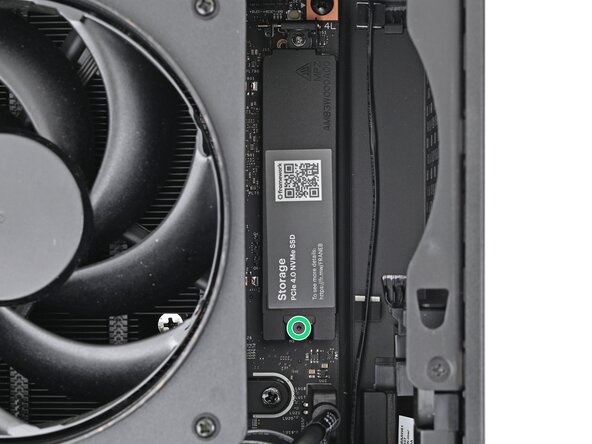
  8. Framework Desktop Mainboard Replacement, Loosen the SSD screw: 手順 8、 2の画像 1 Framework Desktop Mainboard Replacement, Loosen the SSD screw: 手順 8、 2の画像 2
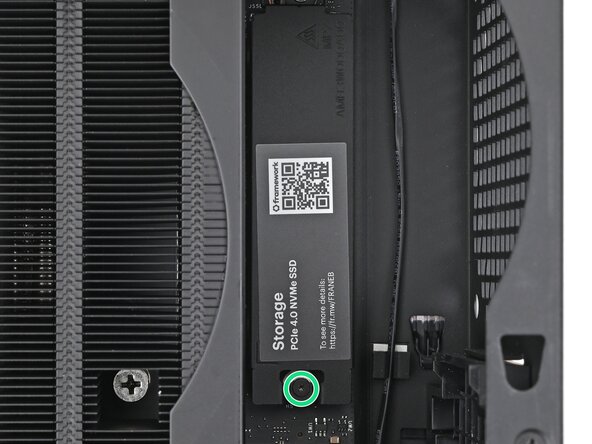
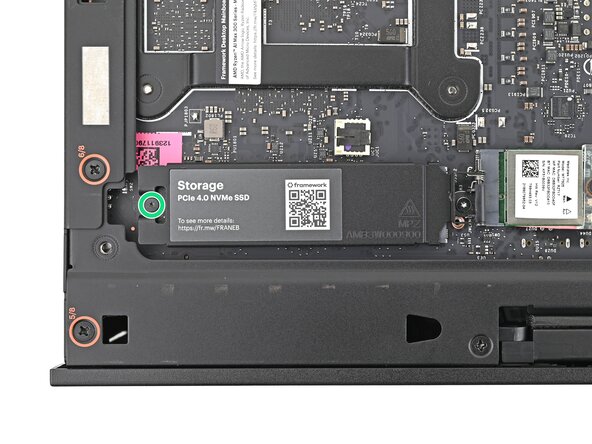
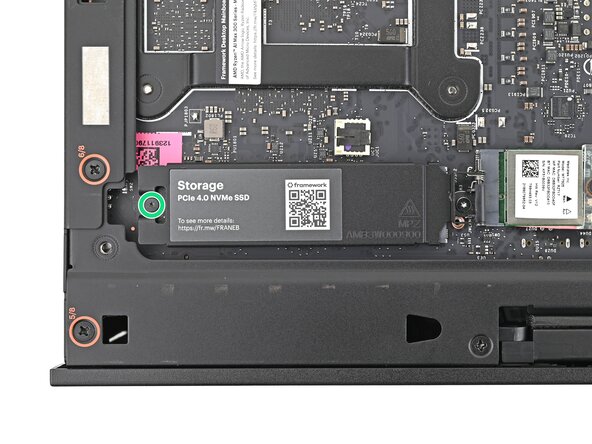
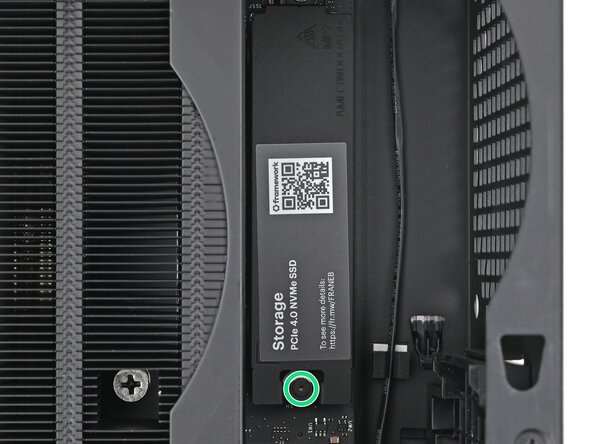
    • Use your Framework Desktop Screwdriver to loosen the captive T5 Torx screw securing the SSD.

    • The SSD and its heat spreader will pop up to an angle when its screw is fully loosened.

    FixBotに聞いてみる
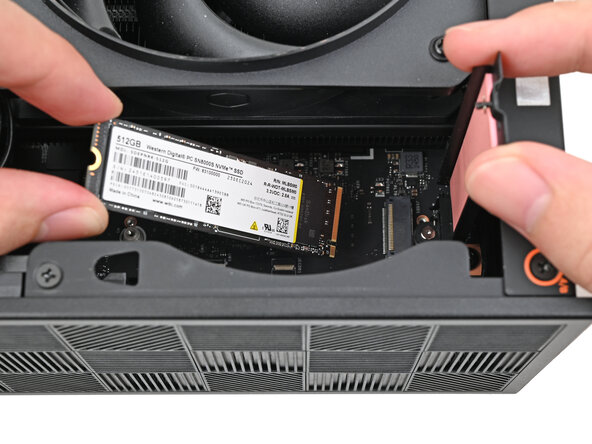
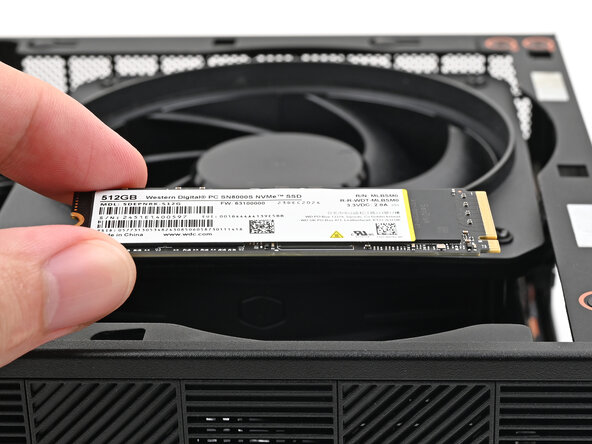
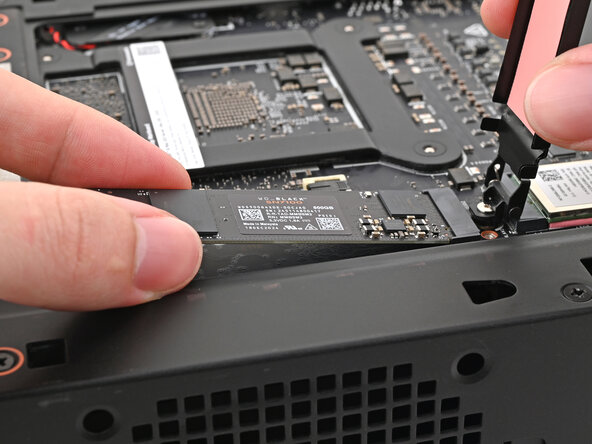
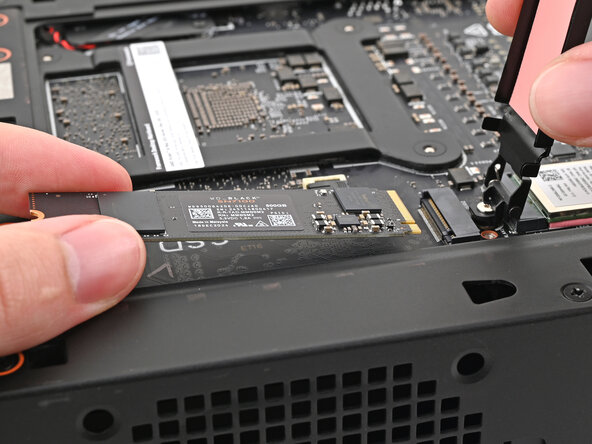
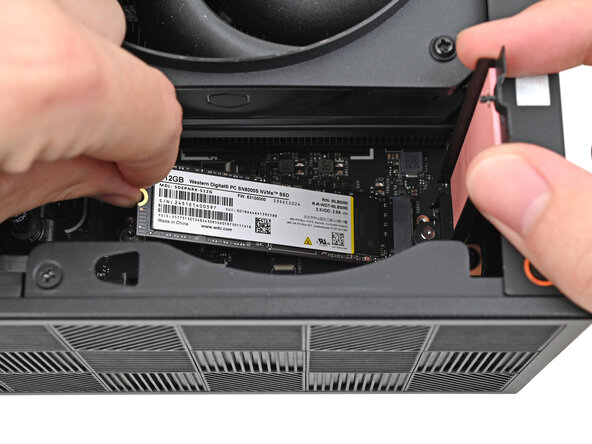
  9. Framework Desktop Mainboard Replacement, Remove the SSD: 手順 9、 3の画像 1 Framework Desktop Mainboard Replacement, Remove the SSD: 手順 9、 3の画像 2 Framework Desktop Mainboard Replacement, Remove the SSD: 手順 9、 3の画像 3
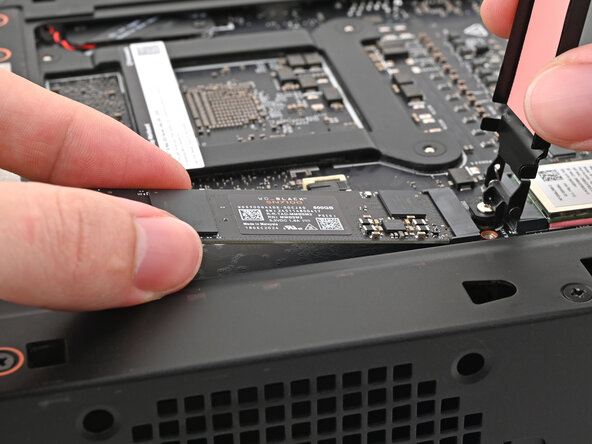
    • While holding the heat spreader upright, grab the SSD by its edges and pull it out of its socket.

    • Remove the SSD.

    FixBotに聞いてみる
  10. Framework Desktop Mainboard Replacement, Install the heat spreader: 手順 10、 3の画像 1 Framework Desktop Mainboard Replacement, Install the heat spreader: 手順 10、 3の画像 2 Framework Desktop Mainboard Replacement, Install the heat spreader: 手順 10、 3の画像 3
    • Insert your Framework Desktop Screwdriver into the captive screw on the primary storage heat spreader and press it flat to the Mainboard.

    • Tighten the captive T5 Torx screw securing the heat spreader.

    FixBotに聞いてみる
  11. Framework Desktop Mainboard Replacement, Lay down the Desktop: 手順 11、 2の画像 1 Framework Desktop Mainboard Replacement, Lay down the Desktop: 手順 11、 2の画像 2
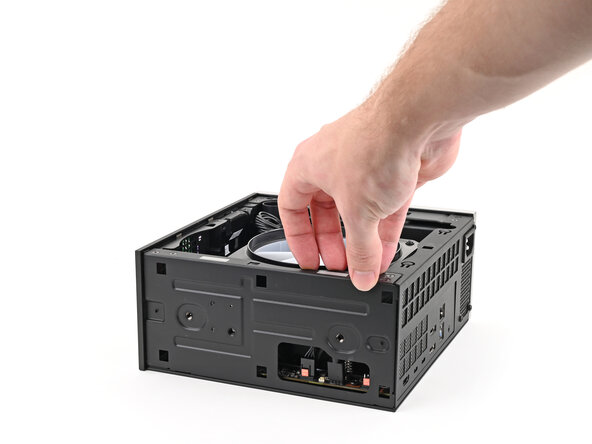
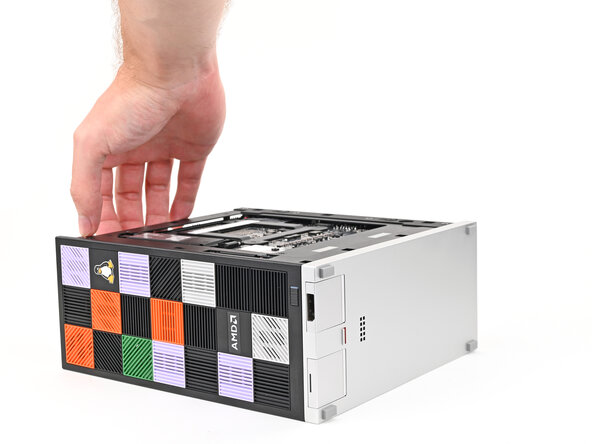
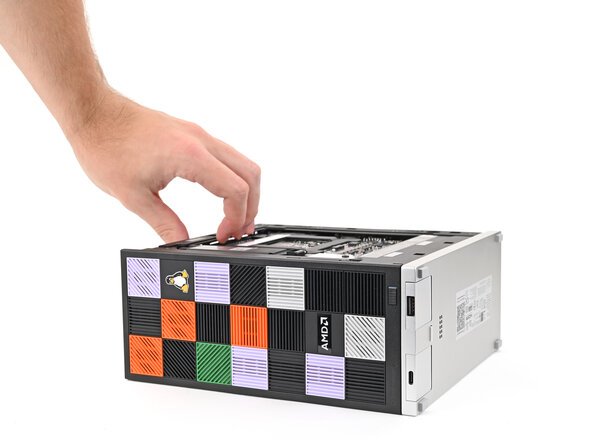
    • Lay down the Desktop on its side so the fan is facing upward.

    FixBotに聞いてみる
  12. Framework Desktop Mainboard Replacement, Disconnect the fan: 手順 12、 2の画像 1 Framework Desktop Mainboard Replacement, Disconnect the fan: 手順 12、 2の画像 2
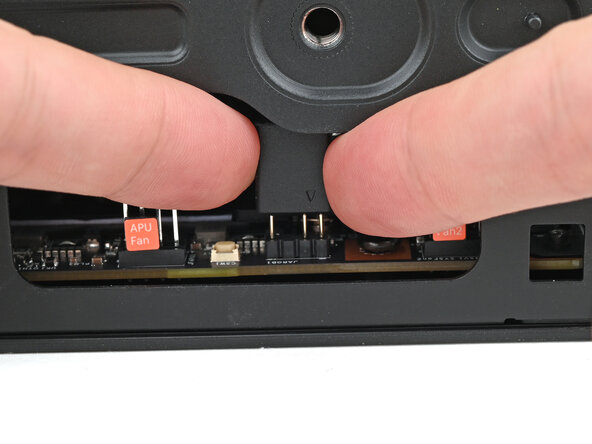
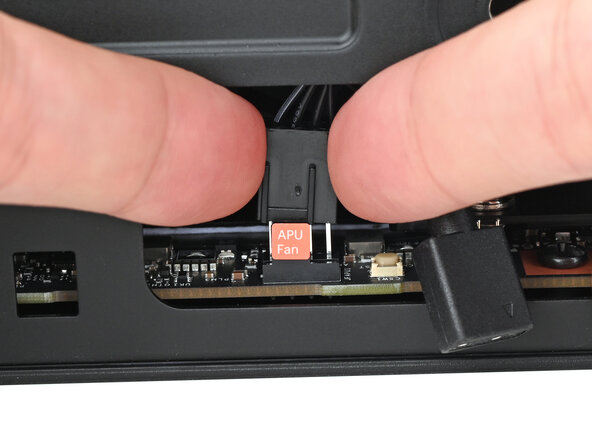
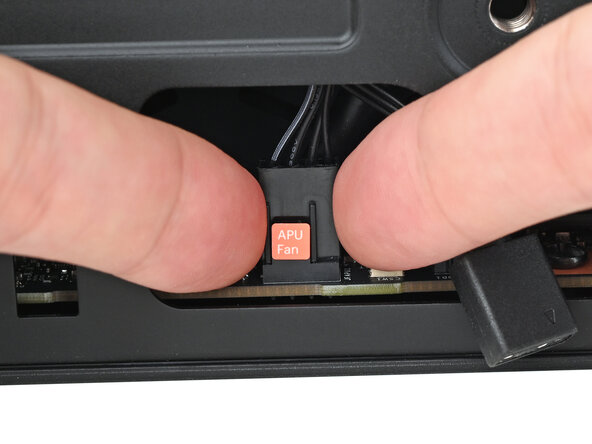
    • Use your fingers to lift the APU fan cable connector off its four‑pronged socket on the Mainboard.

    FixBotに聞いてみる
  13. Framework Desktop Mainboard Replacement: 手順 13、 2の画像 1 Framework Desktop Mainboard Replacement: 手順 13、 2の画像 2
    • If you aren't using an RGB fan, then skip this step.

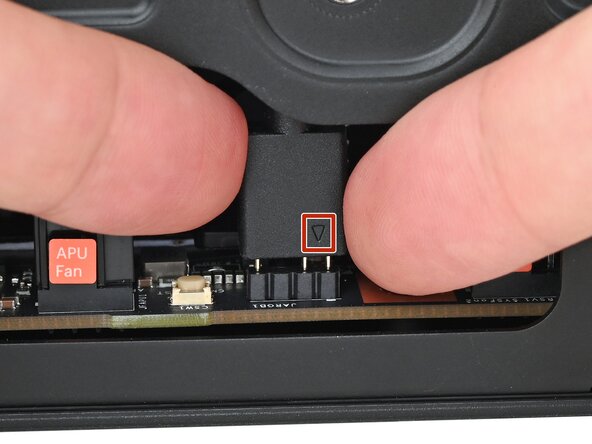
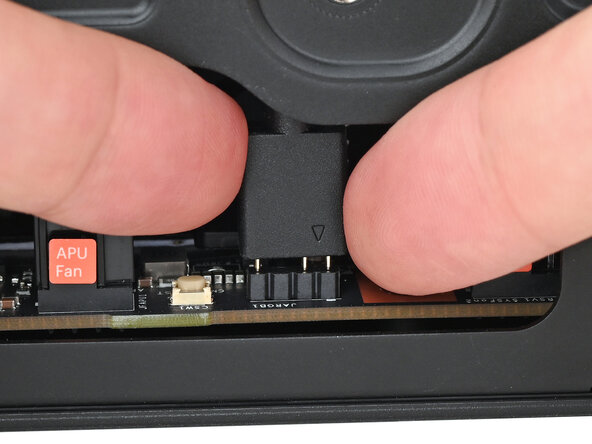
    • Use your fingers to lift the fan RGB cable connector off its three‑pronged socket on the Mainboard.

    FixBotに聞いてみる
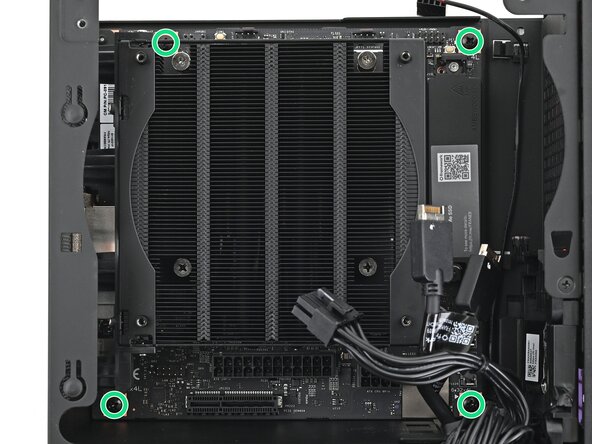
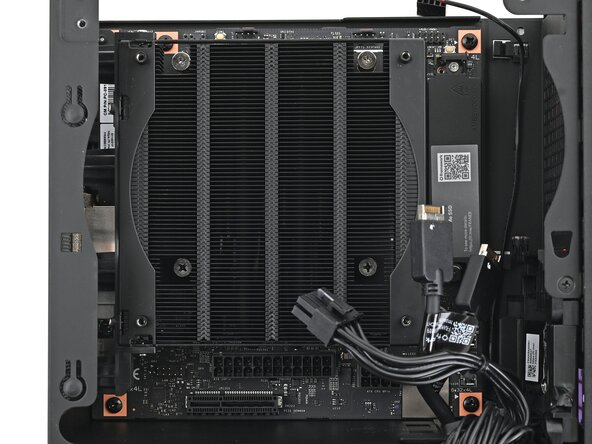
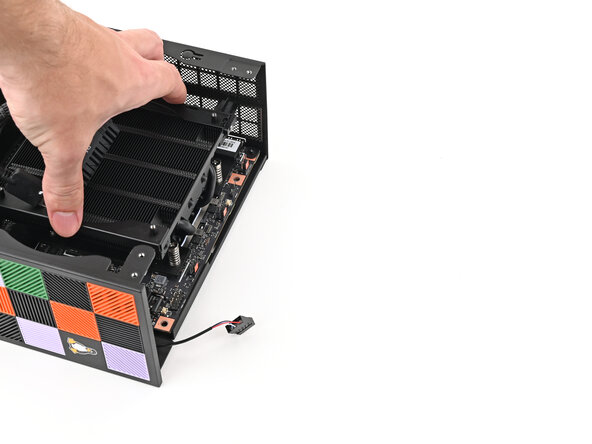
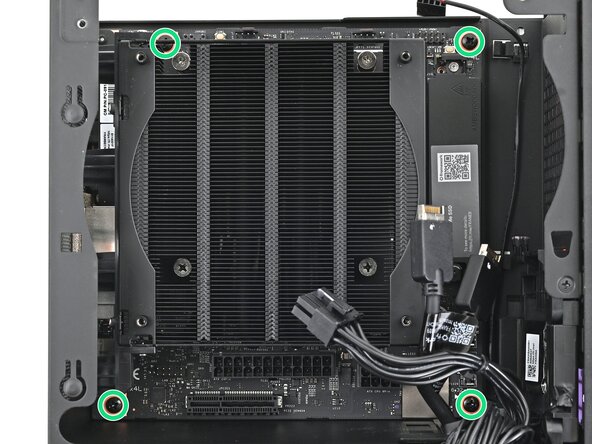
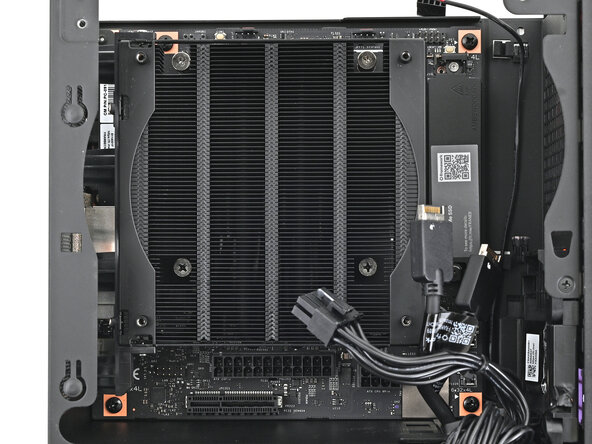
  14. Framework Desktop Mainboard Replacement, Remove the CPU fan screws: 手順 14、 2の画像 1 Framework Desktop Mainboard Replacement, Remove the CPU fan screws: 手順 14、 2の画像 2
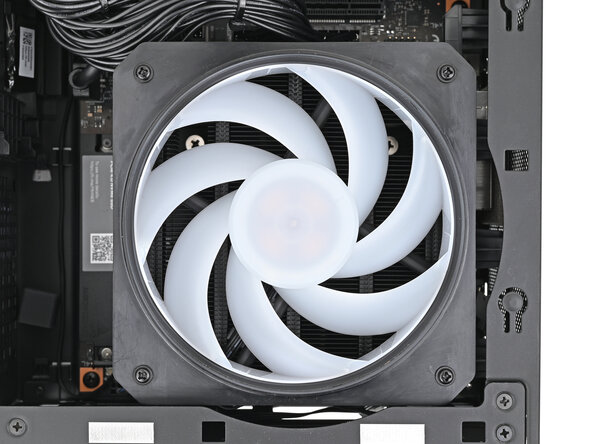
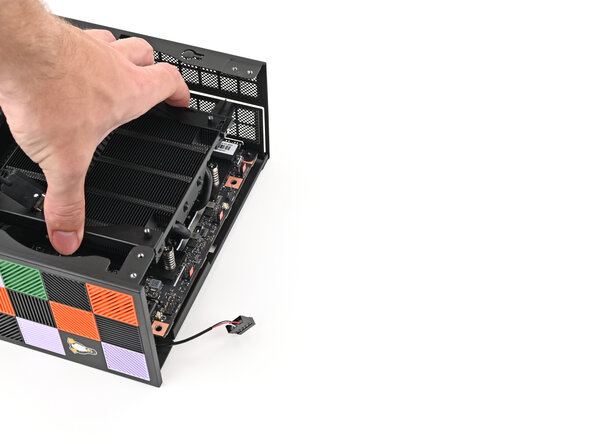
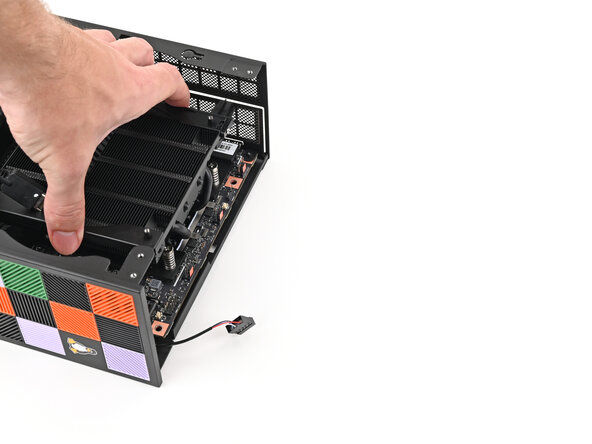
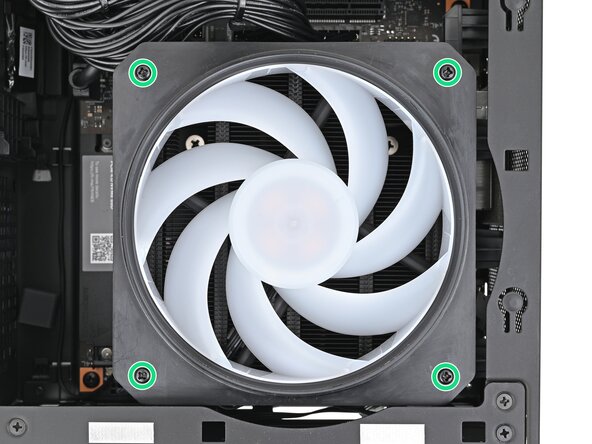
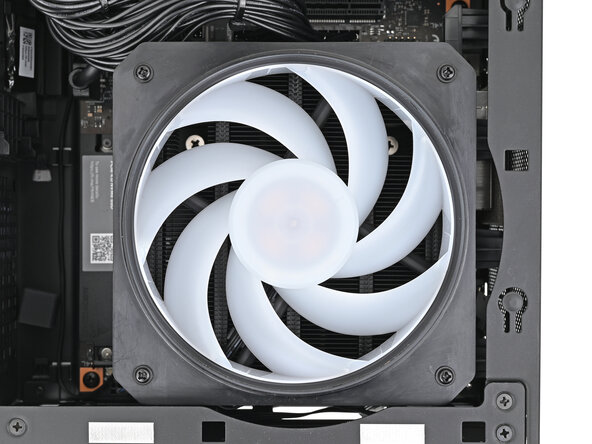
    • Use your Framework Desktop Screwdriver to remove the four 27.3 mm‑long Phillips screws securing the CPU fan and fan duct.

    FixBotに聞いてみる
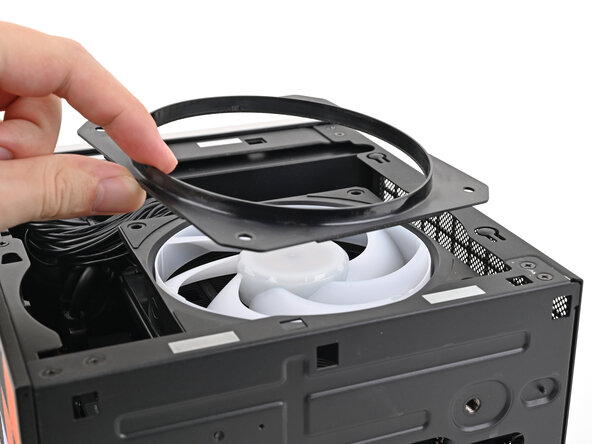
  15. Framework Desktop Mainboard Replacement, Remove the fan duct: 手順 15、 2の画像 1 Framework Desktop Mainboard Replacement, Remove the fan duct: 手順 15、 2の画像 2
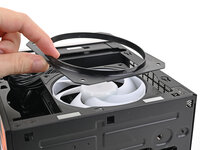
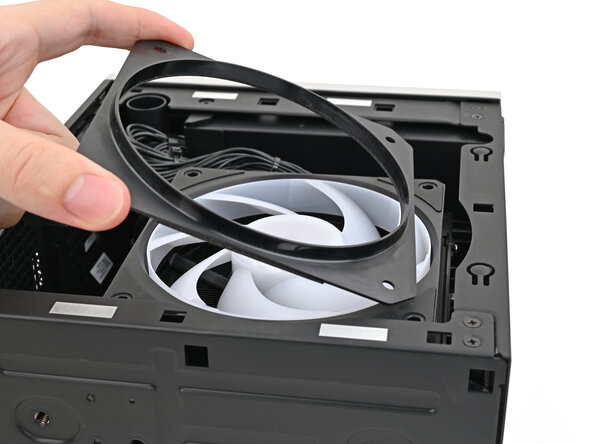
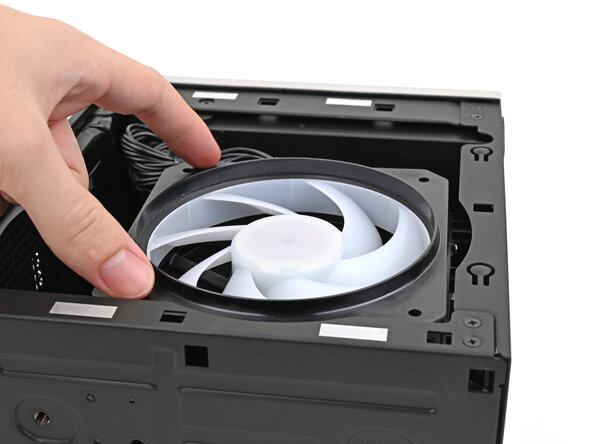
    • Lift the fan duct off the fan and remove it.

    FixBotに聞いてみる
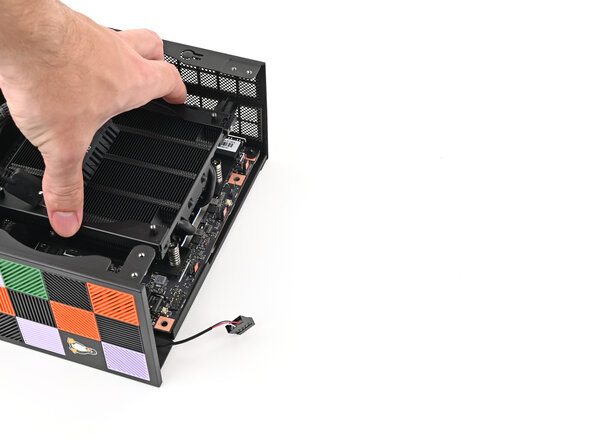
  16. Framework Desktop Mainboard Replacement, Remove the fan: 手順 16、 3の画像 1 Framework Desktop Mainboard Replacement, Remove the fan: 手順 16、 3の画像 2 Framework Desktop Mainboard Replacement, Remove the fan: 手順 16、 3の画像 3
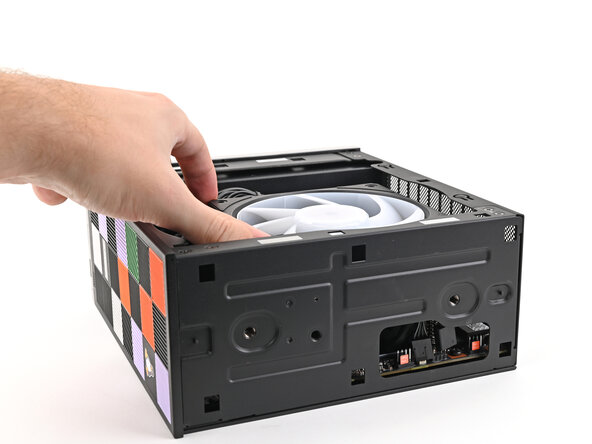
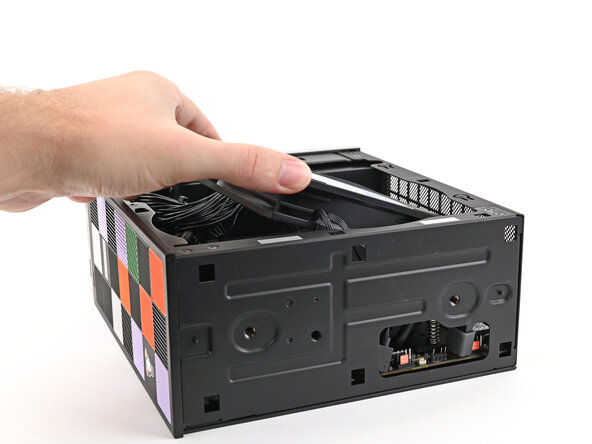
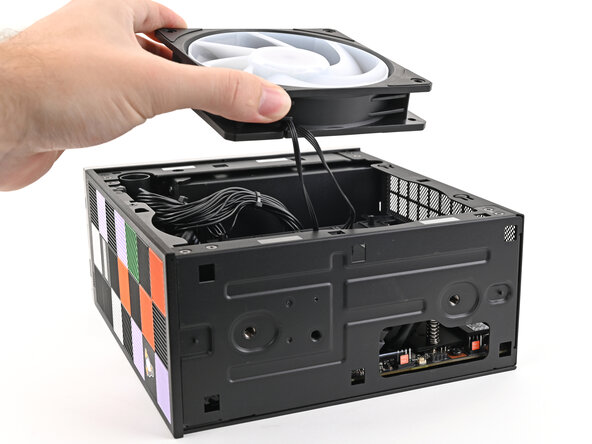
    • Lift the fan out of the chassis, making sure the cables thread through the side of the heatsink.

    FixBotに聞いてみる
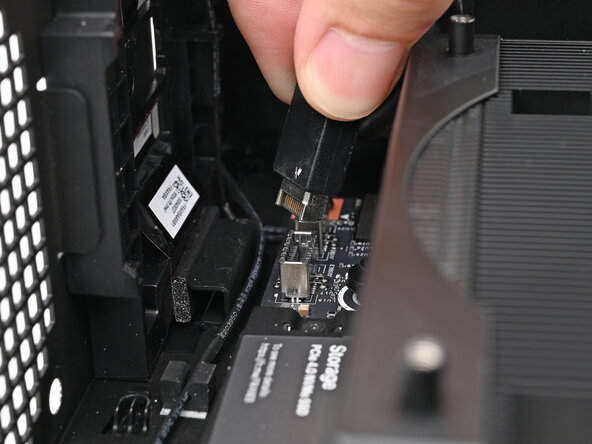
  17. Framework Desktop Mainboard Replacement, Disconnect the top Expansion Card cable: 手順 17、 2の画像 1 Framework Desktop Mainboard Replacement, Disconnect the top Expansion Card cable: 手順 17、 2の画像 2
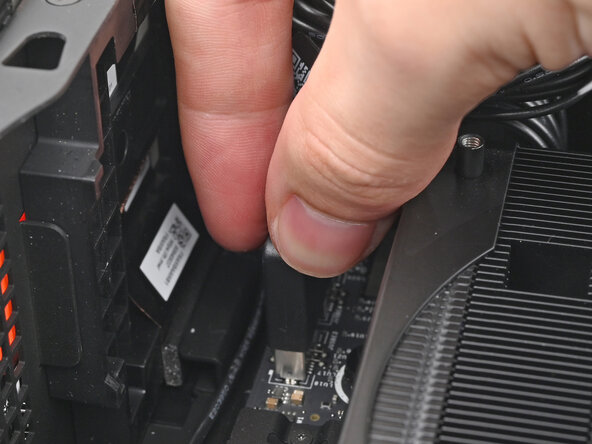
    • Pull the top Expansion Card connector straight out of its socket in the Mainboard to disconnect it.

    FixBotに聞いてみる
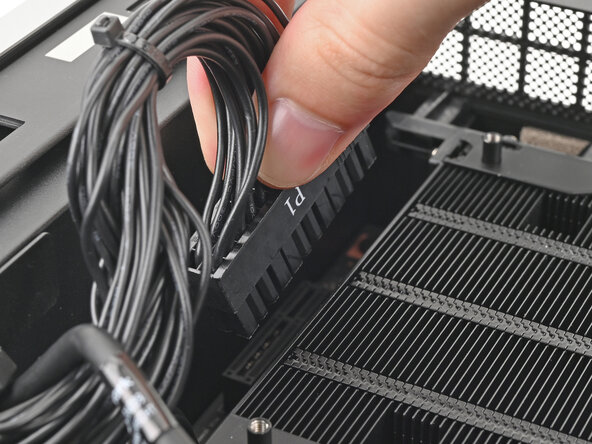
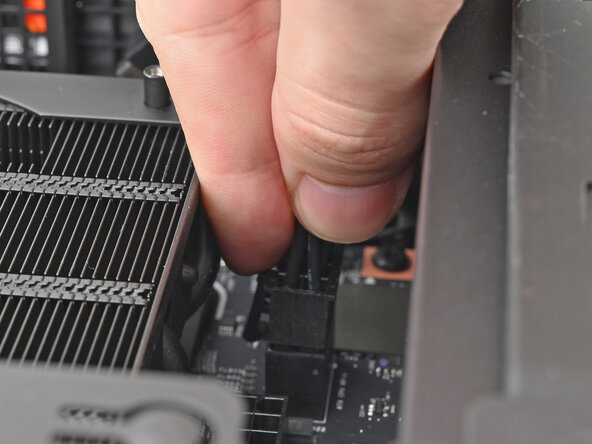
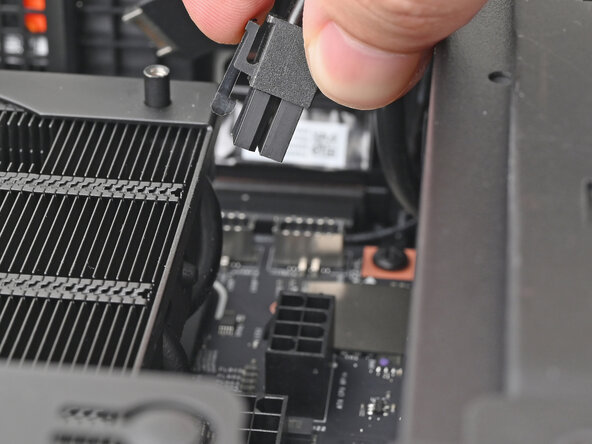
  18. Framework Desktop Mainboard Replacement, Disconnect the main power cable: 手順 18、 2の画像 1 Framework Desktop Mainboard Replacement, Disconnect the main power cable: 手順 18、 2の画像 2
    • While squeezing the clip on the main power cable, pull it straight up and out of its socket to disconnect it.

    FixBotに聞いてみる
  19. Framework Desktop Mainboard Replacement, Disconnect the CPU power cable: 手順 19、 2の画像 1 Framework Desktop Mainboard Replacement, Disconnect the CPU power cable: 手順 19、 2の画像 2
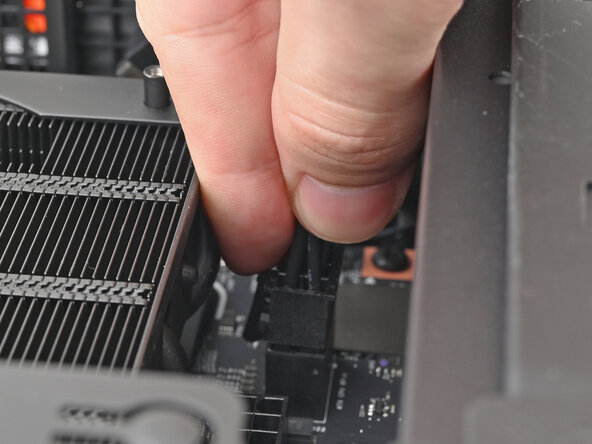
    • While squeezing the clip on the CPU power cable, pull it straight up and out of its socket to disconnect it.

    FixBotに聞いてみる
  20. Framework Desktop Mainboard Replacement, Disconnect the bottom Expansion Card cable: 手順 20、 2の画像 1 Framework Desktop Mainboard Replacement, Disconnect the bottom Expansion Card cable: 手順 20、 2の画像 2
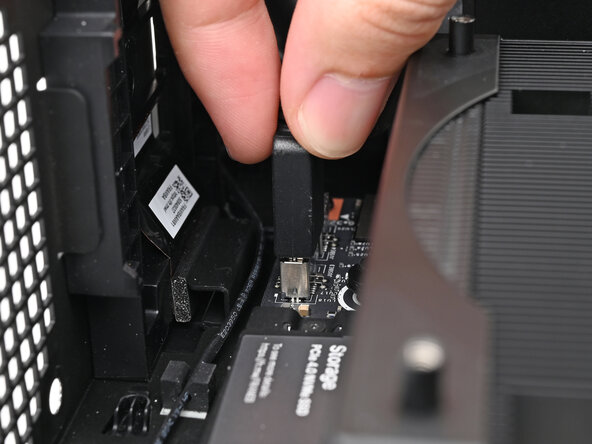
    • Pull the bottom Expansion Card connector straight out of its socket in the Mainboard to disconnect it.

    FixBotに聞いてみる
  21. Framework Desktop Mainboard Replacement, Reposition the Desktop: 手順 21、 2の画像 1 Framework Desktop Mainboard Replacement, Reposition the Desktop: 手順 21、 2の画像 2
    • Lift the Desktop so it stands upright on your work surface.

    FixBotに聞いてみる
  22. Framework Desktop Mainboard Replacement, Remove the Right Panel: 手順 22、 3の画像 1 Framework Desktop Mainboard Replacement, Remove the Right Panel: 手順 22、 3の画像 2 Framework Desktop Mainboard Replacement, Remove the Right Panel: 手順 22、 3の画像 3
    • Use your fingers to grip the top of the Right Panel and slide it upward to release its clips.

    • Remove the Right Panel.

    FixBotに聞いてみる
  23. Framework Desktop Mainboard Replacement, Remove the top plate screws: 手順 23、 3の画像 1 Framework Desktop Mainboard Replacement, Remove the top plate screws: 手順 23、 3の画像 2 Framework Desktop Mainboard Replacement, Remove the top plate screws: 手順 23、 3の画像 3
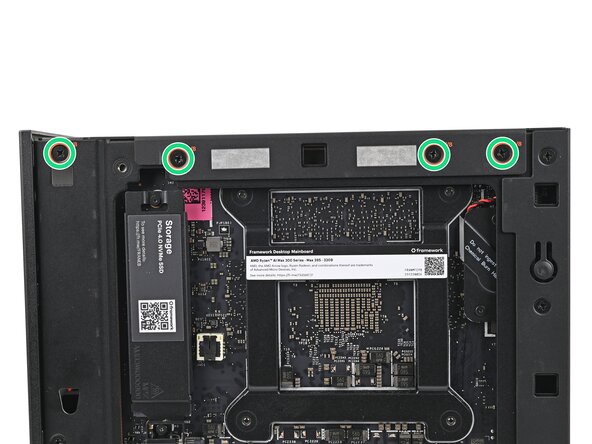
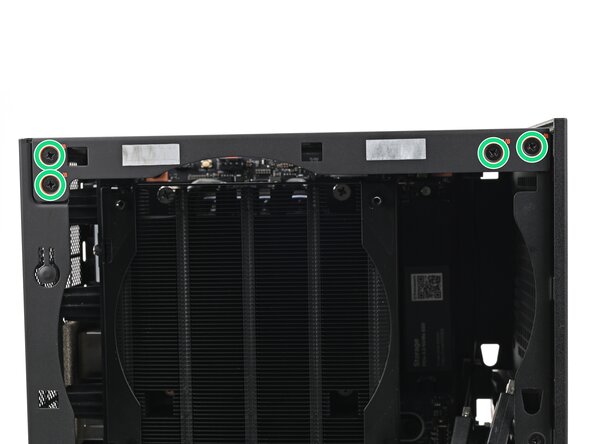
    • While holding the Desktop steady, use your Framework Desktop Screwdriver to remove the eight 4.0 mm‑long Phillips screws securing the top plate.

    FixBotに聞いてみる
  24. Framework Desktop Mainboard Replacement, Remove the top plate: 手順 24、 2の画像 1 Framework Desktop Mainboard Replacement, Remove the top plate: 手順 24、 2の画像 2
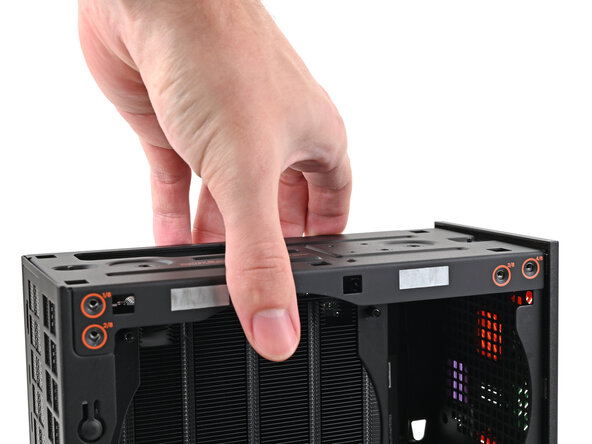
    • Lift the top plate off the Desktop and remove it.

    FixBotに聞いてみる
  25. Framework Desktop Mainboard Replacement, Reposition the Desktop: 手順 25、 2の画像 1 Framework Desktop Mainboard Replacement, Reposition the Desktop: 手順 25、 2の画像 2
    • Lay the left side of the Desktop on your work surface so the underside of the Mainboard is facing upward.

    FixBotに聞いてみる
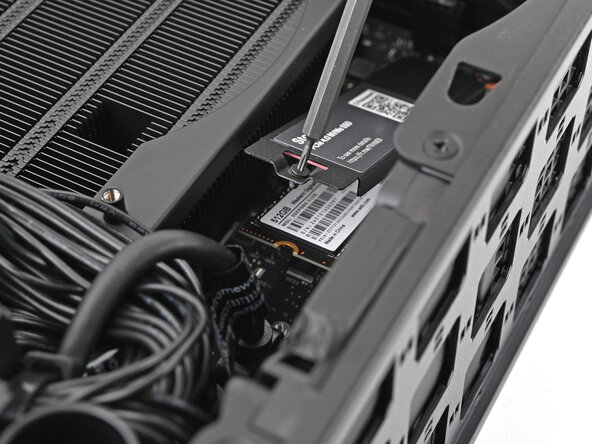
  26. Framework Desktop Mainboard Replacement, Loosen the SSD screw: 手順 26、 2の画像 1 Framework Desktop Mainboard Replacement, Loosen the SSD screw: 手順 26、 2の画像 2
    • If you have secondary storage installed, follow the next two steps. Otherwise, skip here.

    • Use your Framework Desktop Screwdriver to loosen the captive T5 Torx screw securing the SSD.

    • The SSD and its heat spreader will pop up to an angle when its screw is fully loosened.

    FixBotに聞いてみる
  27. Framework Desktop Mainboard Replacement, Remove the SSD: 手順 27、 2の画像 1 Framework Desktop Mainboard Replacement, Remove the SSD: 手順 27、 2の画像 2
    • While holding the heat spreader upright, grab the SSD by its edges and pull it out of its socket.

    • Remove the SSD.

    FixBotに聞いてみる
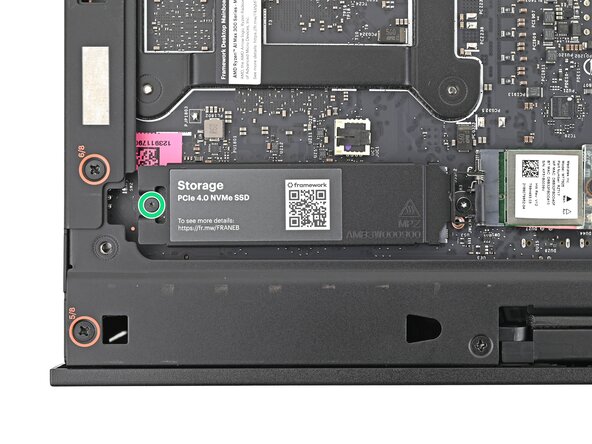
  28. Framework Desktop Mainboard Replacement, Install the heat spreader: 手順 28、 1の画像 1
    • Use your Framework Desktop Screwdriver to tighten the captive T5 Torx screw securing the heat spreader.

    FixBotに聞いてみる
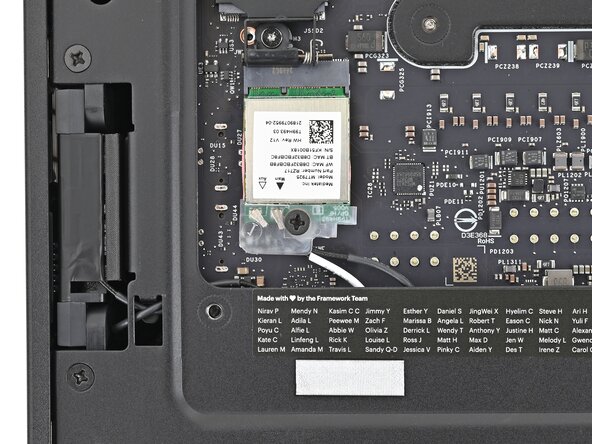
  29. Framework Desktop Mainboard Replacement, Remove the Wi-Fi Module screw: 手順 29、 2の画像 1 Framework Desktop Mainboard Replacement, Remove the Wi-Fi Module screw: 手順 29、 2の画像 2
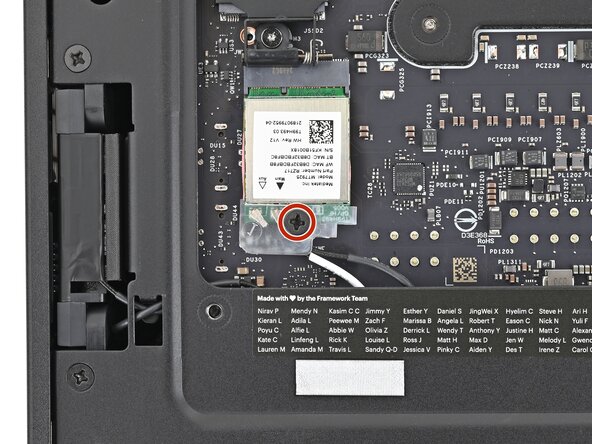
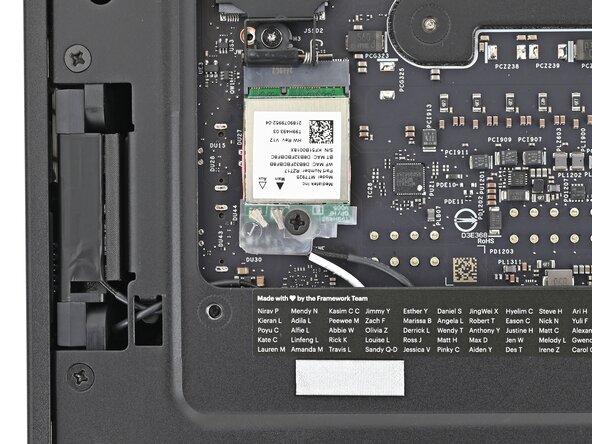
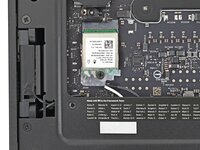
    • Use your Framework Desktop Screwdriver to remove the 7.0 mm‑long Phillips screw securing the Wi-Fi module.

    FixBotに聞いてみる
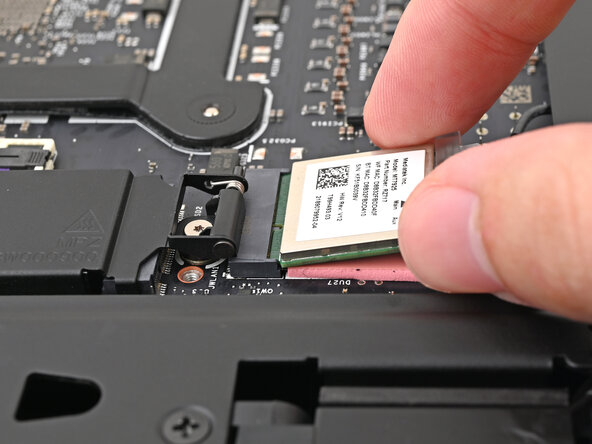
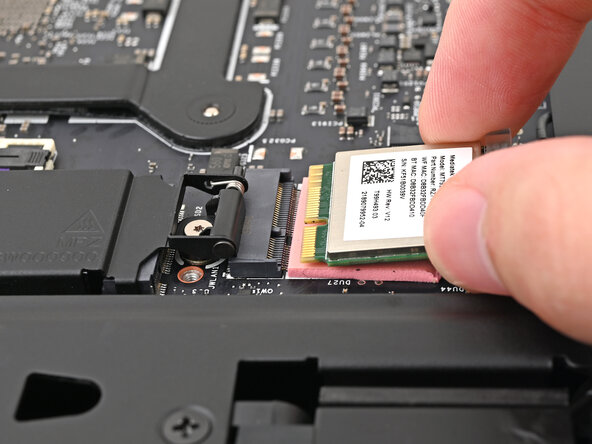
  30. Framework Desktop Mainboard Replacement, Disconnect the Wi-Fi module: 手順 30、 2の画像 1 Framework Desktop Mainboard Replacement, Disconnect the Wi-Fi module: 手順 30、 2の画像 2
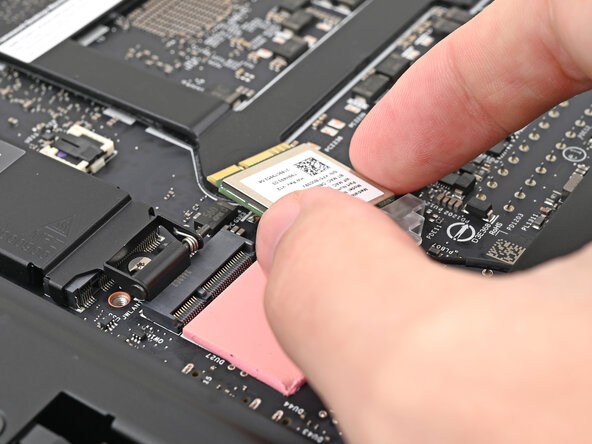
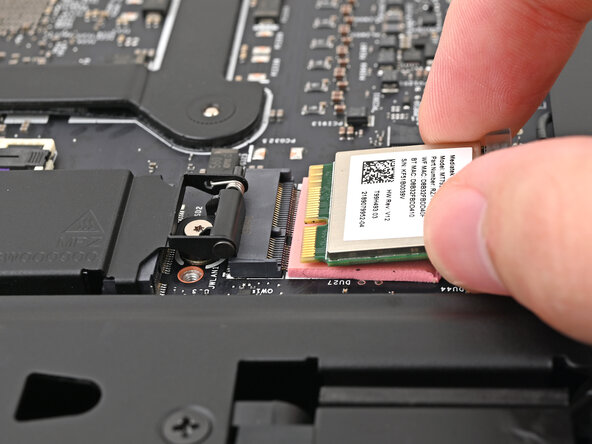
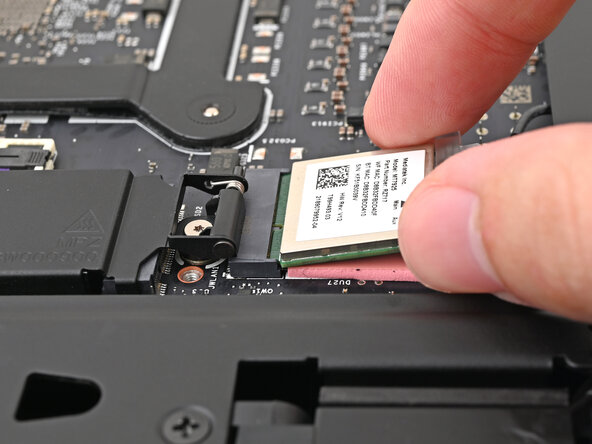
    • Grip the Wi-Fi module by its edges and pull it straight out of its socket.

    FixBotに聞いてみる
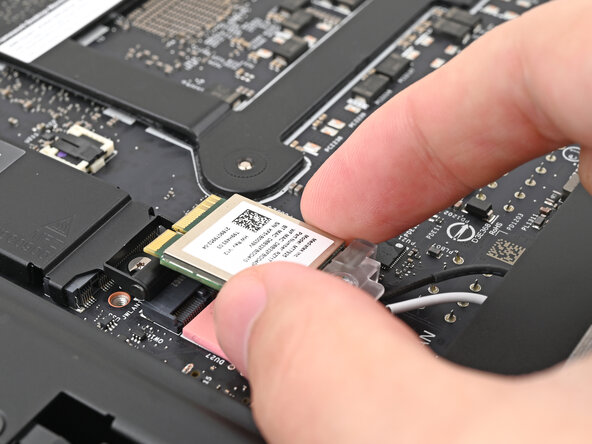
  31. Framework Desktop Mainboard Replacement, Reposition the Wi-Fi module: 手順 31、 3の画像 1 Framework Desktop Mainboard Replacement, Reposition the Wi-Fi module: 手順 31、 3の画像 2 Framework Desktop Mainboard Replacement, Reposition the Wi-Fi module: 手順 31、 3の画像 3
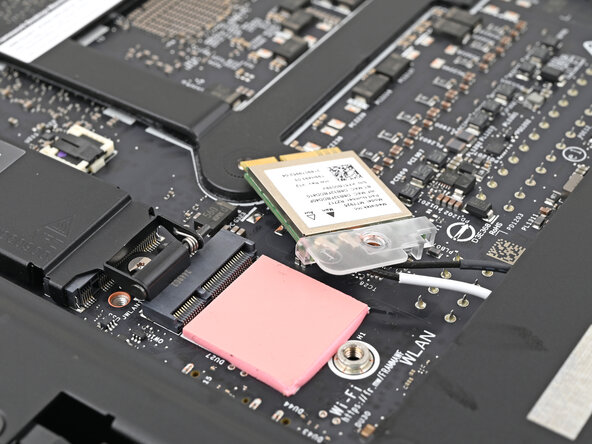
    • Move the Wi-Fi module towards the center of the Mainboard to keep it out of the way.

    FixBotに聞いてみる
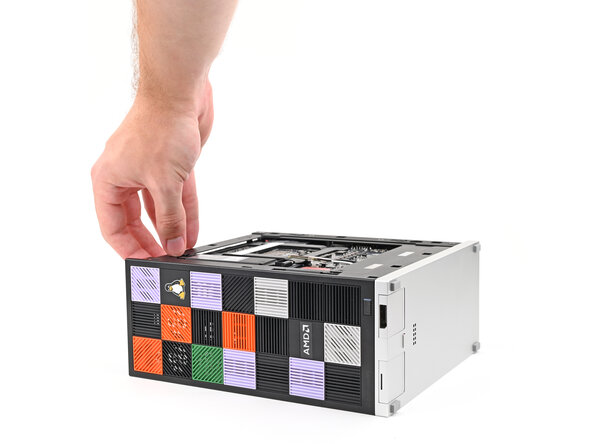
  32. Framework Desktop Mainboard Replacement, Reposition the Desktop: 手順 32、 3の画像 1 Framework Desktop Mainboard Replacement, Reposition the Desktop: 手順 32、 3の画像 2 Framework Desktop Mainboard Replacement, Reposition the Desktop: 手順 32、 3の画像 3
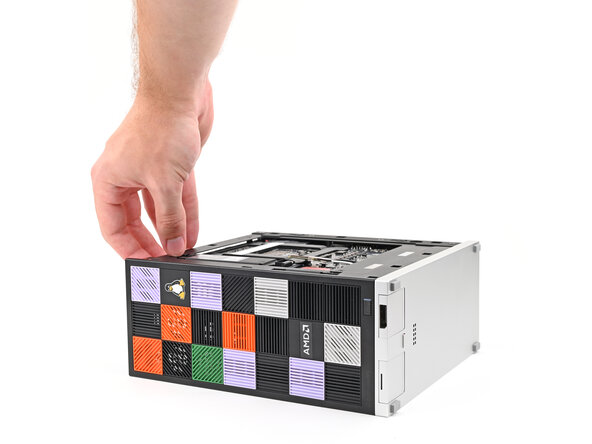
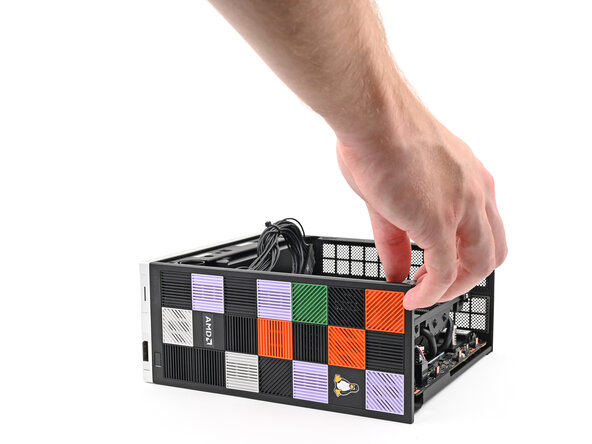
    • Rotate the Desktop onto its right side so the Mainboard is facing upward.

    FixBotに聞いてみる
  33. Framework Desktop Mainboard Replacement, Disconnect the power button: 手順 33、 2の画像 1 Framework Desktop Mainboard Replacement, Disconnect the power button: 手順 33、 2の画像 2
    • Use your fingers to lift the power button cable connector off its nine‑pronged socket on the Mainboard.

    FixBotに聞いてみる
  34. Framework Desktop Mainboard Replacement, Remove the Mainboard screws: 手順 34、 2の画像 1 Framework Desktop Mainboard Replacement, Remove the Mainboard screws: 手順 34、 2の画像 2
    • Use your Framework Desktop Screwdriver to remove the four 8.2 mm‑long Phillips screws securing the Mainboard.

    FixBotに聞いてみる
  35. Framework Desktop Mainboard Replacement, Remove the Mainboard: 手順 35、 3の画像 1 Framework Desktop Mainboard Replacement, Remove the Mainboard: 手順 35、 3の画像 2 Framework Desktop Mainboard Replacement, Remove the Mainboard: 手順 35、 3の画像 3
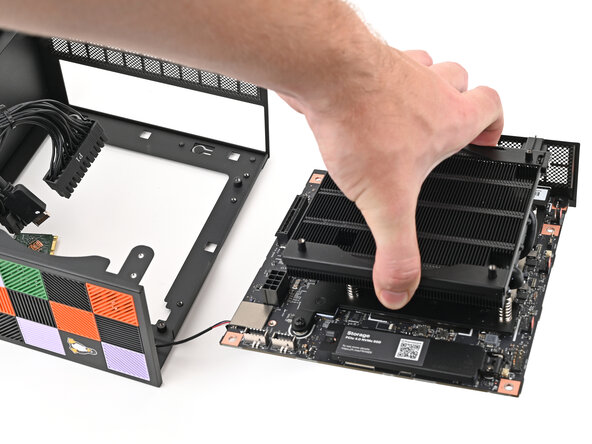
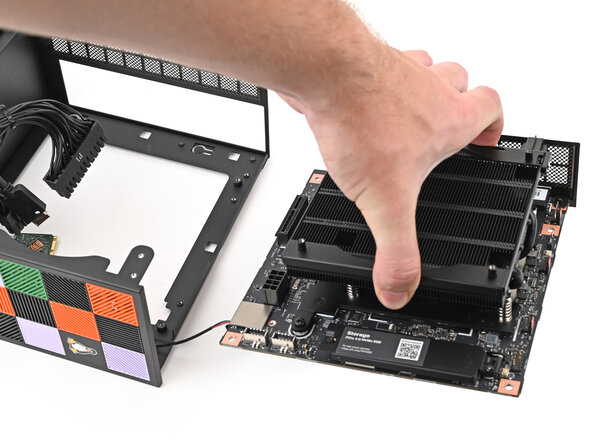
    • Grab the Mainboard by its heatsink and pull it towards the front of the Desktop to slide it out of the rear port cutout.

    • Slide the Mainboard towards the top of the Desktop to remove it from the chassis.

    FixBotに聞いてみる
  36. Framework Desktop Mainboard Replacement, Disassembly complete: 手順 36、 1の画像 1
    • Congratulations on completing disassembly! The remaining steps will show how to reassemble your Framework Desktop.

    FixBotに聞いてみる
  37. Framework Desktop Mainboard Replacement, Place the Mainboard: 手順 37、 3の画像 1 Framework Desktop Mainboard Replacement, Place the Mainboard: 手順 37、 3の画像 2 Framework Desktop Mainboard Replacement, Place the Mainboard: 手順 37、 3の画像 3
    • Grab the Mainboard by its heatsink and slide it into the chassis.

    • Align the rear ports with its cutout and the screw posts with the screw holes on the Mainboard.

    • You'll feel the Mainboard rest onto the screw posts when it's aligned properly.

    • Make sure no cables are trapped underneath the Mainboard before continuing.

    FixBotに聞いてみる
  38. Framework Desktop Mainboard Replacement, Install the Mainboard screws: 手順 38、 2の画像 1 Framework Desktop Mainboard Replacement, Install the Mainboard screws: 手順 38、 2の画像 2
    • Use your Framework Desktop Screwdriver to install the four 8.2 mm‑long Phillips screws securing the Mainboard.

    FixBotに聞いてみる
  39. Framework Desktop Mainboard Replacement, Connect the power button: 手順 39、 2の画像 1 Framework Desktop Mainboard Replacement, Connect the power button: 手順 39、 2の画像 2
    • Slide the power button cable over the nine-pronged connector on the Mainboard.

    FixBotに聞いてみる
  40. Framework Desktop Mainboard Replacement, Reposition the Desktop: 手順 40、 3の画像 1 Framework Desktop Mainboard Replacement, Reposition the Desktop: 手順 40、 3の画像 2 Framework Desktop Mainboard Replacement, Reposition the Desktop: 手順 40、 3の画像 3
    • Rotate the Desktop onto its left side so the underside of the Mainboard is facing upward.

    FixBotに聞いてみる
  41. Framework Desktop Mainboard Replacement, Install the Wi-Fi module: 手順 41、 2の画像 1 Framework Desktop Mainboard Replacement, Install the Wi-Fi module: 手順 41、 2の画像 2
    • Hold the Wi-Fi module by its edges. Don't touch the gold contacts with your fingers. If you do, wipe the contacts with a clean, lint-free cloth to remove any finger oils.

    • Align the Wi-Fi module's gold contacts and notch with the socket on the Mainboard.

    • Insert the Wi-Fi module into the socket at a shallow angle. The gold contacts should mostly be covered by the socket.

    • The Wi-Fi module fits into the socket in one orientation. If it doesn't fit, try flipping the module.

    FixBotに聞いてみる
  42. Framework Desktop Mainboard Replacement, Install the Wi-Fi module screw: 手順 42、 2の画像 1 Framework Desktop Mainboard Replacement, Install the Wi-Fi module screw: 手順 42、 2の画像 2
    • Use your Framework Desktop Screwdriver to install the 7.0 mm‑long Phillips screw securing the Wi-Fi module.

    FixBotに聞いてみる
  43. Framework Desktop Mainboard Replacement, Loosen the heat spreader screw: 手順 43、 1の画像 1
    • Use your Framework Desktop Screwdriver to loosen the captive T5 Torx screw securing the heat spreader.

    FixBotに聞いてみる
  44. Framework Desktop Mainboard Replacement, Install the SSD: 手順 44、 2の画像 1 Framework Desktop Mainboard Replacement, Install the SSD: 手順 44、 2の画像 2
    • If you want to install secondary storage, follow the next two steps. Otherwise, skip here.

    • Hold the SSD by its edges. Don't touch the gold contacts with your fingers. If you do, wipe the contacts with a clean, lint-free cloth to remove any finger oils.

    • While holding the SSD heat spreader upright, align the SSD's gold contacts with its socket.

    • Insert the SSD into the socket at a shallow angle. The gold contacts should mostly be covered by the socket.

    • The SSD fits into the socket in one orientation. If it doesn't feel like it fits, try flipping the module.

    • Lay the heat spreader back onto the SSD.

    FixBotに聞いてみる
  45. Framework Desktop Mainboard Replacement, Install the SSD screw: 手順 45、 1の画像 1
    • Use your Framework Desktop Screwdriver to tighten the captive T5 Torx screw securing the SSD.

    FixBotに聞いてみる
  46. Framework Desktop Mainboard Replacement, Reposition the Desktop: 手順 46、 2の画像 1 Framework Desktop Mainboard Replacement, Reposition the Desktop: 手順 46、 2の画像 2
    • Rotate the Desktop so it sits upright on your work surface.

    FixBotに聞いてみる
  47. Framework Desktop Mainboard Replacement, Place the top plate: 手順 47、 2の画像 1 Framework Desktop Mainboard Replacement, Place the top plate: 手順 47、 2の画像 2
    • Place the top plate on top of the Desktop, making sure it slots into the chassis so the orange circles are visible.

    FixBotに聞いてみる
  48. Framework Desktop Mainboard Replacement: 手順 48、 2の画像 1 Framework Desktop Mainboard Replacement: 手順 48、 2の画像 2
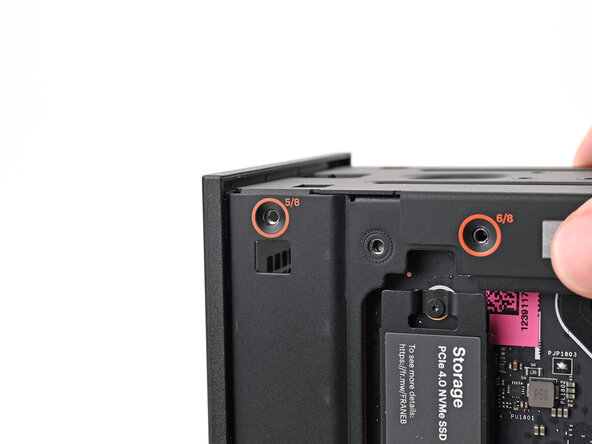
    • Make sure the matching screw hole on the top plate labeled "5/8" is slotted on the inside of the Chassis so that the orange circle is visible.

    FixBotに聞いてみる
  49. Framework Desktop Mainboard Replacement, Install the top plate screws: 手順 49、 3の画像 1 Framework Desktop Mainboard Replacement, Install the top plate screws: 手順 49、 3の画像 2 Framework Desktop Mainboard Replacement, Install the top plate screws: 手順 49、 3の画像 3
    • While holding the Desktop steady, use your Framework Desktop Screwdriver to install the eight 4.0 mm‑long Phillips screws securing the top plate.

    FixBotに聞いてみる
  50. Framework Desktop Mainboard Replacement, Install the Right Panel: 手順 50、 3の画像 1 Framework Desktop Mainboard Replacement, Install the Right Panel: 手順 50、 3の画像 2 Framework Desktop Mainboard Replacement, Install the Right Panel: 手順 50、 3の画像 3
    • Slide the Right Panel onto the right edge of the chassis, from top to bottom, and press it flat to ensure its clips are slotted into place.

    • There should be a small gap between the bottom of the Right Panel and the silver base.

    • Push the Right Panel towards the base of the computer to engage the clips.

    FixBotに聞いてみる
  51. Framework Desktop Mainboard Replacement, Reposition the Mainboard: 手順 51、 2の画像 1 Framework Desktop Mainboard Replacement, Reposition the Mainboard: 手順 51、 2の画像 2
    • Lay the right side of the Desktop on your work surface so the Mainboard is facing upward.

    FixBotに聞いてみる
  52. Framework Desktop Mainboard Replacement, Connect the bottom Expansion Card cable: 手順 52、 2の画像 1 Framework Desktop Mainboard Replacement, Connect the bottom Expansion Card cable: 手順 52、 2の画像 2
    • Slide the bottom Expansion Card cable into its socket on the Mainboard.

    FixBotに聞いてみる
  53. Framework Desktop Mainboard Replacement, Connect the CPU power cable: 手順 53、 2の画像 1 Framework Desktop Mainboard Replacement, Connect the CPU power cable: 手順 53、 2の画像 2
    • Orient the CPU power supply cable so its clip is facing the heatsink.

    • Slide the cable into its socket on the Mainboard until you feel it click into place.

    FixBotに聞いてみる
  54. Framework Desktop Mainboard Replacement, Connect the main power cable: 手順 54、 2の画像 1 Framework Desktop Mainboard Replacement, Connect the main power cable: 手順 54、 2の画像 2
    • Orient the main power supply cable so its clip is facing away from the heatsink.

    • Slide the cable into its socket on the Mainboard until you feel it click into place.

    FixBotに聞いてみる
  55. Framework Desktop Mainboard Replacement, Connect the top Expansion Card cable: 手順 55、 2の画像 1 Framework Desktop Mainboard Replacement, Connect the top Expansion Card cable: 手順 55、 2の画像 2
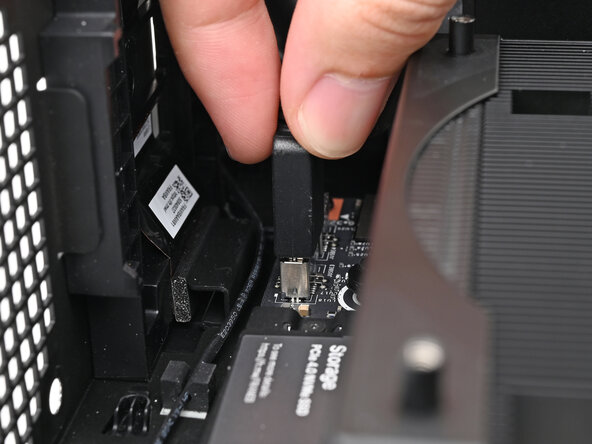
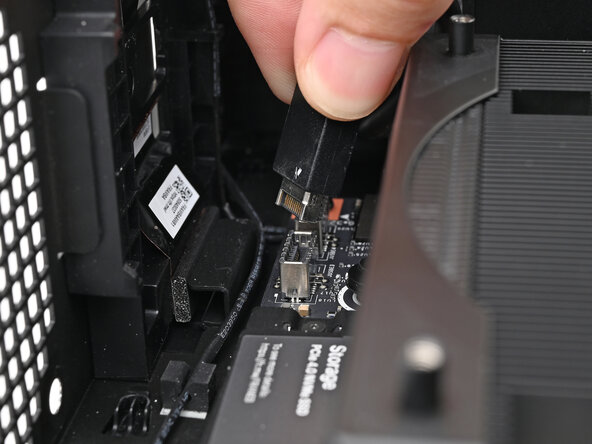
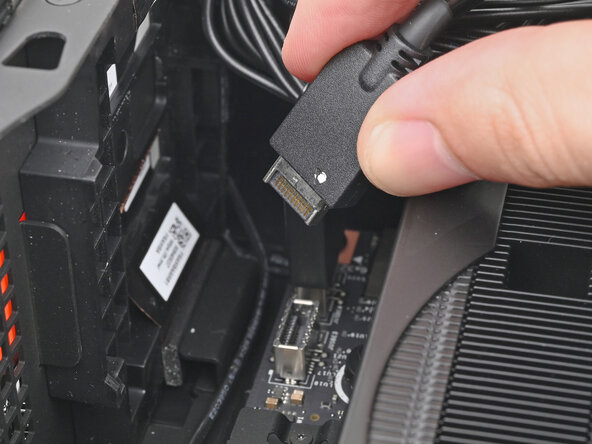
    • Slide the top Expansion Card cable into its socket on the Mainboard.

    FixBotに聞いてみる
  56. Framework Desktop Mainboard Replacement, Insert the fan: 手順 56、 3の画像 1 Framework Desktop Mainboard Replacement, Insert the fan: 手順 56、 3の画像 2 Framework Desktop Mainboard Replacement, Insert the fan: 手順 56、 3の画像 3
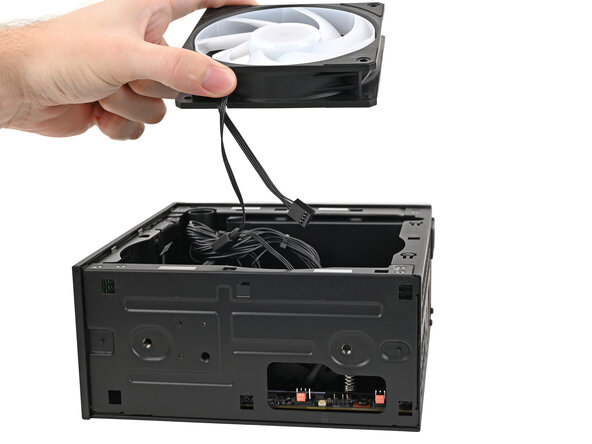
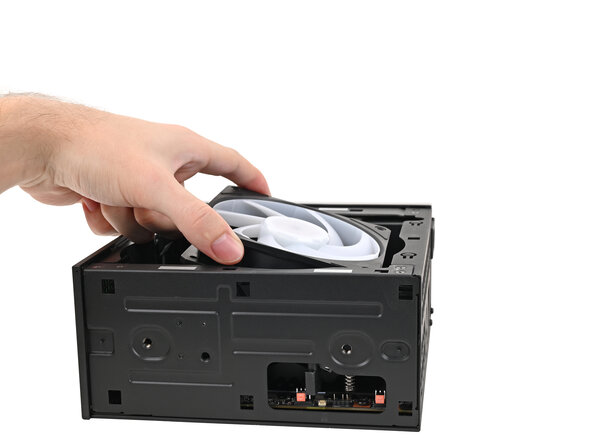
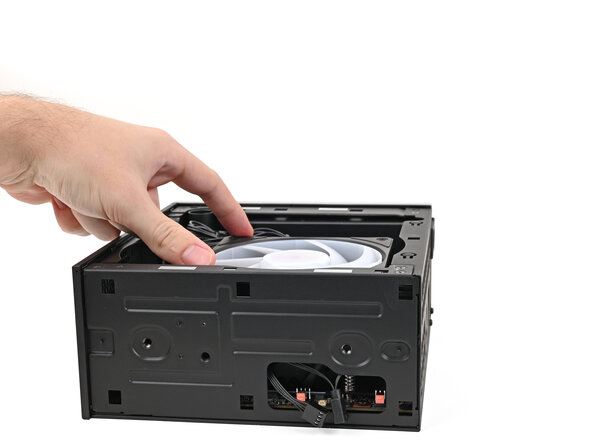
    • Orient the fan so its label is facing downward and the cable(s) is pointing towards the top of the computer.

    • If your fan has an arrow indicating airflow direction, make sure it's pointed towards the heatsink.

    • If you're using a different fan, orient it such that the fan is blowing towards the heatsink, not away.

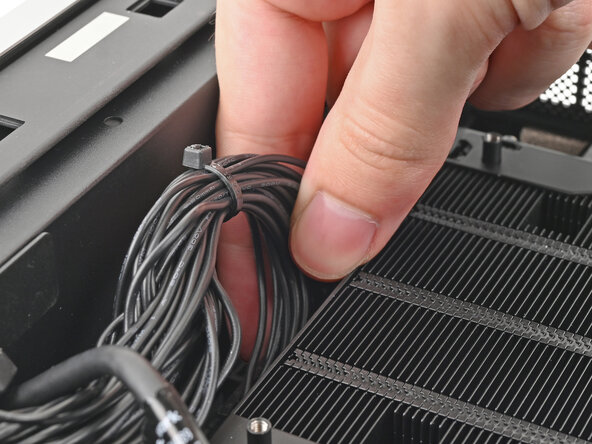
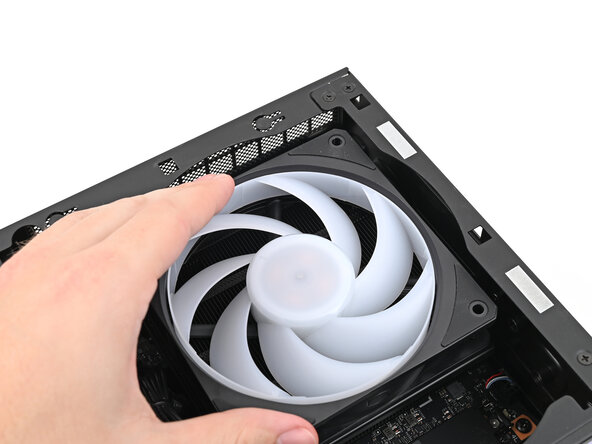
    • Lay the fan on top of the heatsink, making sure the cables are routed so they poke out of the hole on the top of the computer.

    FixBotに聞いてみる
  57. Framework Desktop Mainboard Replacement: 手順 57、 3の画像 1 Framework Desktop Mainboard Replacement: 手順 57、 3の画像 2 Framework Desktop Mainboard Replacement: 手順 57、 3の画像 3
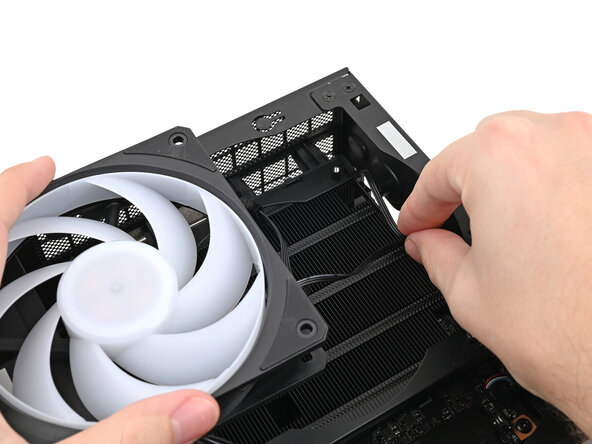
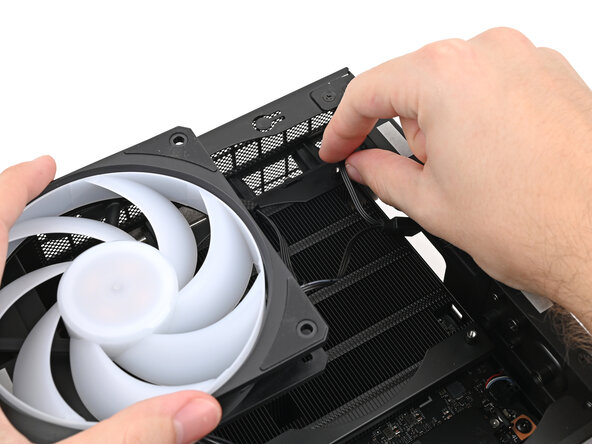
    • If the cables aren't routed properly, lift the fan up slightly and use your fingers to reposition the cables over the side of the heatsink.

    • If you're installing an RGB fan, make sure the "male" end of the RGB cable is covered and set aside in the corner of the chassis.

    FixBotに聞いてみる
  58. Framework Desktop Mainboard Replacement, Insert the fan duct: 手順 58、 2の画像 1 Framework Desktop Mainboard Replacement, Insert the fan duct: 手順 58、 2の画像 2
    • Lay the fan duct on top of the fan with the lip facing upward.

    • Align the screw holes on the fan duct with the ones on the fan.

    FixBotに聞いてみる
  59. Framework Desktop Mainboard Replacement, Install the fan screws: 手順 59、 2の画像 1 Framework Desktop Mainboard Replacement, Install the fan screws: 手順 59、 2の画像 2
    • Use your Framework Desktop Screwdriver to install the four 27.3 mm‑long screws securing the fan and fan duct.

    FixBotに聞いてみる
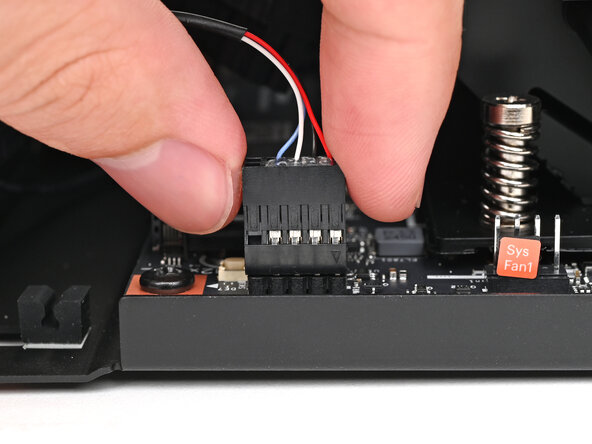
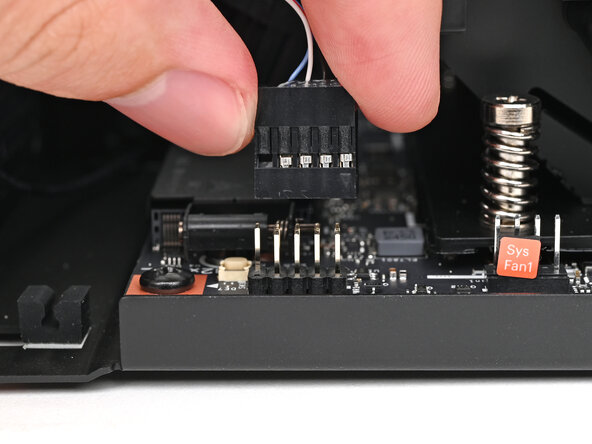
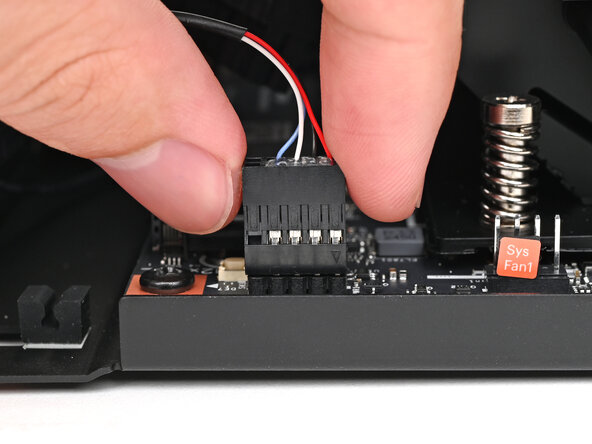
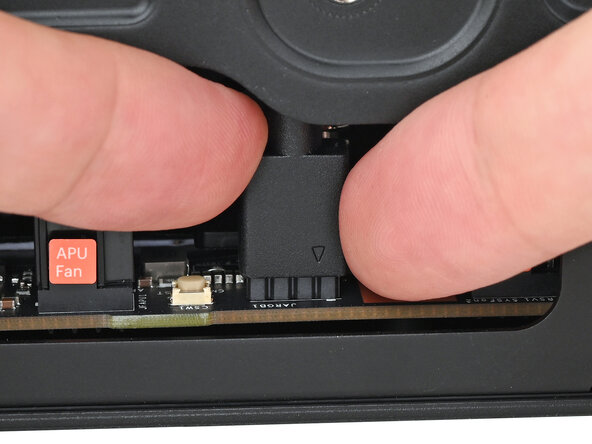
  60. Framework Desktop Mainboard Replacement, Connect the fan: 手順 60、 2の画像 1 Framework Desktop Mainboard Replacement, Connect the fan: 手順 60、 2の画像 2
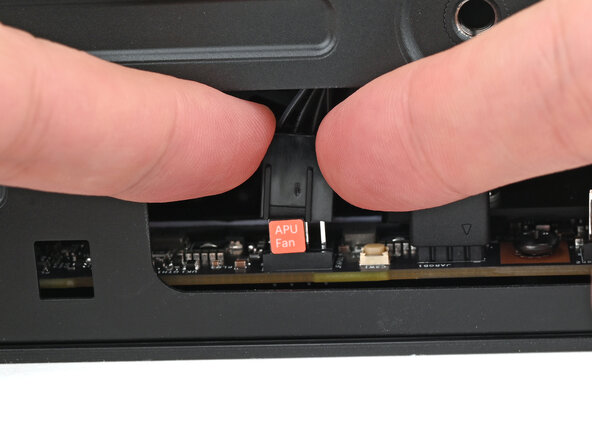
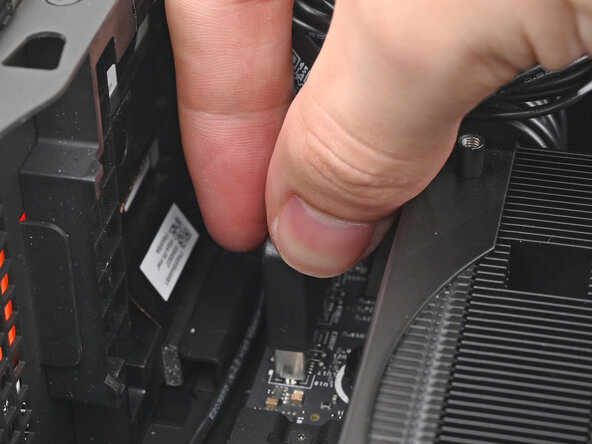
    • Orient the main fan cable so its two vertical lines are facing you.

    • Slide the main fan cable over the four-pronged connector labeled "APU Fan," making sure the orange label slots between the vertical lines.

    FixBotに聞いてみる
  61. Framework Desktop Mainboard Replacement, Connect the RGB cable: 手順 61、 3の画像 1 Framework Desktop Mainboard Replacement, Connect the RGB cable: 手順 61、 3の画像 2 Framework Desktop Mainboard Replacement, Connect the RGB cable: 手順 61、 3の画像 3
    • If you aren't using an RGB fan, then skip this step.

    • Orient the RGB cable so the arrow is on the right side of the connector.

    • Use your fingers to slide the RGB cable over the three pronged connector located to the right of the "APU Fan" connector.

    FixBotに聞いてみる
  62. Framework Desktop Mainboard Replacement, Loosen the heat spreader screw: 手順 62、 1の画像 1
    • Use your Framework Desktop Screwdriver to loosen the captive T5 Torx screw securing the SSD.

    FixBotに聞いてみる
  63. Framework Desktop Mainboard Replacement, Install the SSD: 手順 63、 2の画像 1 Framework Desktop Mainboard Replacement, Install the SSD: 手順 63、 2の画像 2
    • Hold the SSD by its edges. Don't touch the gold contacts with your fingers. If you do, wipe the contacts with a clean, lint-free cloth to remove any finger oils.

    • While holding the heat spreader upright, align the SSD's gold contacts with its socket.

    • Insert the SSD into the socket at a shallow angle. The gold contacts should mostly be covered by the socket.

    • The SSD fits into the socket in one orientation. If it doesn't feel like it fits, try flipping the module.

    FixBotに聞いてみる
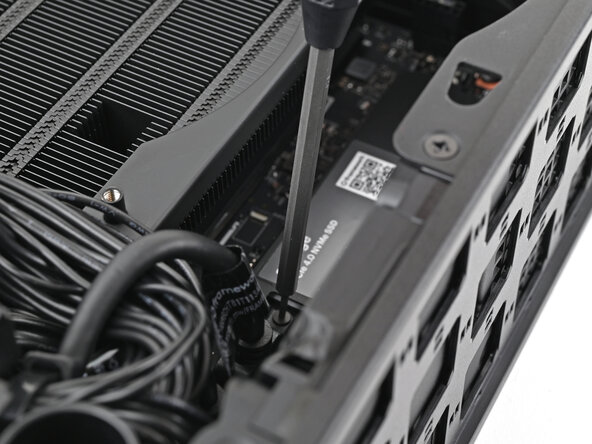
  64. Framework Desktop Mainboard Replacement, Install the SSD screw: 手順 64、 3の画像 1 Framework Desktop Mainboard Replacement, Install the SSD screw: 手順 64、 3の画像 2 Framework Desktop Mainboard Replacement, Install the SSD screw: 手順 64、 3の画像 3
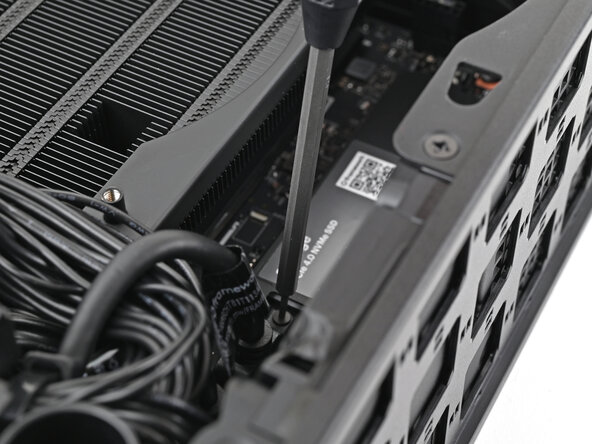
    • Insert your Framework Desktop Screwdriver into the captive screw on the primary storage heat spreader and press it flat to the Mainboard.

    • Tighten the screw securing the SSD.

    FixBotに聞いてみる
  65. Framework Desktop Mainboard Replacement, Install the Left Panel: 手順 65、 3の画像 1 Framework Desktop Mainboard Replacement, Install the Left Panel: 手順 65、 3の画像 2 Framework Desktop Mainboard Replacement, Install the Left Panel: 手順 65、 3の画像 3
    • Slide the Left Panel onto the left edge of the chassis and press it flat to ensure its clips are slotted into place.

    • There should be a small gap between the bottom of the Left Panel and the silver base.

    • Push the Left Panel towards the base of the computer to close the gap and engage the clips.

    FixBotに聞いてみる
  66. Framework Desktop Mainboard Replacement, Install the Top Panel: 手順 66、 3の画像 1 Framework Desktop Mainboard Replacement, Install the Top Panel: 手順 66、 3の画像 2 Framework Desktop Mainboard Replacement, Install the Top Panel: 手順 66、 3の画像 3
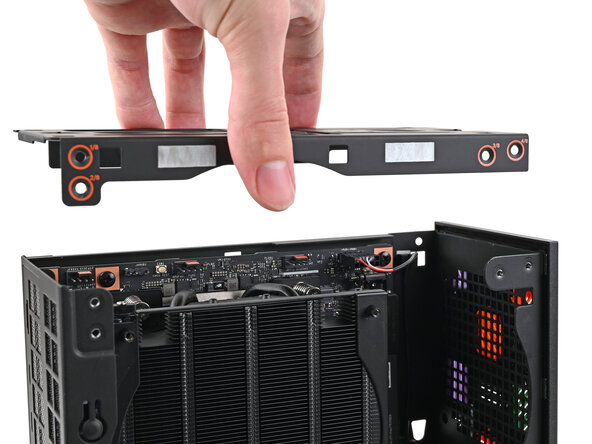
    • Orient the Top Panel so its arrow is pointing towards the rear of the computer.

    • While holding the Top Panel at a slight downward angle, slide it across the top of the chassis (from rear to front) until you feel its clips catch.

    • There should be a small gap between the Top Panel and the front of the Desktop.

    • Lay the Top Panel flat on the chassis to align the remaining clips.

    FixBotに聞いてみる
  67. Framework Desktop Mainboard Replacement: 手順 67、 2の画像 1 Framework Desktop Mainboard Replacement: 手順 67、 2の画像 2
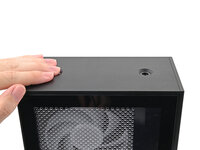
    • While securing the computer with one hand, use the other hand to slide the Top Panel towards the front of the computer to close the gap and engage the clips.

    FixBotに聞いてみる
  68. Framework Desktop Mainboard Replacement, Install the Handle: 手順 68、 2の画像 1 Framework Desktop Mainboard Replacement, Install the Handle: 手順 68、 2の画像 2
    • If you're installing the Handle on your Desktop, follow this step. Otherwise, skip it.

    • Place the Handle over the Top Panel screw holes.

    • While holding the Handle in place, twist the screw threads on both sides clockwise until they're snug on the Top Panel.

    FixBotに聞いてみる
  69. Framework Desktop Mainboard Replacement, Install the top panel screws: 手順 69、 3の画像 1 Framework Desktop Mainboard Replacement, Install the top panel screws: 手順 69、 3の画像 2 Framework Desktop Mainboard Replacement, Install the top panel screws: 手順 69、 3の画像 3
    • Insert the top panel screw into its hole and twist clockwise until it feels snug.

    FixBotに聞いてみる
  70. Framework Desktop Mainboard Replacement: 手順 70、 3の画像 1 Framework Desktop Mainboard Replacement: 手順 70、 3の画像 2 Framework Desktop Mainboard Replacement: 手順 70、 3の画像 3
    • Repeat the same procedure for the other top panel screw.

    FixBotに聞いてみる
  71. Framework Desktop Mainboard Replacement: 手順 71、 3の画像 1 Framework Desktop Mainboard Replacement: 手順 71、 3の画像 2 Framework Desktop Mainboard Replacement: 手順 71、 3の画像 3
    • Use your finger to close the two D-rings on the top panel screws.

    FixBotに聞いてみる
終わりに

You finished fixing your Framework Desktop!

Take your e-waste to an R2 or e-Stewards certified recycler.

If you need help, contact Framework support.

ある他の人がこのガイドを完成しました。

Alex Diaz-Kokaisl

メンバー登録日: 01/16/22

237,702 ポイント

1,171のガイドは作成済み

0件のガイドコメント

コメントを追加

統計データ:

過去 24時間: 3

過去 7 日: 21

過去 30 日: 228

今までの合計 1,607