はじめに
Use this guide to replace an old or damaged fan inside the Epson Powerlite 460 projector.
The fan ensures the device stays cool and prevents overheating. If the fan is making unusual "rattling" sounds or is not correctly functioning, the fan will need to be replaced.
Review the troubleshooting guide before replacing the fan. Other factors, such as a faulty power supply, can also cause overheating.
必要な工具と部品
-
-
Orient the device so that the projection window is facing down and the bottom of the device is visible.
-
Remove the eleven 13.3mm screws using a Phillips #2 screwdriver.
 FixBotに聞いてみる
-
-
-
Flip the device over so that the projection window is facing up.
-
Slide the air filter cover opener in the direction indicated by the arrow to release the air filter cover.
-
Remove the air filter cover.
-
-
-
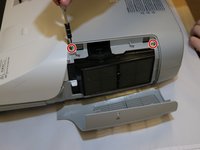
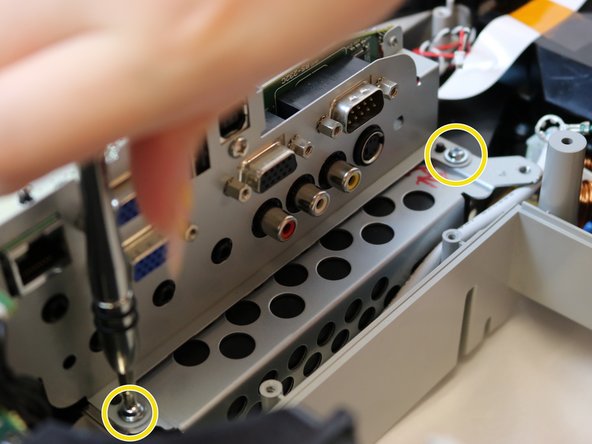
Remove the two 13.3mm screws from the top cover above the air filter using a Phillips #2 screwdriver.
-
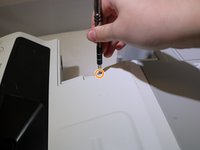
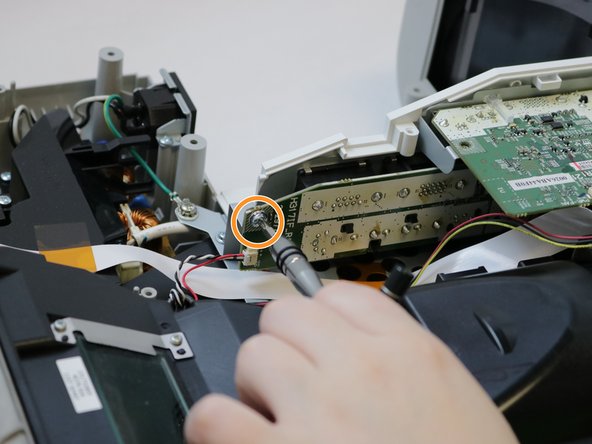
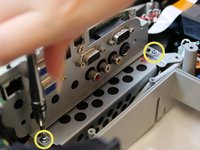
Remove one 13.3mm screw from above the connection panel using a Phillips #2 screwdriver.
-
-
-
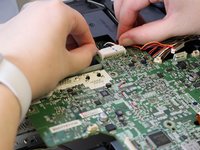
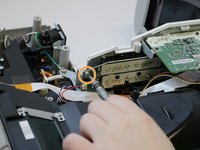
Use the opening tool to disconnect eleven clip cables on the motherboard.
-
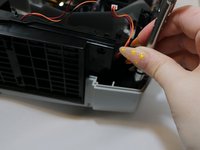
Disconnect the black cable clip by pressing the side tabs. Use the opening tool to release the cable if it is difficult.
-
To disconnect the ribbon cables, use the opening tool to lift the locking flap on the connector and slide the cable back and out of the connector.
-
-
-
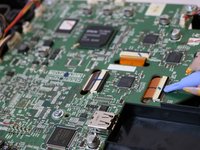
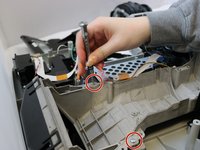
Disconnect the clip cable from below the motherboard and behind the connection panel.
-
-
-
-
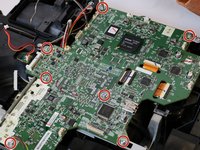
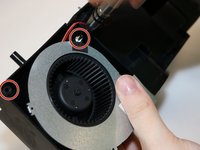
Remove seven 8.1mm screws from the motherboard using a Phillips #2 screwdriver.
-
Remove the 8.1mm screw from the back of the projection panel below the motherboard using a Phillips #2 screwdriver.
-
Remove two 8.1mm screws from the front of the projection panel using a Phillips #2 screwdriver.
-
-
-
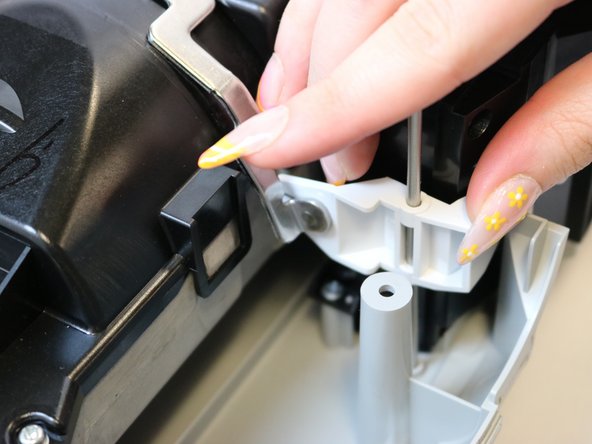
Use a Phillips #0 screwdriver to remove the two 9.1mm screws from the focus lever adjuster.
-
Remove the focus lever mechanism by sliding the metal rod out of the plastic lever and lifting out of the unit.
-
-
-
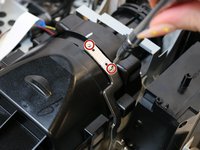
Remove the two 13.3mm screws from the metal bracket surrounding the lens unit using a Phillips #0 screwdriver.
-
Remove the bracket.
-
-
-
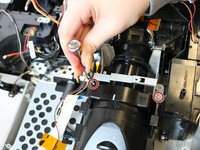
Remove the two 13.3mm screws from the lens cover using a Phillips #0 screwdriver.
-
Use your finger to release the clips on either side of the lens cover.
-
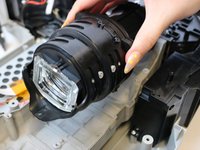
Lift the lens cover to remove it from the projector.
-
-
-
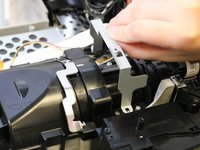
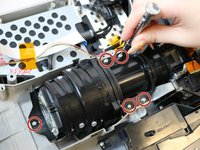
Remove the five 9.4mm screws from the lens using a Phillips #0 screwdriver.
-
Lift the lens out of the unit.
-
-
-
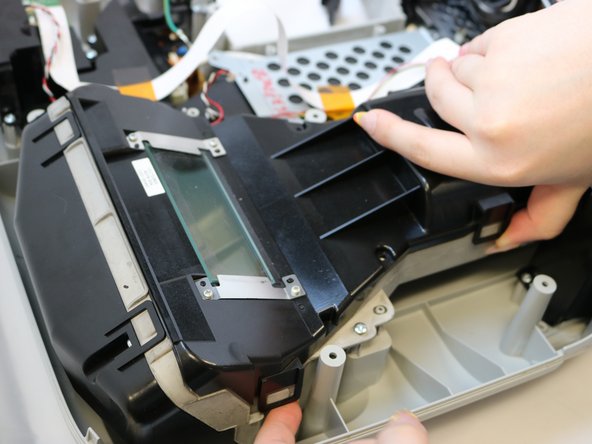
Remove the two 13.3 mm screws on the parabolic dish/mirror.
-
Pull out the parabolic dish/mirror.
-


To reassemble your device, follow these instructions in reverse order.
チーム

Eastern Washington University, Team 1-1, Carnegie Spring 2022 Eastern Washington University, Team 1-1, Carnegie Spring 2022人のメンバー
EWU-CARNEGIE-S22S1G1
3 メンバー
10のガイドは作成済み