はじめに
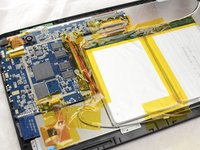
Use the guide to help you replace the battery in your in a Envizen V100M.
必要な工具と部品
-
-
Remove the two screws on the side of the tablet that hold the back cover in place using the ifixit PH00 screwdriver.
-
The two screws for the back cover are: 1.5mm diameter x 3.5mm long
 FixBotに聞いてみる
-
-
-
-
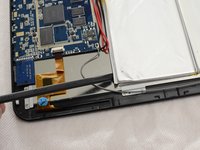
Remove the non-conductive tape located on the battery and motherboard assembly.
-
-
-
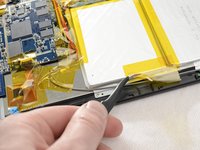
Slide the ifixit spudger under the battery, and work down the side of the battery, releasing it from the adhesive holding it down.
-
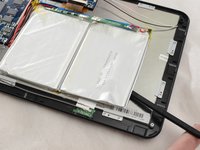
Remove battery from the Envizen V100M.
-
-
この手順で使用する道具:Tweezers$4.99
-
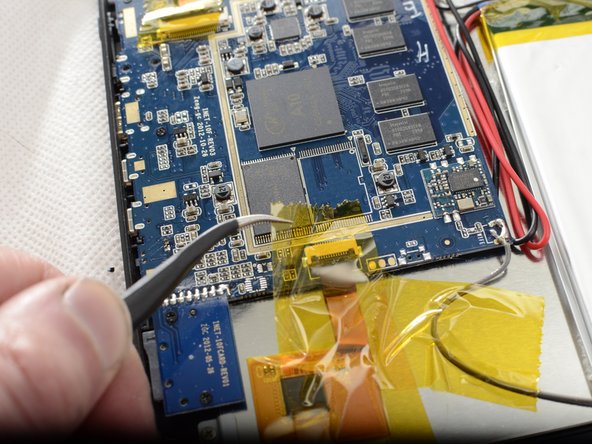
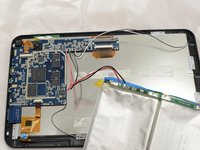
Remove the solder from the red and black wires from the battery attached to the motherboard. Here is a guide on how to solder.
-
Remove the red and black wire from the motherboard using tweezers. If tweezers are unable to remove the wires, heat can be used to loosen the solder allowing for the wires to be removed.
-
-
-
Remove the black and white wires from the motherboard. These wires power the LCD screen. Remove the black and white wires by first trying tweezers and if difficult use heat to loosen the solder allowing for the removal of the wires.
-


To reassemble your device, follow these instructions in reverse order.
ある他の人がこのガイドを完成しました。
チーム

UMass Dartmouth, Team 3-2, Duarte Spring 2015 UMass Dartmouth, Team 3-2, Duarte Spring 2015人のメンバー
UMASSD-DUARTE-S15S3G2
4 メンバー
12のガイドは作成済み