メインコンテンツにスキップ
リペアコミュニティに参加 - アカウントの作成

Ematic FunTab 3 Battery Replacement

必要な工具と部品

    1. Ematic FunTab 3 Battery Replacement, Back Panel: 手順 1、 3の画像 1 Ematic FunTab 3 Battery Replacement, Back Panel: 手順 1、 3の画像 2 Ematic FunTab 3 Battery Replacement, Back Panel: 手順 1、 3の画像 3
      • Turn off the device before starting

      • To prevent damage, open the device on the side without the buttons.

      • Insert the hooked end of the plastic opening tool in the gap between the screen and the back panel on the edge of the device.

      • Slide the plastic opening tool down the long side of the device.

      • Insert tool again and slide it down the long slide of the case a second time.

      FixBotに聞いてみる

      コメントを追加

    2. Ematic FunTab 3 Battery Replacement: 手順 2、 1の画像 1
      • Pull the back panel away from the screen.

      FixBotに聞いてみる

      コメントを追加

    1. Ematic FunTab 3 Battery Replacement, Battery: 手順 3、 1の画像 1
      • Remove the black tape to reveal the wire ribbon connector.

      FixBotに聞いてみる

      コメントを追加

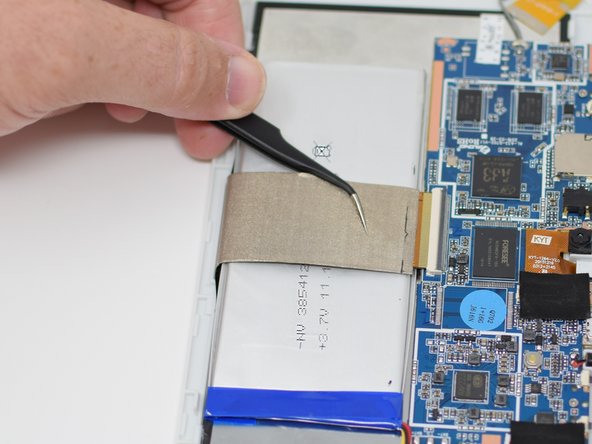
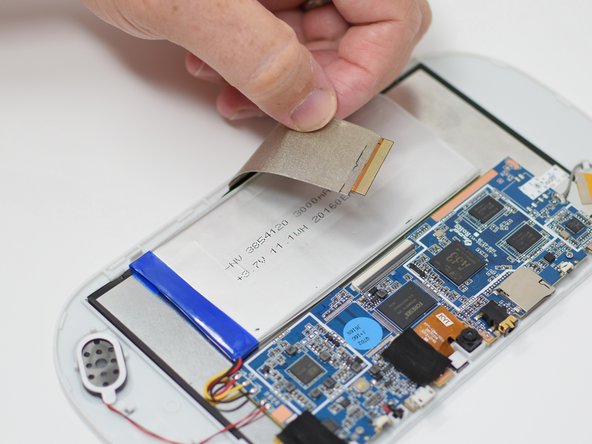
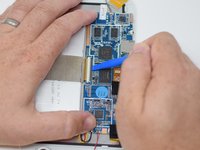
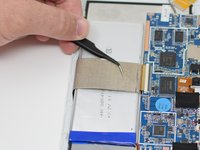
    2. Ematic FunTab 3 Battery Replacement: 手順 4、 3の画像 1 Ematic FunTab 3 Battery Replacement: 手順 4、 3の画像 2 Ematic FunTab 3 Battery Replacement: 手順 4、 3の画像 3
      この手順で使用する道具:
      Tweezers
      $4.99
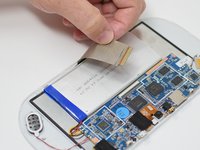
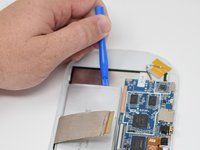
      • Flip up the black retaining tab using the plastic opening tool.

      • Pull out the large wire ribbon that crosses over the battery.

      • You may need tweezers to pull out the wire ribbon.

      FixBotに聞いてみる

      コメントを追加

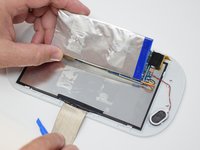
    3. Ematic FunTab 3 Battery Replacement: 手順 5、 3の画像 1 Ematic FunTab 3 Battery Replacement: 手順 5、 3の画像 2 Ematic FunTab 3 Battery Replacement: 手順 5、 3の画像 3
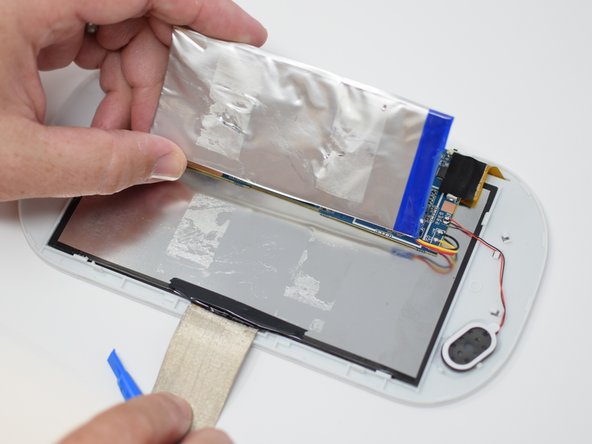
      • Insert the plastic opening tool under the battery.

      • Using the plastic opening tool, pry up the battery.

      • There is tape on the back of the battery. Some more force may be required to separate the battery from the back of the display.

      FixBotに聞いてみる

      コメントを追加

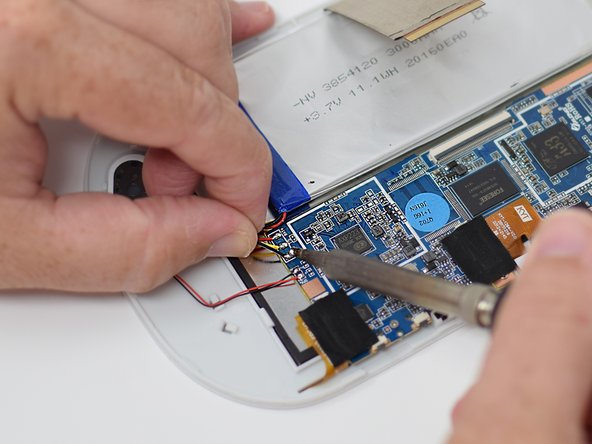
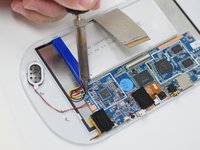
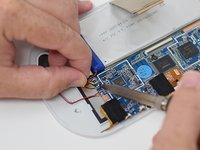
    4. Ematic FunTab 3 Battery Replacement: 手順 6、 2の画像 1 Ematic FunTab 3 Battery Replacement: 手順 6、 2の画像 2
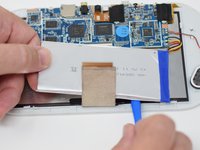
      • Remove the wires from the motherboard using a soldering iron tool. Here is a link on How To Solder and Desolder Connections.

      • After the connections are desoldered, remove the battery.

      • Close the black ribbon retaining tabs once ribbons are inserted during reassembly.

      FixBotに聞いてみる

      コメントを追加

終わりに

To reassemble your device, follow these instructions in reverse order.

キャンセル: このガイドを終了できませんでした。

作成者

5人の作成者と共同で作成されました。

Amanda Davis

メンバー登録日: 07/11/18

581 ポイント

5のガイドは作成済み

チーム

UW Tacoma, Team S1-G5, Cardinal Summer 2018 UW Tacoma, Team S1-G5, Cardinal Summer 2018人のメンバー

UWT-CARDINAL-SU18S1G5

4 メンバー

54のガイドは作成済み

0件のガイドコメント

コメントを追加

統計データ:

過去 24時間: 1

過去 7 日: 7

過去 30 日: 26

今までの合計 1,007