メインコンテンツにスキップ
リペアコミュニティに参加 - アカウントの作成

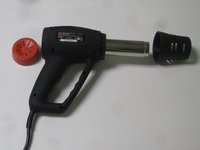
Drill Master Heat Gun Power Switch Replacement

必要な工具と部品

    1. Drill Master Heat Gun Power Switch Replacement, Power Switch: 手順 1、 1の画像 1
      • Be sure the heat gun is unplugged before starting this process.

      • Remove the seven 14mm screws from the side of the drill using the PH#0 screwdriver.

      • You will need a screwdriver extension.

      FixBotに聞いてみる

      コメントを追加

    2. Drill Master Heat Gun Power Switch Replacement: 手順 2、 1の画像 1
      • Remove the 8mm screw from underside of barrel using the PH#0 screwdriver.

      • Don't try to open the casing just yet.

      FixBotに聞いてみる

      コメントを追加

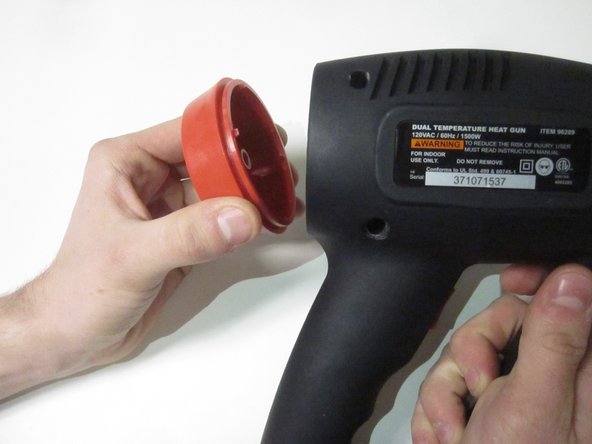
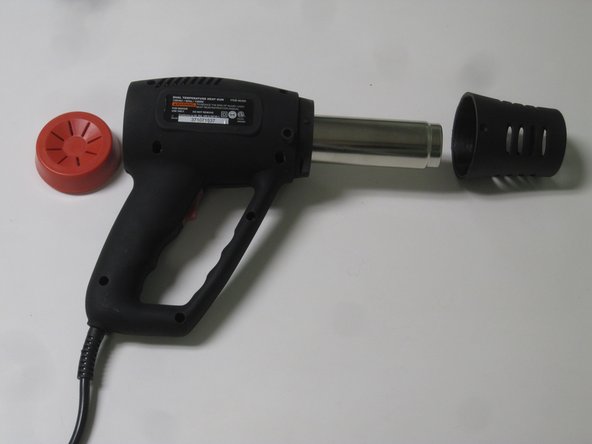
    3. Drill Master Heat Gun Power Switch Replacement: 手順 3、 3の画像 1 Drill Master Heat Gun Power Switch Replacement: 手順 3、 3の画像 2 Drill Master Heat Gun Power Switch Replacement: 手順 3、 3の画像 3
      • Remove the barrel casing on either end by twisting and pulling each side off.

      FixBotに聞いてみる

      コメントを追加

    4. Drill Master Heat Gun Power Switch Replacement: 手順 4、 1の画像 1
      • Remove the top casing to reveal inside of drill. You might have to tug a little harder for this one.

      FixBotに聞いてみる

      コメントを追加

    5. Drill Master Heat Gun Power Switch Replacement: 手順 5、 1の画像 1
      • Loosen four screws on the wire connector using the flathead 2.5 screwdriver.

      • Screws do not come out of connector.

      FixBotに聞いてみる

      コメントを追加

    6. Drill Master Heat Gun Power Switch Replacement: 手順 6、 1の画像 1
      • Squeeze the tabs on either side of the power switch to remove from the casing.

      FixBotに聞いてみる

      コメントを追加

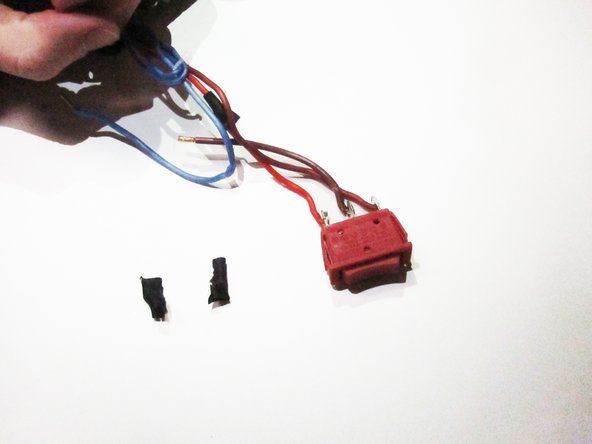
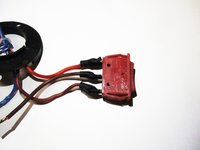
    7. Drill Master Heat Gun Power Switch Replacement: 手順 7、 2の画像 1 Drill Master Heat Gun Power Switch Replacement: 手順 7、 2の画像 2
      • Remove the black, plastic wire protectors from the end of the power switch.

      FixBotに聞いてみる

      コメントを追加

    8. Drill Master Heat Gun Power Switch Replacement: 手順 8、 1の画像 1
      • Use soldering iron to remove the electrical wiring from the power switch. To replace the power switch, solder the new switch onto the wires.

      • Heating the soldering metal will allow you to pull off the electrical wiring.

      • For a brush-up on proper soldering, check out How to Solder and Desolder Connections.

      FixBotに聞いてみる

      コメントを追加

終わりに

To reassemble your device, follow these instructions in reverse order.

キャンセル: このガイドを終了できませんでした。

ある他の人がこのガイドを完成しました。

作成者

4人の作成者と共同で作成されました。

Mikayla Kim

メンバー登録日: 01/31/17

532 ポイント

5のガイドは作成済み

チーム

University of North Texas, Team 1-2, Campbell Spring 2017 University of North Texas, Team 1-2, Campbell Spring 2017人のメンバー

UNT-CAMPBELL-S17S1G2

3 メンバー

12のガイドは作成済み

0件のガイドコメント

コメントを追加

統計データ:

過去 24時間: 1

過去 7 日: 12

過去 30 日: 43

今までの合計 3,958