メインコンテンツにスキップ
リペアコミュニティに参加 - アカウントの作成

Dell Streak 7 Battery Replacement

必要な工具と部品

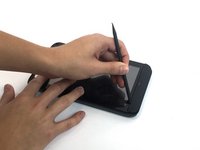
    1. Dell Streak 7 Battery Replacement, Front Panel Assembly: 手順 1、 1の画像 1
      • Insert the spudger under the capacitive button panel, and slide the spudger all the way around.

      • You will want to heat up the screen edges with the iOpener to help facilitate removal.

      FixBotに聞いてみる

      コメントを追加

    2. Dell Streak 7 Battery Replacement: 手順 2、 1の画像 1
      • Remove the button cover by lifting the cover away from the tablet.

      FixBotに聞いてみる

      コメントを追加

    3. Dell Streak 7 Battery Replacement: 手順 3、 1の画像 1
      • Using the Torx screwdriver, remove the 4mm screws.

      FixBotに聞いてみる

      コメントを追加

    4. Dell Streak 7 Battery Replacement: 手順 4、 1の画像 1
      • With the Torx screwdriver, remove the two 5mm screws.

      FixBotに聞いてみる

      コメントを追加

    5. Dell Streak 7 Battery Replacement: 手順 5、 2の画像 1 Dell Streak 7 Battery Replacement: 手順 5、 2の画像 2
      • Using the spudger, insert it under the black side panel. Slide the spudger all the way around until the cover piece comes off.

      • With the Torx screwdriver, remove the two 4mm screws.

      FixBotに聞いてみる

      コメントを追加

    6. Dell Streak 7 Battery Replacement: 手順 6、 1の画像 1
      • Use the spudger to go along the edges of the device and pop out the latches securing the display to the case.

      FixBotに聞いてみる

      コメントを追加

    7. Dell Streak 7 Battery Replacement: 手順 7、 2の画像 1 Dell Streak 7 Battery Replacement: 手順 7、 2の画像 2
      • Ribbon cables are very sensitive and prone to breaking

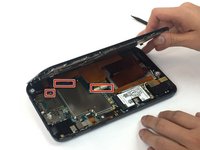
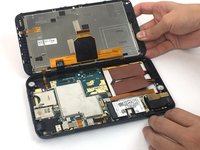
      • Disconnect the ribbon cables by unlocking the connector and pulling the cable out slowly.

      • Make sure all the cables are unplugged before opening the device completely. Failure to do so might lead to broken or torn cables.

      FixBotに聞いてみる

      コメントを追加

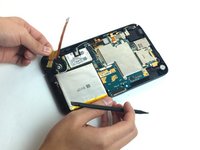
    1. Dell Streak 7 Battery Replacement, Headphone Jack: 手順 8、 1の画像 1
      • Using the spudger, disconnect the ribbon cable by lifting up on the connector.

      • Ribbon cables are fragile and easily broken.

      FixBotに聞いてみる

      コメントを追加

    2. Dell Streak 7 Battery Replacement: 手順 9、 2の画像 1 Dell Streak 7 Battery Replacement: 手順 9、 2の画像 2
      • Pull the headphone jack up, away from the case.

      FixBotに聞いてみる

      コメントを追加

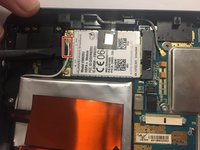
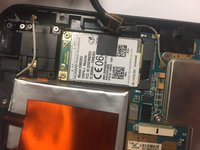
    1. Dell Streak 7 Battery Replacement, GSM Module: 手順 10、 2の画像 1 Dell Streak 7 Battery Replacement, GSM Module: 手順 10、 2の画像 2
      • With the spudger, disconnect the antenna cable located on the module.

      FixBotに聞いてみる

      コメントを追加

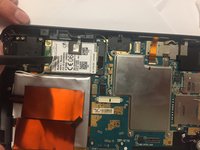
    2. Dell Streak 7 Battery Replacement: 手順 11、 2の画像 1 Dell Streak 7 Battery Replacement: 手順 11、 2の画像 2
      この手順で使用する道具:
      Tweezers
      $4.99
      • Using tweezers, remove the tape connected to the GSM module.

      FixBotに聞いてみる

      コメントを追加

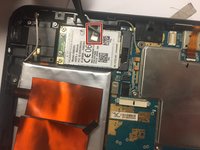
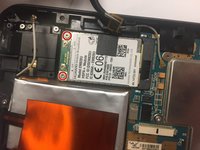
    3. Dell Streak 7 Battery Replacement: 手順 12、 2の画像 1 Dell Streak 7 Battery Replacement: 手順 12、 2の画像 2
      • Remove the two 3mm screws securing the GSM module. Use the Torx screwdriver.

      FixBotに聞いてみる

      コメントを追加

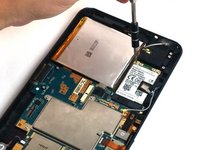
    4. Dell Streak 7 Battery Replacement: 手順 13、 1の画像 1
      • Disconnect the GSM module by lifting the module up, out of the case.

      FixBotに聞いてみる

      コメントを追加

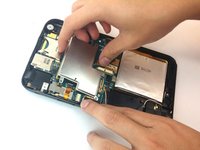
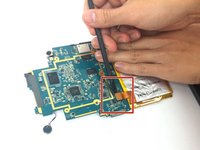
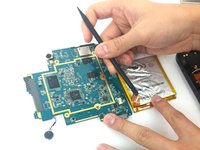
    1. Dell Streak 7 Battery Replacement, Motherboard: 手順 14、 3の画像 1 Dell Streak 7 Battery Replacement, Motherboard: 手順 14、 3の画像 2 Dell Streak 7 Battery Replacement, Motherboard: 手順 14、 3の画像 3
      • Using the spudger, disconnect the front camera by lifting up on the connector.

      FixBotに聞いてみる

      コメントを追加

    2. Dell Streak 7 Battery Replacement: 手順 15、 1の画像 1
      • Using the Torx screwdriver, remove the six 3mm screws .

      FixBotに聞いてみる

      コメントを追加

    3. Dell Streak 7 Battery Replacement: 手順 16、 2の画像 1 Dell Streak 7 Battery Replacement: 手順 16、 2の画像 2
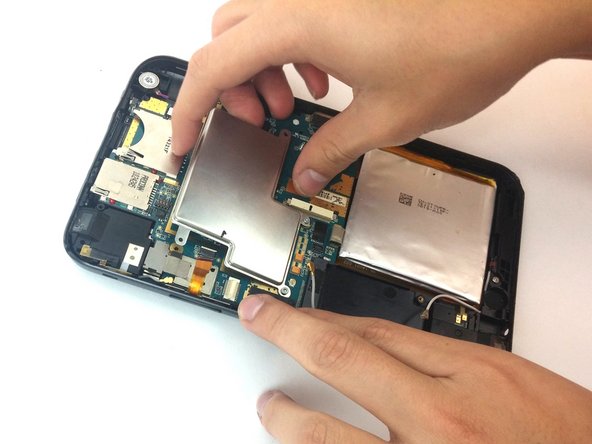
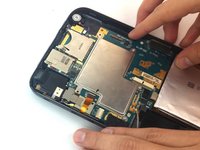
      • Lift up the metal cover.

      FixBotに聞いてみる

      コメントを追加

    4. Dell Streak 7 Battery Replacement: 手順 17、 1の画像 1
      • Use the spudger to lift the vibration motor out of the case.

      FixBotに聞いてみる

      コメントを追加

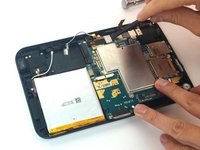
    5. Dell Streak 7 Battery Replacement: 手順 18、 1の画像 1
      • Pull out the motherboard and the battery.

      FixBotに聞いてみる

      コメントを追加

    1. Dell Streak 7 Battery Replacement, Battery: 手順 19、 2の画像 1 Dell Streak 7 Battery Replacement, Battery: 手順 19、 2の画像 2
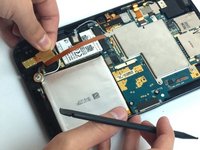
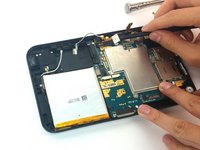
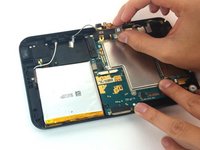
      • Use the spudger to lift up and detach the cable connecting the battery to the motherboard.

      FixBotに聞いてみる

      コメントを追加

終わりに

To reassemble your device, follow these instructions in reverse order.

キャンセル: このガイドを終了できませんでした。

4 の人々がこのガイドを完成させました。

作成者

2人の作成者と共同で作成されました。

Jair Garcia Varela

メンバー登録日: 09/29/16

337 ポイント

2のガイドは作成済み

チーム

USF Tampa, Team 4-6, Passmore Fall 2016 USF Tampa, Team 4-6, Passmore Fall 2016人のメンバー

USFT-PASSMORE-F16S4G6

3 メンバー

24のガイドは作成済み

0件のガイドコメント

コメントを追加

統計データ:

過去 24時間: 0

過去 7 日: 5

過去 30 日: 29

今までの合計 1,541