はじめに
This guide will help you replace the camera on the DROCON Ninja DC-014. The drone’s camera provides live video to the user while in flight. If you’re unable to see the live video consider replacing the camera. To determine if the camera needs replacement check out the troubleshooting guide linked here. Remember to remove the battery before beginning any work on the drone. An opening tool and a Phillips 00 screwdriver are required for this repair.
必要な工具と部品
-
-
-
To turn the drone off, press and hold the black button on the top of the drone until all lights are off.
-
Firmly grasp the battery tab between your thumb and index finger.
-
Pull the battery away from the drone's body
 FixBotに聞いてみる
-
-
-
-
-
Using a Phillips #00 Screwdriver remove the eight 4mm screws on the bottom of the drone.
-
-
-
-
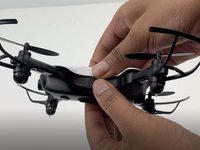
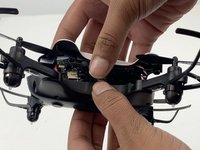
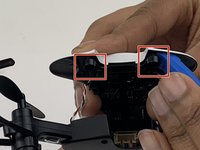
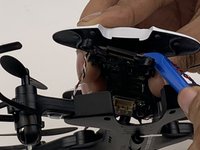
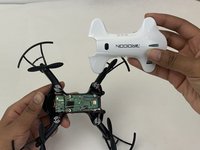
Insert the opening tool under one of the black plastic connector slots that connects the circuit-board to the casing.
-
Gently pull the opening tool toward you to disconnect the circuit-board from the plastic casing.
-
-
-
-
-
Use a Phillips #00 screwdriver to remove the 5mm screws connecting the front two motor arms to the drone's body.
-
Use your fingers to gently pull the white plastic discs out of the motor arms.
-
-
-
Grasp the motor arm and pull up and away from the drone's body.
-
Repeat this step for the other front motor arm.
-
-
-
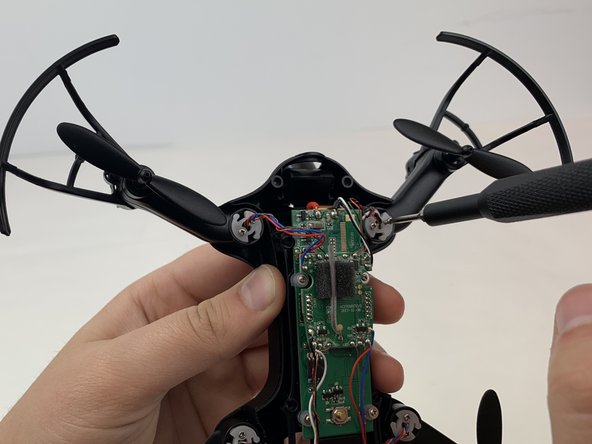
Using the Phillips #00 screwdriver, remove the two 3mm screws on the control board.
-
-
-
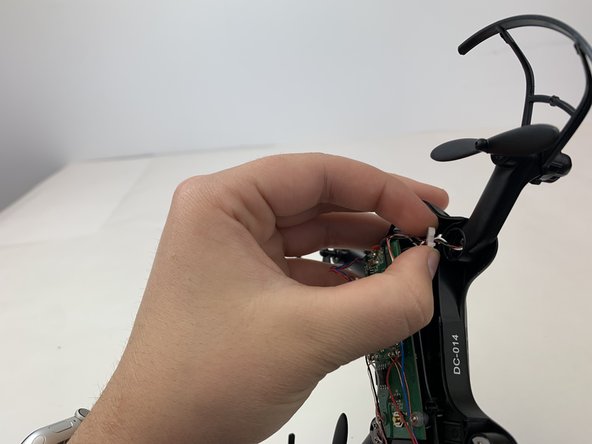
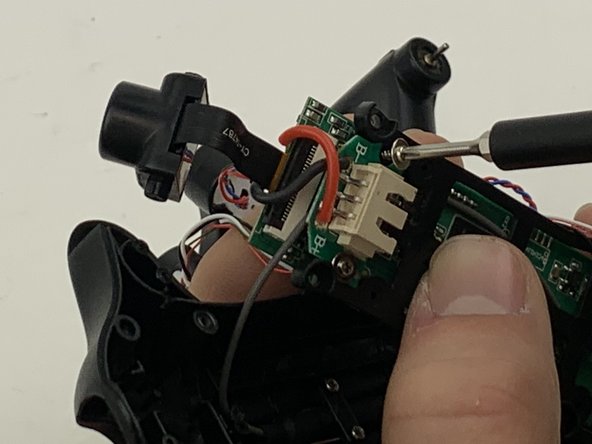
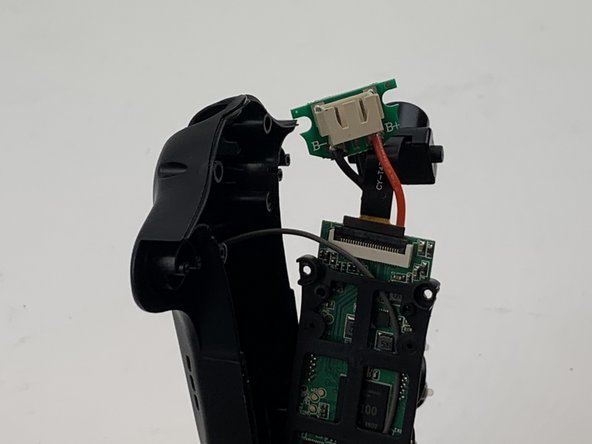
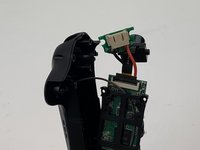
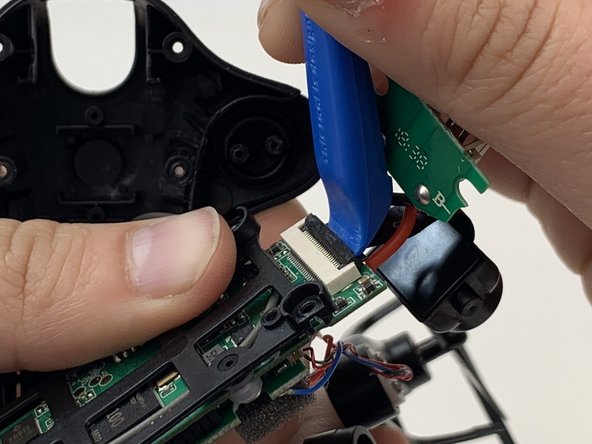
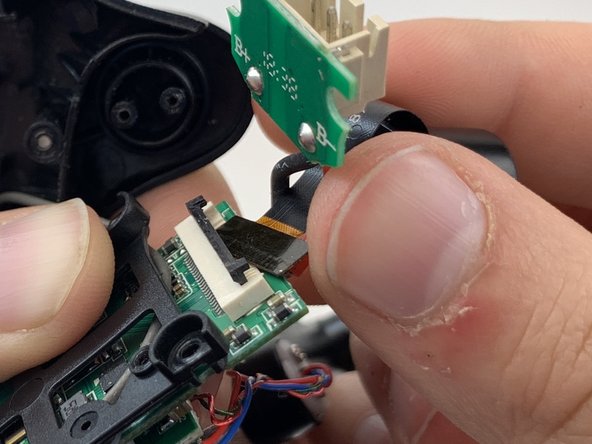
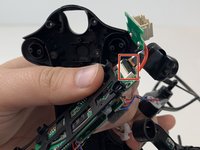
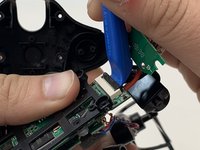
Using the opening tool flip up the black plastic clamp that holds the camera wire to the circuit board.
-
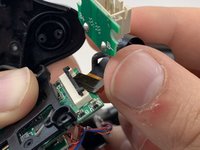
Gently pull the camera out from the control board.
-
-





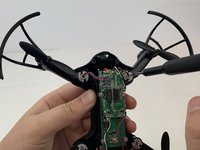
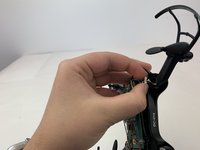


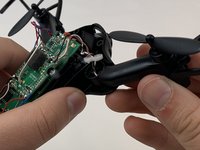
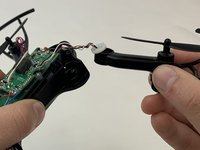


To reassemble your device, follow these instructions in reverse order.

チーム

Embry-Riddle Aeronautical University, Team S3-G5, Watkins Spring 2020 Embry-Riddle Aeronautical University, Team S3-G5, Watkins Spring 2020人のメンバー
ERAU-WATKINS-S20S3G5
4 メンバー
5のガイドは作成済み
