メインコンテンツにスキップ
リペアコミュニティに参加 - アカウントの作成

Conair Infiniti Pro Model 259NP Hot/Cold Button Replacement

必要な工具と部品

  1. Conair Infiniti Pro Model 259NP Hot/Cold Button Replacement, Back Panel: 手順 1、 1の画像 1
    • Caution: Unplug the hair dryer before attempting this guide. Leaving the device plugged in may result in electrocution and damage to the device.

    • Hold the hair dryer by the handle so that the back panel faces up.

    FixBotに聞いてみる

    コメントを追加

  2. Conair Infiniti Pro Model 259NP Hot/Cold Button Replacement: 手順 2、 2の画像 1 Conair Infiniti Pro Model 259NP Hot/Cold Button Replacement: 手順 2、 2の画像 2
    • Remove the two 15.875 mm Phillips #2 screws from the back panel.

    FixBotに聞いてみる

    コメントを追加

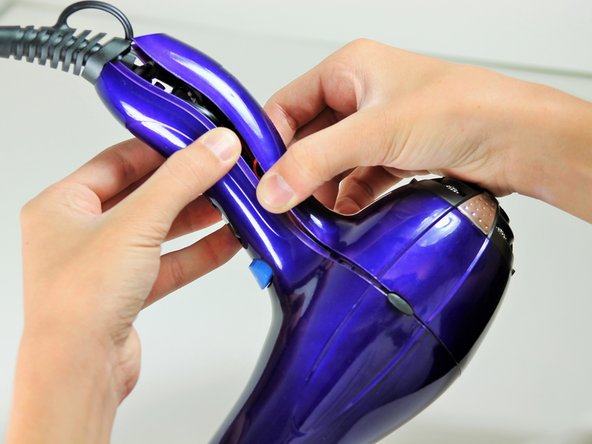
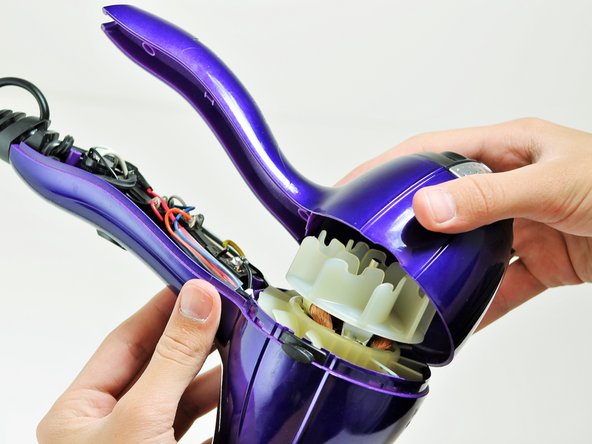
  3. Conair Infiniti Pro Model 259NP Hot/Cold Button Replacement: 手順 3、 3の画像 1 Conair Infiniti Pro Model 259NP Hot/Cold Button Replacement: 手順 3、 3の画像 2 Conair Infiniti Pro Model 259NP Hot/Cold Button Replacement: 手順 3、 3の画像 3
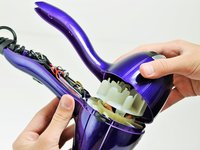
    • Starting from where the cord attaches to the handle, pull apart the two plastic panels.

    • Continue separating the back panel, working along the seam.

    • With moderate force, completely remove the back panel from the hair dryer.

    FixBotに聞いてみる

    コメントを追加

  4. Conair Infiniti Pro Model 259NP Hot/Cold Button Replacement, Fan Motor Assembly: 手順 4、 2の画像 1 Conair Infiniti Pro Model 259NP Hot/Cold Button Replacement, Fan Motor Assembly: 手順 4、 2の画像 2
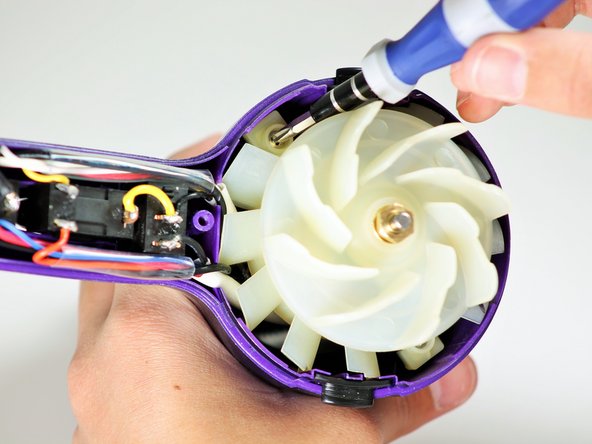
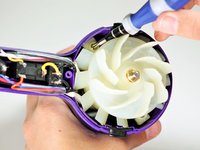
    • Hold the hair dryer by the nozzle so that the handle points to the left.

    • Remove the two 1-inch Phillips #2 screws from the back of the fan motor.

    FixBotに聞いてみる

    コメントを追加

  5. Conair Infiniti Pro Model 259NP Hot/Cold Button Replacement: 手順 5、 3の画像 1 Conair Infiniti Pro Model 259NP Hot/Cold Button Replacement: 手順 5、 3の画像 2 Conair Infiniti Pro Model 259NP Hot/Cold Button Replacement: 手順 5、 3の画像 3
    • Caution: If you recently used the hair dryer, wait at least 10 minutes before attempting this step. The heating element may still be very hot and can cause serious burns.

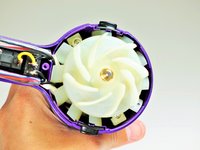
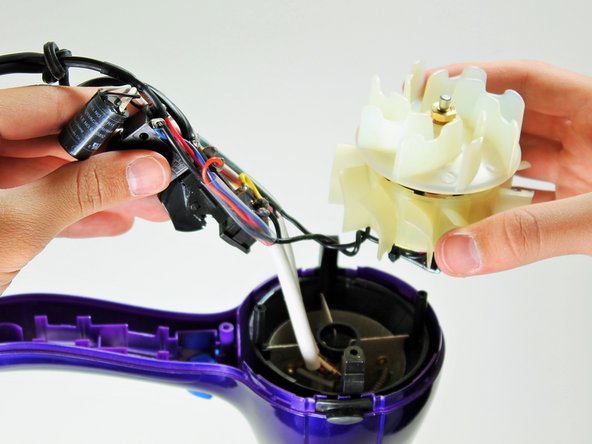
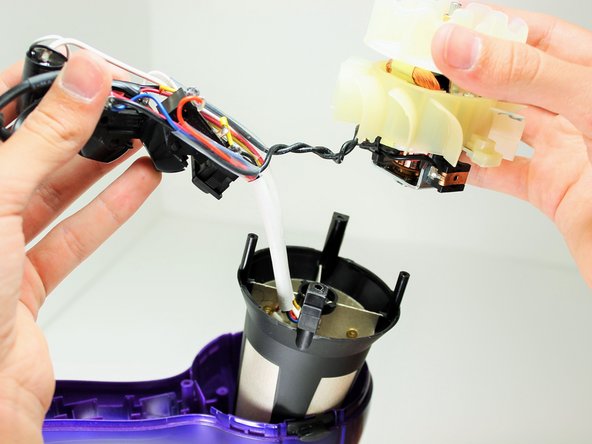
    • Pull on the back of the fan motor to gently lift the motor out of the hair dryer.

    • Lift the attached electrical wiring and heat shield completely out of the hair dryer.

    FixBotに聞いてみる

    コメントを追加

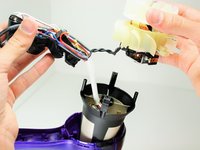
  6. Conair Infiniti Pro Model 259NP Hot/Cold Button Replacement, Hot/Cold Button: 手順 6、 1の画像 1
    • Caution: Do not attempt to open or tamper with the capacitor. You may suffer severe electrical shocks.

    • Hold the electrical switches so that the wires are facing upwards.

    FixBotに聞いてみる

    コメントを追加

  7. Conair Infiniti Pro Model 259NP Hot/Cold Button Replacement: 手順 7、 1の画像 1
    • Focus on the middle of the three buttons.

    • Desolder the button at the circled locations.

    • To reattach the new button, resolder at the same points. Be sure the wires connect to the correct locations.

    FixBotに聞いてみる

    コメントを追加

終わりに

To reassemble your device, follow these instructions in reverse order.

キャンセル: このガイドを終了できませんでした。

2 の人々がこのガイドを完成させました。

作成者

1人の作成者と共同作成されました。

Timothy Lo

メンバー登録日: 04/22/14

1,214 ポイント

7のガイドは作成済み

チーム

Cal Poly, Team 10-58, Amido Spring 2014 Cal Poly, Team 10-58, Amido Spring 2014人のメンバー

CPSU-AMIDO-S14S10G58

4 メンバー

14のガイドは作成済み

2件のガイドコメント

so where do you buy parts???

akatser1 - 返信 共有

That's not a capacitor, that's an ion generator like this one https://www.goldmine-elec-products.com/p...

Shannon Carey - 返信 共有

コメントを追加

統計データ:

過去 24時間: 2

過去 7 日: 11

過去 30 日: 50

今までの合計 5,274