はじめに
When you remove the back cover of your device, the motherboard is the green sheet with ribbons and cables attached from it to all the other parts of this device. This guide walks users through step by step instructions to replace this part.
必要な工具と部品
-
-
-
Use iFixit plastic opening tool to make small opening in the side of the device, and continue opening back panel
 FixBotに聞いてみる
-
-
-
There are 5 ribbon cables connected to the motherboard. Two of these cables are clipped on and one is soldered on. Remove the 4 ribbon cables you can clip off using the plastic spudger
-
For large ribbon cable use plastic spudger or your fingers to release ribbon cable clip by pulling the black edges down and pulling ribbon cable out.
-
For ribbon cable on the left side, flip up black hinge to remove ribbon cable
-
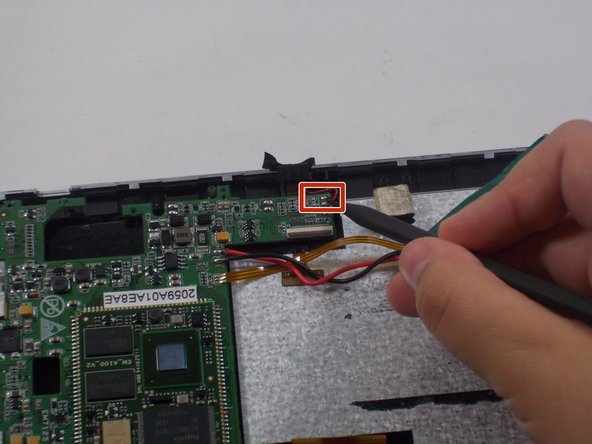
Desolder fifth ribbon cable with soldering station.
-
-
-
-
Desolder 2 speaker wires
-
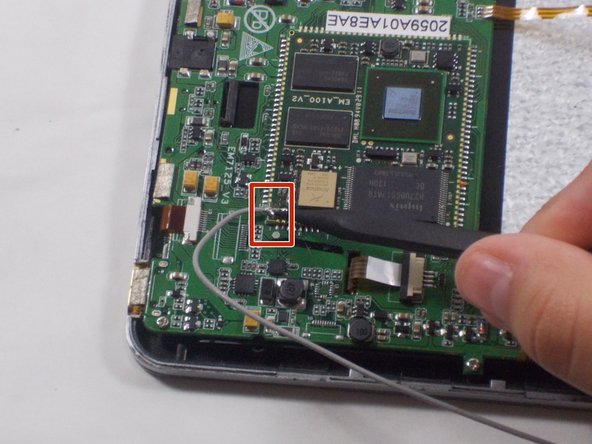
Desolder antenna wire
-
Desolder microphone wire
-
Remove all wires you just desoldered.
-
-
-
Desolder the battery wires.
-
If soldering is new to you, then check out this useful guide on soldering and desoldering connections.
-
Remove the battery.
-
-
-
Unscrew 4 screws connecting around mother board using the J0 Phillips head screwdriver.
-
-
-
Use plastic spudger to take off motherboard by lifting off right hand side and pulling sideways.
-
-


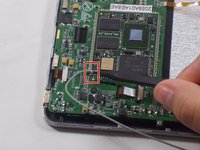


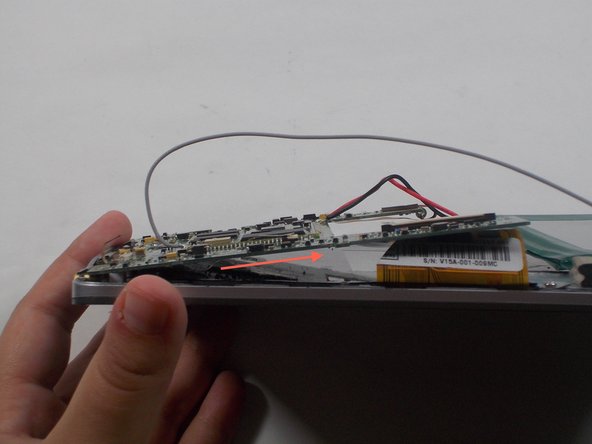
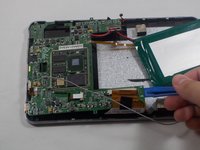
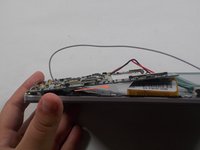
To reassemble your device, follow these instructions in reverse order.

チーム

UMass Dartmouth, Team 5-2, Martin Fall 2016 UMass Dartmouth, Team 5-2, Martin Fall 2016人のメンバー
UMASSD-MARTIN-F16S5G2
3 メンバー
10のガイドは作成済み
