はじめに
If your Canon PowerShot S410 is displaying distorted images or no image at all, it might be time to replace the LCD screen. Follow this step-by-step guide to restore your camera’s functionality.
The LCD screen plays a crucial role in translating visual input from the lens into a clear image that you can view. A malfunctioning or damaged LCD can lead to distorted visuals or a blank screen, making it difficult to capture the perfect shot.
Before diving into the repair, take a moment to check the camera settings. Press the DISP button on your Canon PowerShot S410 to ensure the display is enabled and that the issue isn’t just a simple setting error.
To complete this repair, you'll need a Phillips #0 screwdriver and a pair of tweezers. Don’t worry—no prior experience is necessary, and this process is straightforward.
As you work with the tools, handle everything gently to avoid causing further damage to your camera. Some steps will involve carefully pulling a ribbon cable to detach components, so proceed with caution.
Ready to get started? Let’s go!
必要な工具と部品
-
-
-
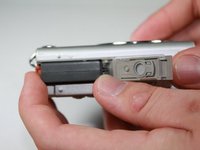
Locate the panel labeled "Batt. Open"
-
Place your finger on the panel and slide it in the direction of the arrow.
-
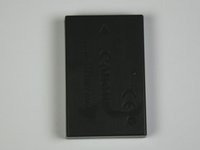
The slot will swing open revealing the battery pack.
 FixBotに聞いてみる
-
-
-
-
-
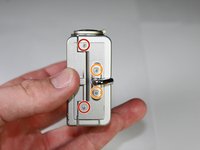
Using the Phillips #0 screwdriver, remove the 3.8mm screw in the upper right corner.
-
-
-
Twist the screwdriver counter-clockwise to remove the 4.8mm screw.
-
Repeat to remove the two 2.3mm screws.
-
-
-
-
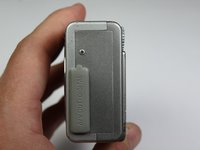
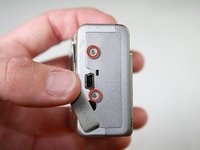
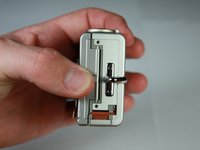
Slide the rubber tab to reveal the bottom screw.
-
Using the screwdriver, remove the two 3.7mm screws.
-
-
-
-
-
Remove the two 2.3mm outer screws using the Phillips #0 screwdriver.
-
Remove the two 3.8mm screws near the strap bracket.
-
Remove the small panel covering the mounting bracket.
-
Remove the door covering the memory card.
-
-
-
Remove the 3.8mm screw below the mounting bracket using the Phillips screwdriver.
-
-
-
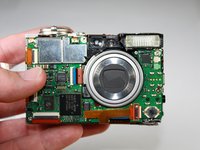
Grasp the sides of the front cover and carefully pull the front panel off of the camera.
-
-
-
-
-
A fingernail or spudger can be used to remove the plastic flap covering the motherboard.
-
-
-
Remove the 2.1mm screw using the Phillips #0 screwdriver
-
Grab the sides of the bottom panel and lift to expose the ribbon cable.
-
-
この手順で使用する道具:Tweezers$4.99
-
Using your fingernail, open the black clip holding the ribbon cable.
-
Gently pull out the ribbon cable in the direction of the cable using your fingers or tweezers.
-
-
-
Remove the two 2.1mm screws on the aluminum tabs of the LCD screen using a screwdriver.
-
-
-
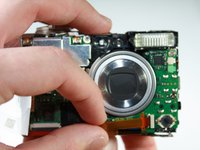
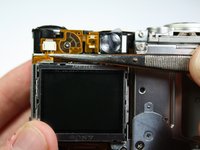
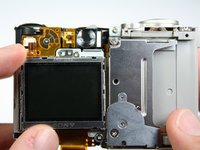
Using a pair of tweezers, carefully pull the top ribbon cable out of the slot.
-
Grasp the sides of the LCD screen and lift off of the camera.
-
-










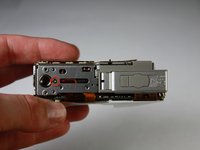
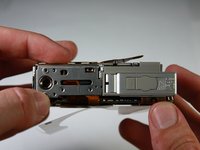


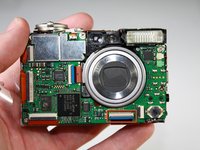
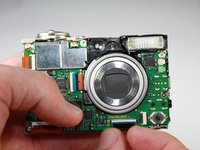


To reassemble your device, follow these instructions in reverse order. Take your e-waste to an R2 or e-Stewards certified recycler.

チーム

Cal Poly, Team 11-27, Maness Winter 2011 Cal Poly, Team 11-27, Maness Winter 2011人のメンバー
CPSU-MANESS-W11S11G27
4 メンバー
7のガイドは作成済み
