はじめに
If your Canon EOS 40D camera’s shutter button is sticking or not working properly, use this guide to replace the shutter button.
A functional shutter button is necessary for any photographer to capture their work. Over time, the shutter button on a camera may become damaged or broken. If you notice your shutter button sticking or it is unable to function, consider replacing it for optimal use of your Canon EOS 40D.
Before using this guide, assess your shutter button for any trapped debris. Shutter buttons often become stuck when dust and grease gets trapped inside. A simple cleaning will oftentimes fix this issue without needing to replace the shutter button.
In order to complete the replacement, the front, back, and top coverings of the camera must be disassembled in order to access the shutter button.
必要な工具と部品
-
-
-
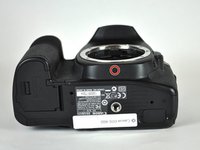
Locate the battery compartment cover on the bottom of the camera below the shutter button.
 FixBotに聞いてみる
-
-
-
Find the marked arrow on the battery compartment cover labeled "BATT. OPEN". Slide the lever following the arrow's direction and lift at the same time to release the latch.
-
-
-
Release the lever and allow the battery compartment cover to completely open.
-
Remove the battery.
-
-
-
-
-
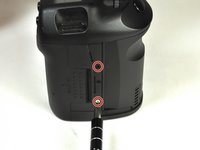
Peel off the grip material from the body of the camera, exposing the screws.
-
-
-
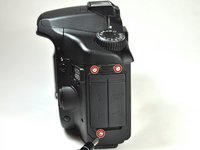
Remove the three 5.0 mm Phillips #000 screws.
-
Remove the single 12.0 mm Phillips #000 screw.
-
-
-
-
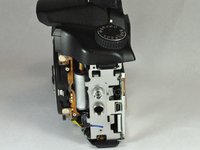
Remove the side cover using a plastic opening tool or your hands.
-
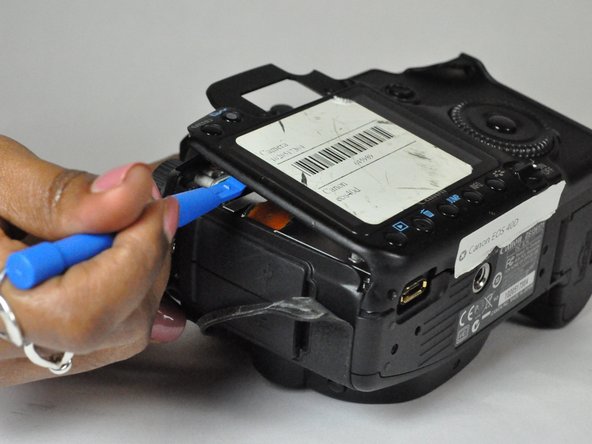
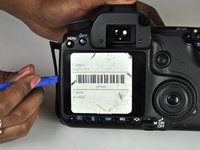
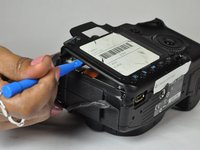
Use a plastic opening tool to gently start prying the rear case up from the rest of the camera.
-
-
-
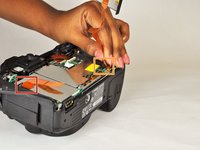
Use the tip of a spudger to disconnect the ZIF connector on the left side of the camera.
-
Disconnect the ribbon cable securing the rear case to the motherboard.
-
Separate the rear case from the camera.
-
-
-
Remove the five 3.0 mm Phillips #000 screws.
-
Remove the two 5.0 mm Phillips #000 screws.
-
Remove the single 3.0 mm Phillips #000 screw.
-
Remove the two 5.0 mm Phillips #000 screws.
-
-
-
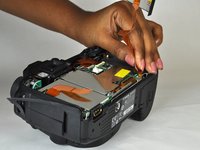
Use a plastic opening tool to flip up the black retaining flap on the ZIF connector.
-
Pull the ribbon cables free of the connectors.
-
-
-
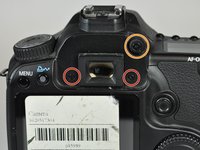
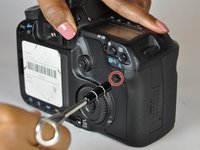
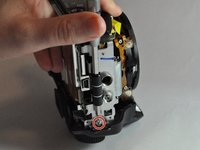
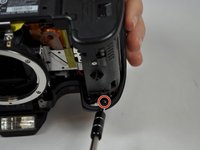
Remove the two 5 mm screws from under the wheel and under the shutter button using a JIS #000 screwdriver.
-
-
-
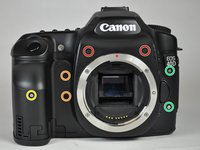
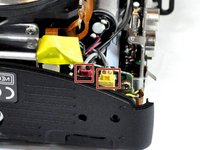
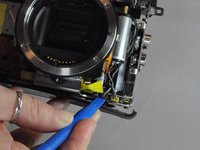
Remove the red and yellow plugs from their sockets using the plastic opening tool.
-
Position the tip of the tool under the raised plastic line, then push up.
-
-
この手順で使用する道具:Tweezers$4.99
-
Remove the cable running from the top of the camera to the black and white box.
-
Use a pair of precision tweezers to poke through the rubber coating and create a path for the wire to slide out.
-
Disconnect the wire by sliding it away from the rubber.
-
-
-
Use a Phillips #000 screwdriver to remove the two 5.0 mm screws and single 7.0 mm screw.
-
-
-
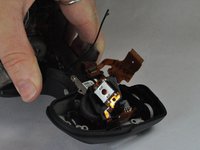
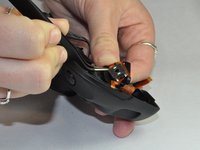
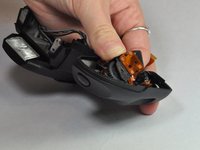
Once the screws are removed, wiggle the piece out of its socket and flip it over, exposing the shutter button.
-
Use tweezers to separate the piece from the ribbon that it is glued to.
-
-














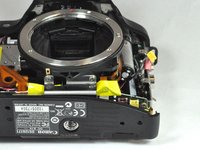


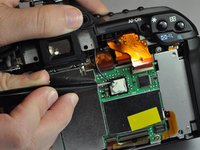
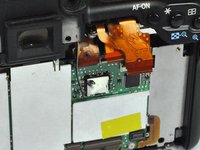
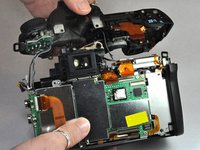


To reassemble your device, follow these instructions in reverse order.
3 の人々がこのガイドを完成させました。

チーム

USF Tampa, Team 12-3, Blackwell Fall 2015 USF Tampa, Team 12-3, Blackwell Fall 2015人のメンバー
USFT-BLACKWELL-F15S12G3
4 メンバー
16のガイドは作成済み
3件のガイドコメント
Thanks for these instructions. I've successfully replaced the shutter button assembly on my Canon 50d using this guide.
