はじめに
This is a prerequisite guide! This guide is part of another procedure and is not meant to be used alone.
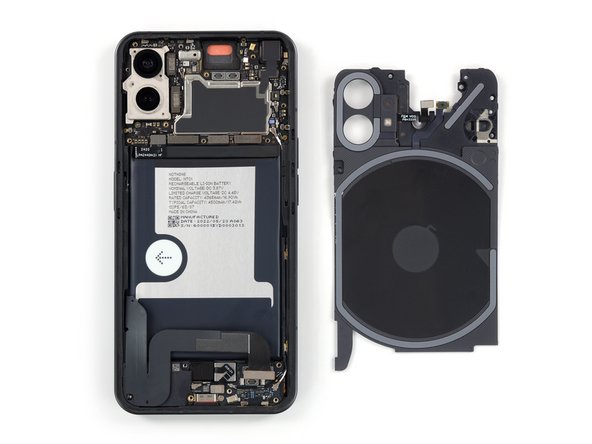
Use this guide to disconnect the battery in the Nothing Phone (1).
必要な工具と部品
-
-
Prepare an iOpener and apply it to the rear glass for at least two minutes to loosen the adhesive underneath.
-
-
-
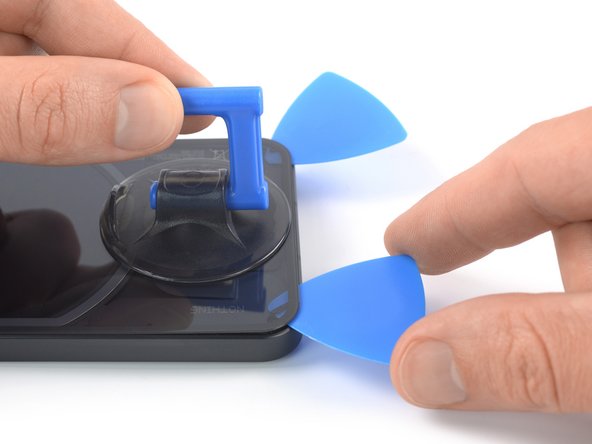
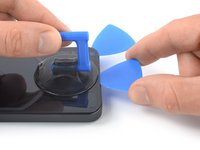
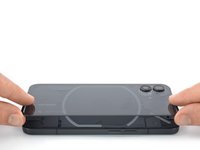
Secure a suction handle to the bottom edge of the rear glass, as close to the edge as possible.
-
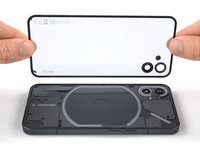
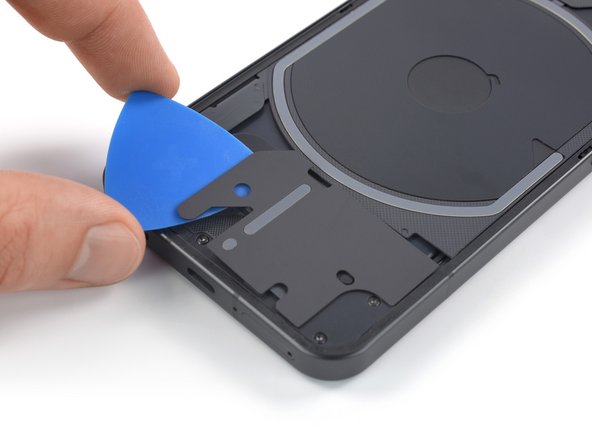
Lift the rear glass with the suction handle to create a small gap between the back cover and the frame.
-
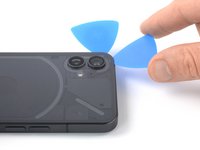
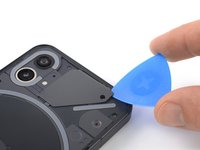
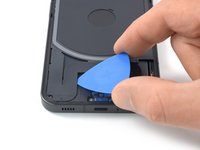
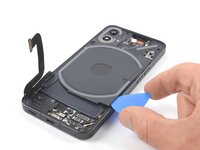
Insert an opening pick into the gap you created.
-
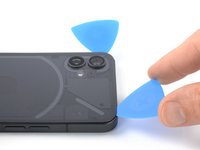
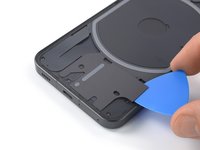
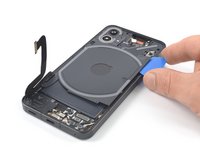
Slide the opening pick to the bottom right corner to slice the adhesive.
-
Leave the opening pick in place to prevent the adhesive from resealing.
-
-
-
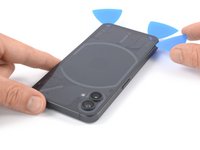
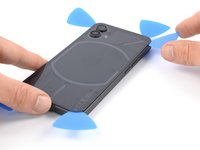
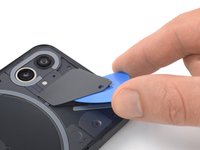
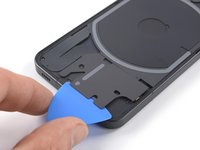
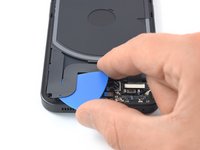
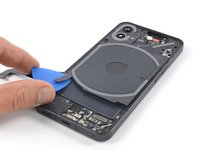
Insert a second opening pick at the bottom edge of your phone.
-
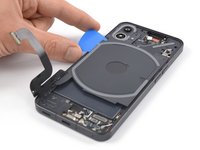
Slide the opening pick to the bottom left corner to slice the adhesive.
-
Leave the opening picks in place to prevent the adhesive from resealing.
-
-
-
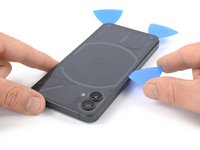
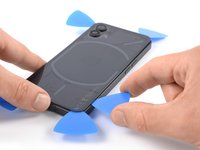
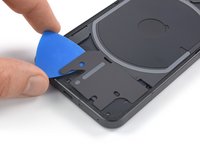
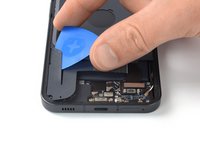
Insert a third opening pick at the bottom left corner of your phone.
-
Slide the opening pick along the left edge of your phone to slice the adhesive.
-
Leave the opening pick in the top left corner to prevent the adhesive from resealing.
-
-
-
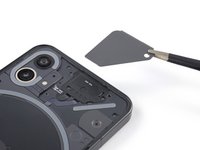
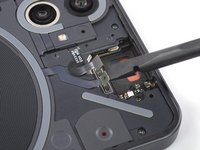
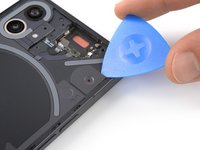
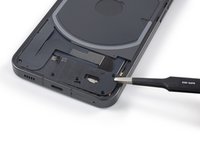
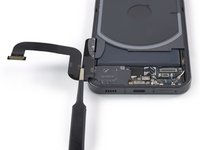
Insert an opening pick underneath the grey plastic cover at the top edge of your phone.
-
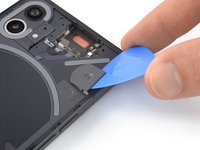
Use your opening pick to pry up the plastic cover.
-
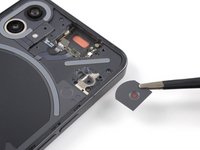
Remove the plastic cover.
-
-
-
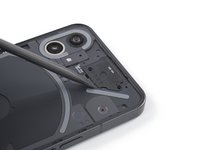
Use a Torx T5 screwdriver to remove the two 4.2 mm-long screws securing the earpiece speaker.
-
-
この手順で使用する道具:Tweezers$4.99
-
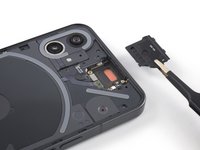
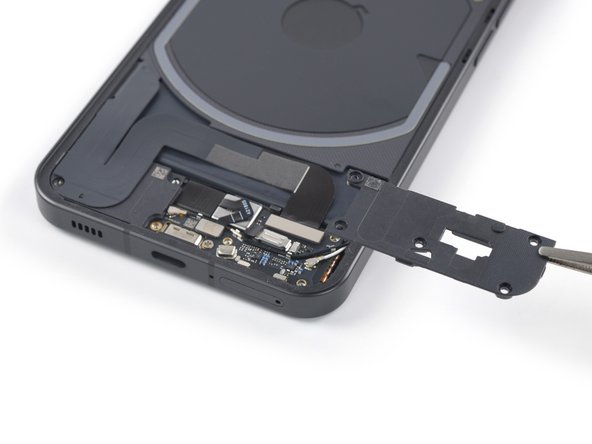
Insert the flat end of a spudger underneath the bottom edge of the earpiece speaker.
-
Use your spudger to pry up the earpiece speaker.
-
Use a pair of tweezers or your fingers to remove the earpiece speaker.
-
-
-
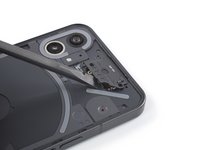
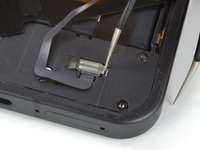
Use a spudger to disconnect the flash assembly cable by prying the connector straight up from its socket.
-
Use a spudger to disconnect the LED glyph cable by prying the connector straight up from its socket.
-
-
この手順で使用する道具:Tweezers$4.99
-
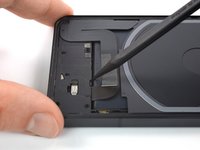
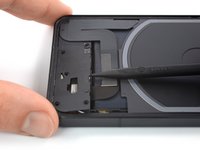
Insert an opening pick underneath the recording indicator light cover at the top right corner of the screen.
-
Use your opening pick to pry up the plastic cover.
-
Use a pair of tweezers or your fingers to remove the recording indicator light cover.
-
-
-
Use a Torx T5 screwdriver to remove the four 4.2 mm-long screws securing the motherboard cover.
-
-
-
-
Use a Torx T5 screwdriver to remove the four 4.2 mm-long screws securing the daughterboard cover.
-
-
-
Slide an opening pick underneath the right, bottom and left edge of the bottom LED assembly to carefully separate it from the daughterboard cover.
-
-
-
Use a pair of blunt nosed tweezers and carefully fold the bottom LED assembly over to get free access to the LED cable connector.
-
-
-
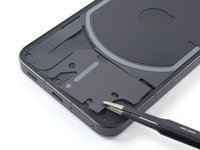
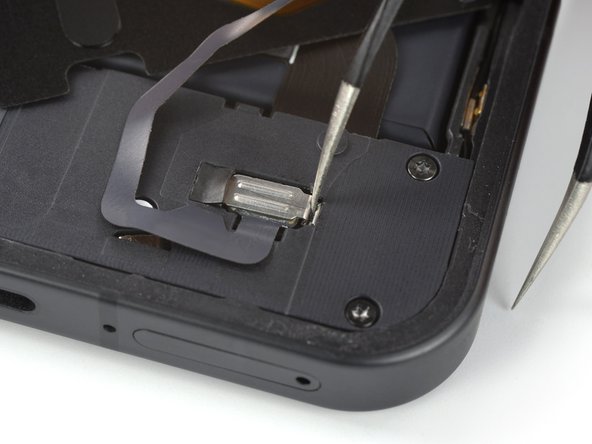
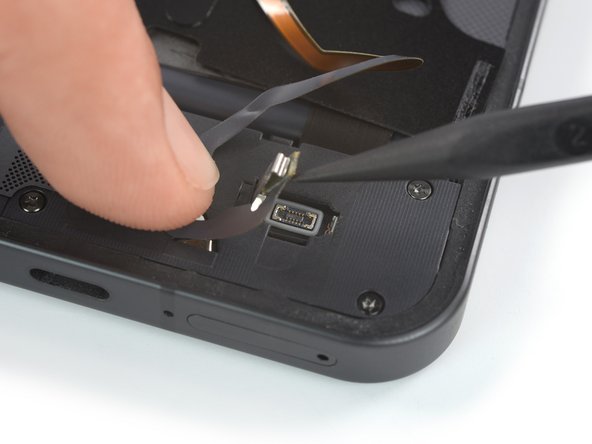
Insert one arm of a pair of tweezers into the gap at the right side of the connector bracket.
-
Push your tweezers toward the left edge of the phone to free the closure flap of the connector bracket.
-
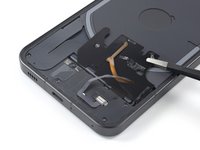
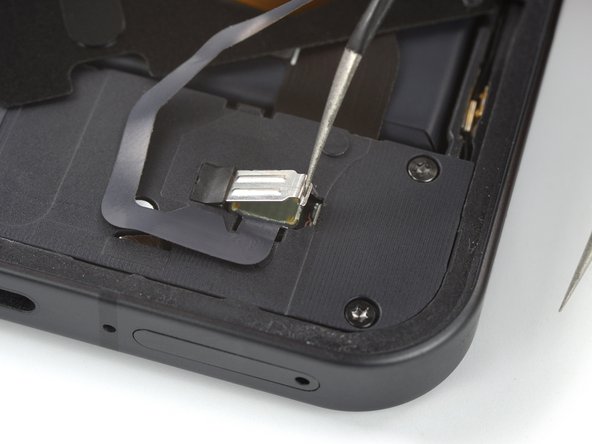
Lift the connector bracket with your tweezers to access the LED connector.
-
-
-
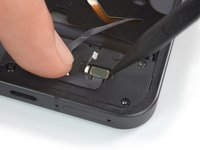
Use a spudger to disconnect the LED cable by prying the connector straight up from its socket.
-
-
-
Use a pair of tweezers or your fingers to remove the bottom LED assembly.
-
-
-
Use a Torx T5 screwdriver to remove the five 4.2 mm-long screws securing the daughterboard cover
-
-
-
Use a pair of tweezers to carefully separate the grey plastic shield from the daughterboard cover and remove it.
-
-
-
Insert the pointed end of a spudger underneath the top edge of the daughterboard cover just above the black rubber guard securing the LED connector bracket.
-
Pry up with the spudger to release the daughterboard cover from its clips.
-
-
-
Use a pair of tweezers or your fingers to remove the daughterboard cover.
-
-
-
Use a pair of tweezers to remove the black rubber guard securing the LED connector bracket.
-
-
-
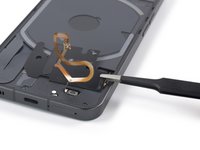
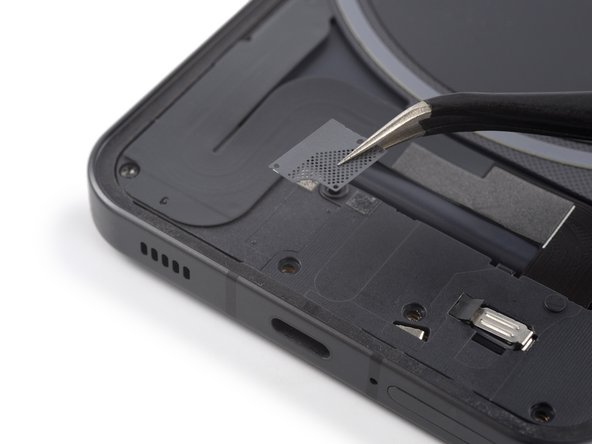
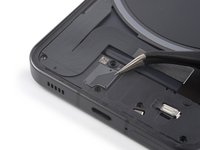
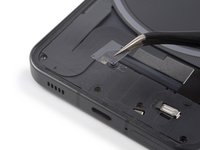
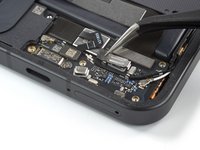
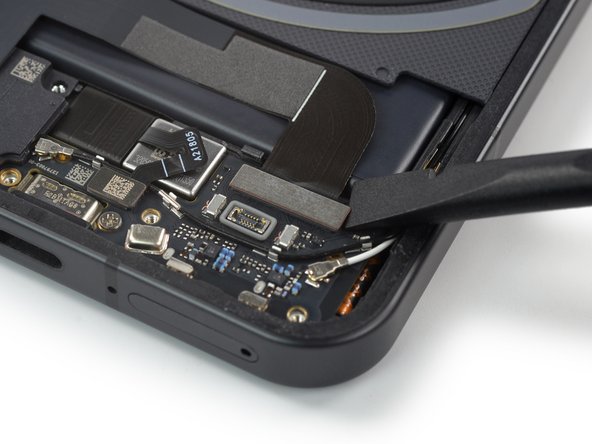
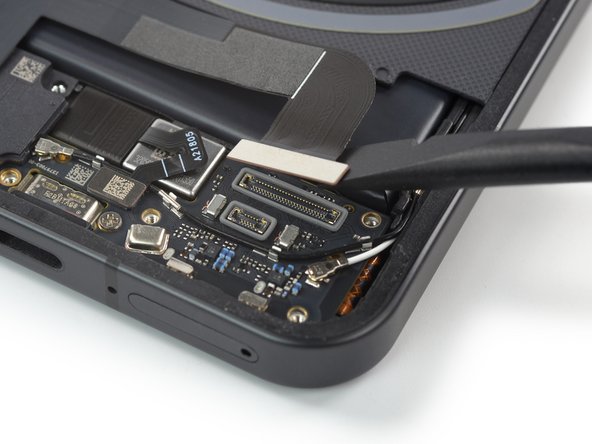
Use a spudger to disconnect the interconnect cable by prying the connector straight up from its socket.
-
-
-
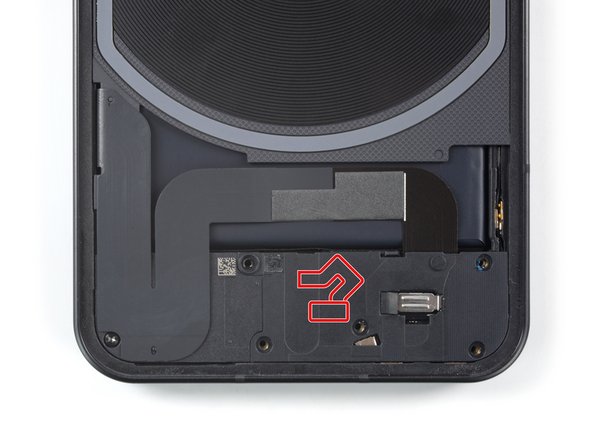
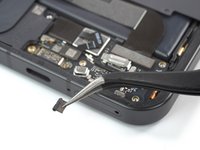
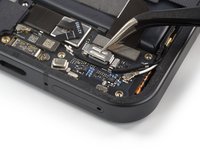
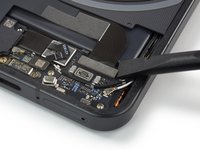
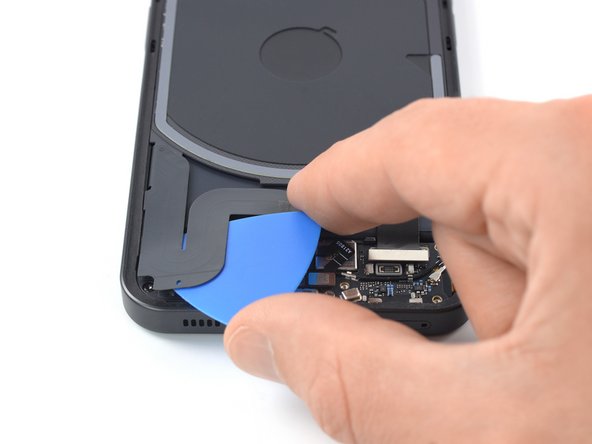
Carefully slide an opening pick underneath the interconnect cable to separate it from the charging coil assembly and the loudspeaker.
-
-
-
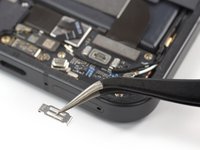
Use a pair of tweezers to fold the interconnect cable to the left like you'd open the cover of a book.
-
-
-
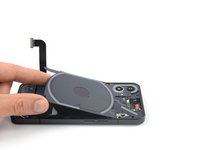
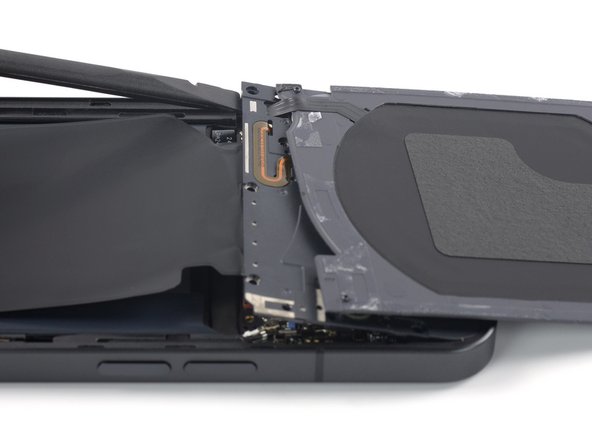
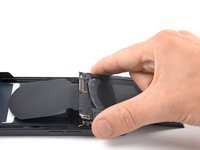
Insert an opening pick underneath the bottom right edge of the charging coil assembly.
-
Slide the opening along the right edge of the charging coil assembly to separate the adhesive.
-
-
-
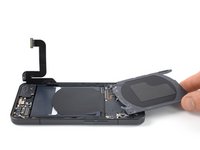
Carefully fold the charging coil to the top edge of the phone to access the motherboard cover screws.
-
-
-
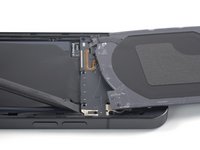
Use a Phillips screwdriver to remove the three 4.2 mm-long screws securing the motherboard cover.
-
-
-
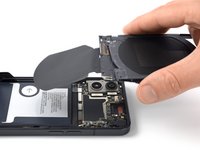
Return the charging coil to its original position.
-
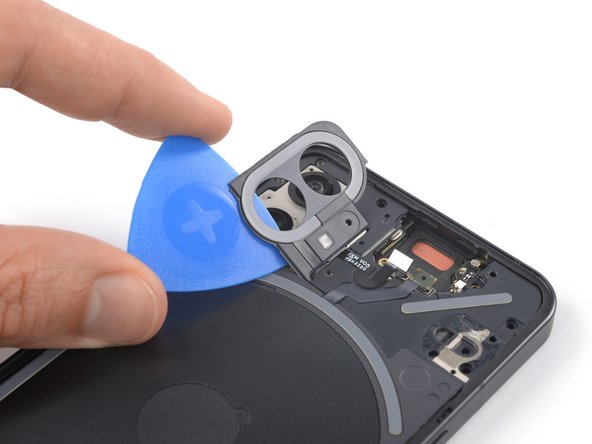
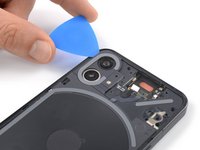
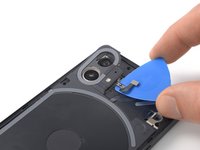
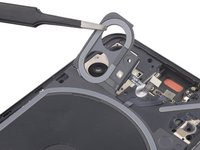
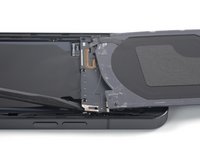
Carefully slide an opening pick underneath the camera cover and flash assembly to separate it from the motherboard cover.
-
-
-
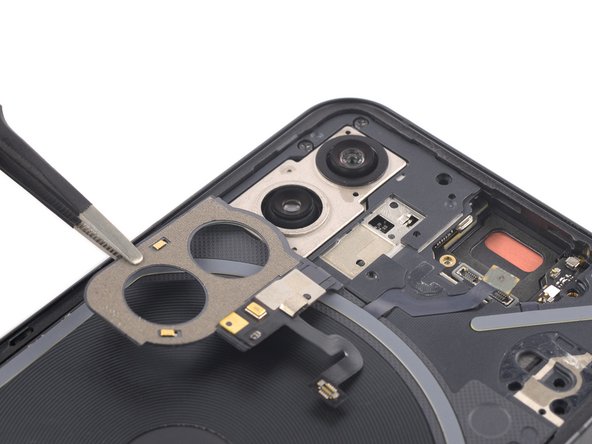
Use a pair of tweezers to carefully fold the camera cover and flash assembly toward the battery.
-
-
-
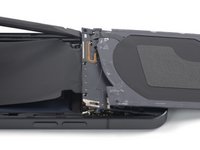
Use a Torx T5 screwdriver to remove the two 4.2 mm-long screws securing the motherboard cover.
-
Return the camera cover and flash assembly to its original position.
-
-
-
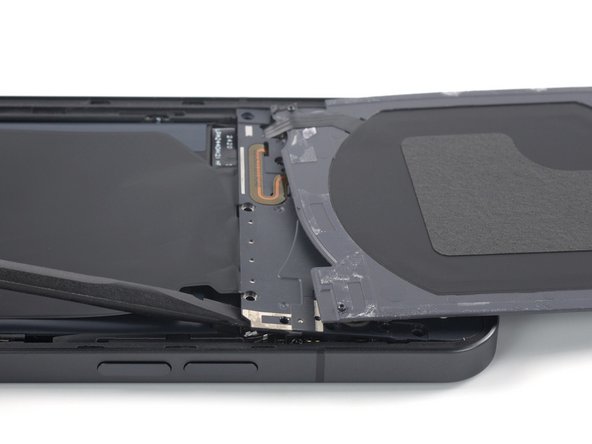
Carefully fold the charging coil to the top edge of the phone to access the bottom edge of the motherboard cover.
-
Insert the flat end of a spudger underneath the bottom right edge of the motherboard cover.
-
Pry up with the spudger to release the motherboard cover from its clips.
-
Repeat the prying procedure for the bottom left edge of the motherboard cover.
-
-
-
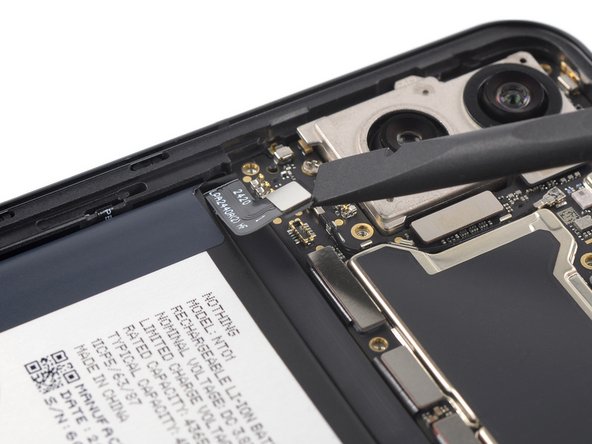
Use a spudger to disconnect the battery cable by prying the connector straight up from its socket.
-


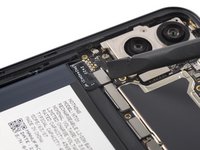
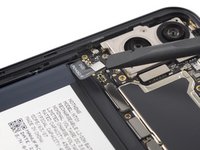
To reassemble your device, follow these instructions in reverse order.
To reassemble your device, follow these instructions in reverse order.

