はじめに
In this guide, the steps on how to remove the ASUS A53S fan and replace the fan will be thoroughly outlined, with pictures associated with each step being provided. The fan of the computer is an incredibly important component, as the main function of the component is to keep other components such as the CPU, cool. If any problems are encountered with the fan, detrimental problems to your pc can be caused, such as components overheating. To get started on how to solve the problem, click on the troubleshooting link here: Asus A53S Fan Assembly Replacement
必要な工具と部品
-
-
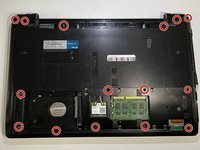
Flip the laptop so the underside is facing up.
-
Using a Phillips #01 screwdriver, unscrew the two 6 mm screws.
 FixBotに聞いてみる
-
-
-
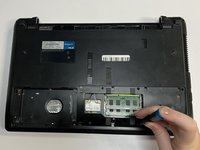
Place a spudger under the white wire and pull it up gently, disconnecting it from the Wi-Fi card.
-
Use the same method on the black wire.
-
-
-
Flip over the laptop and open it.
-
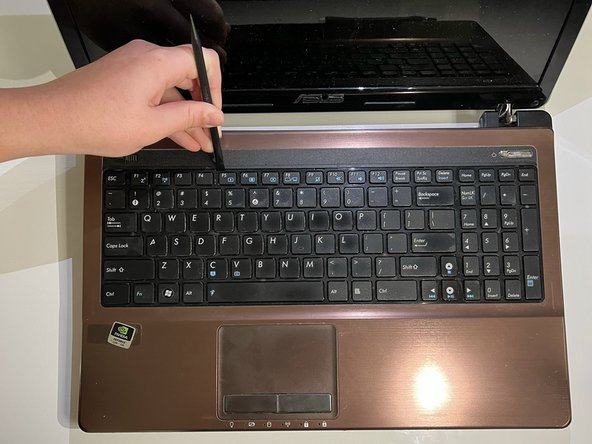
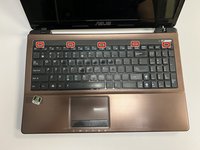
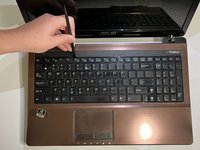
Using the spudger, insert the flat end into the notches at the top of the keyboard and slowly "pop" the keyboard up and out of the device.
-
-
-
Using the flat end of the spudger, lift the black ZIF connector lock bar and disconnect the keyboard from the computer.
-
Remove the keyboard.
-
-
-
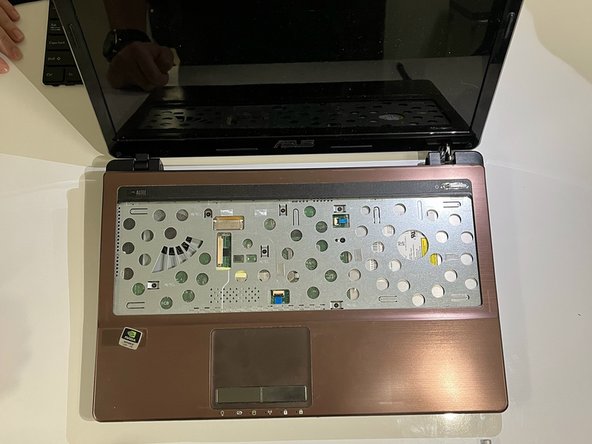
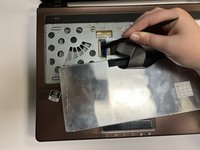
Using the spudger, place the flat end under the black lock bar holding the power switch. Push the spudger up and to the left, disconnecting the power switch.
-
Use the same technique on the touchpad to disconnect it.
-
-
-
-
Flip the laptop back over so that the bottom is facing up.
-
Use a Phillips #01 screwdriver to unscrew the three 6 mm screws.
-
-
-
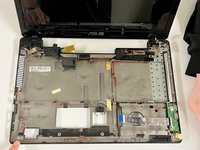
Turn the laptop back over so that you can open it.
-
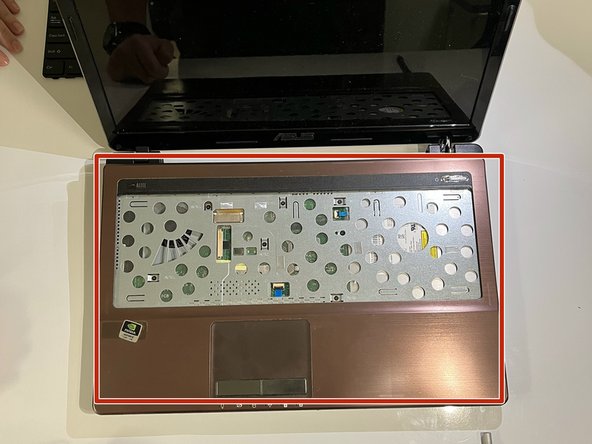
Gently separate the cover from the laptop by putting an opening tool between the cover and the lower part of the laptop.
-
-
-
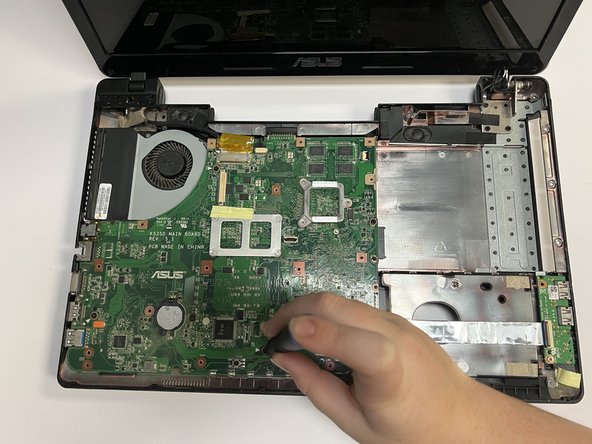
Using the flat end of a spudger, flip ZIF connector lock bar up, disconnecting the USB board from the mother board.
-
-
-
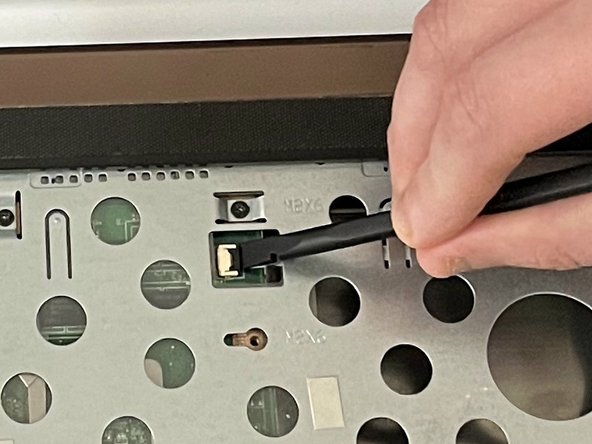
Using the pointy end of a spudger, push upwards on the notches of the tan part of the LCD connector.
-
-
-
Using the pointy end of a spudger, gently push upwards on the black part of the speaker connector.
-
-
-
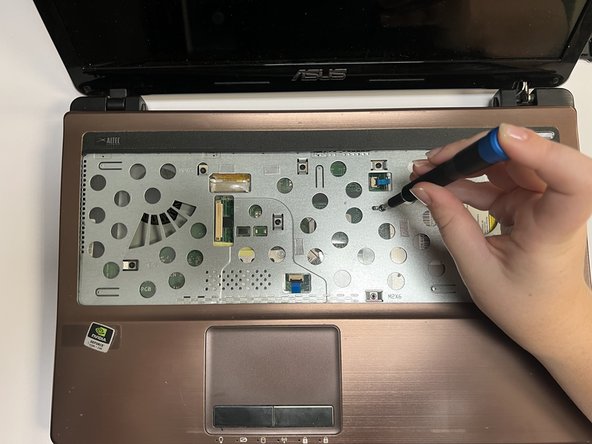
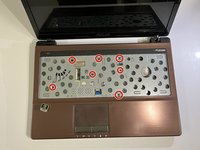
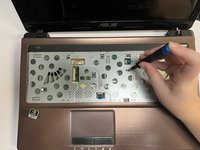
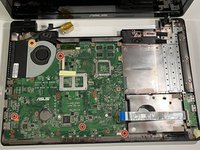
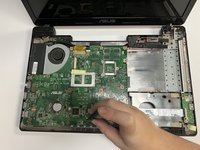
Using a Phillips #01 screwdriver, unscrew the five 6 mm screws at the indicated places.
-
Using a Phillips #01 screwdriver, unscrew the 5 mm screws.
-
-
-
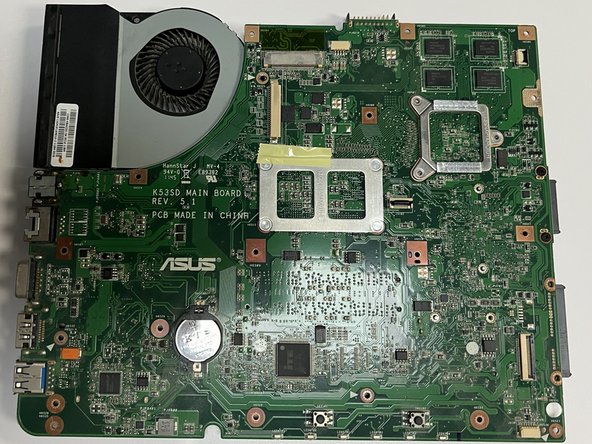
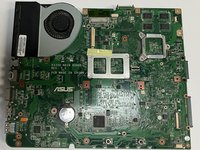
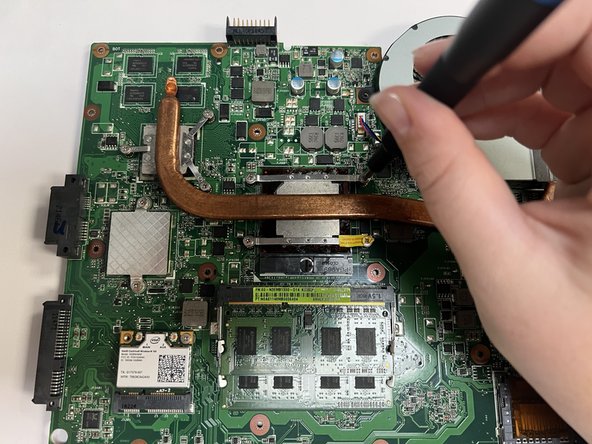
Flip the motherboard so that the fan and heat sink are facing up.
-
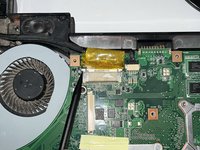
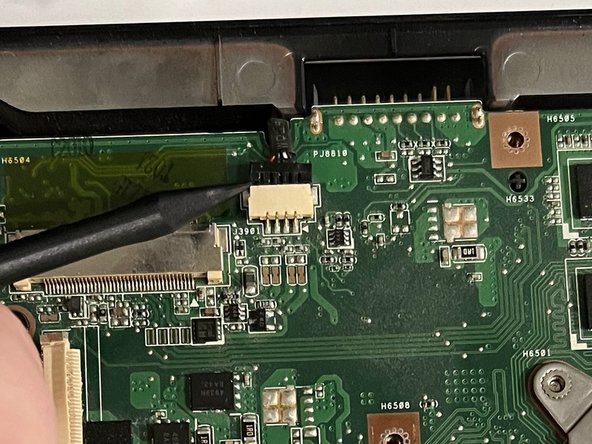
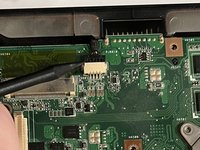
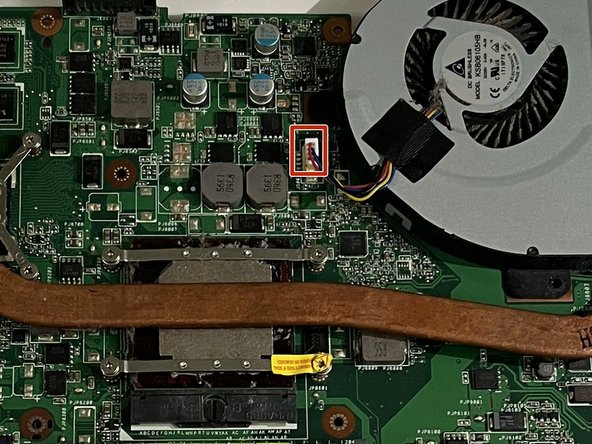
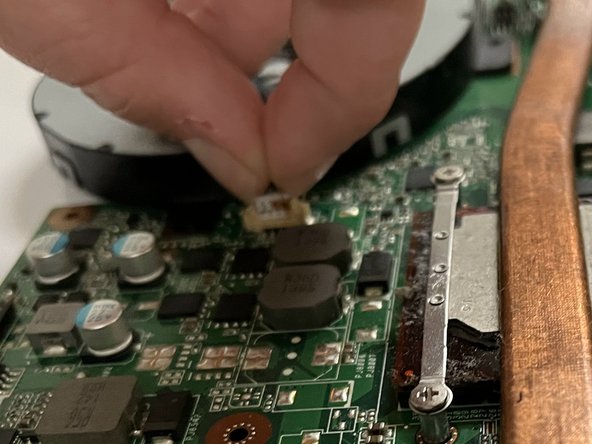
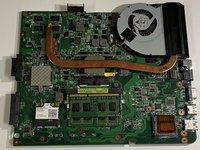
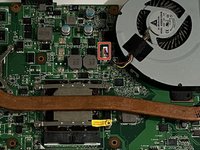
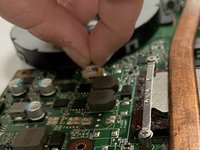
Pinch the upper part of the connector and pull upwards, slightly shimmying it side to side, to disconnect the fan.
-
-
-
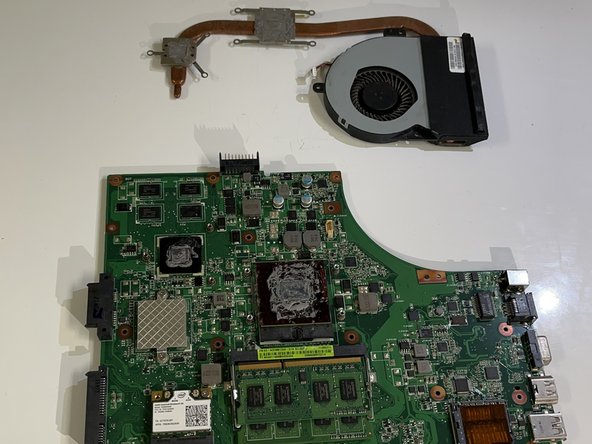
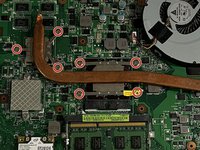
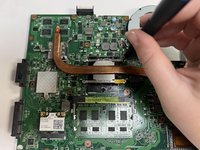
Using a Phillips #01 screwdriver, unscrew the seven 5 mm screws.
-
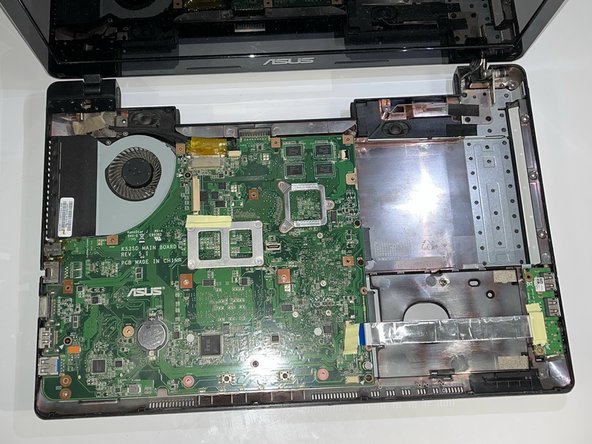
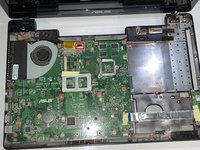
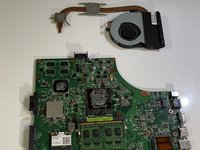
Remove the fan assembly.
-


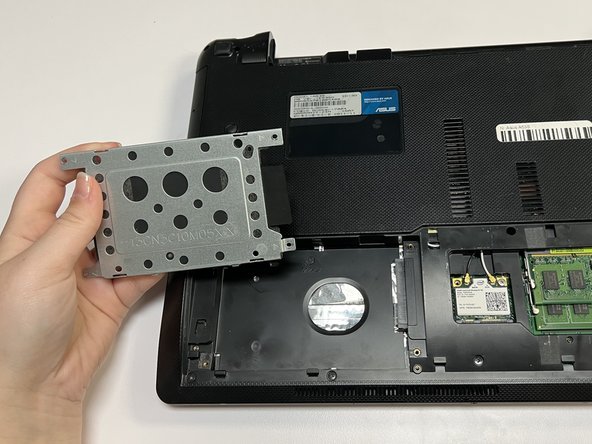
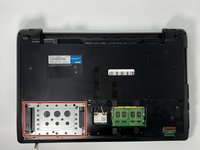
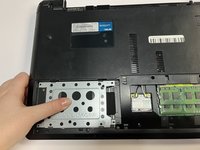
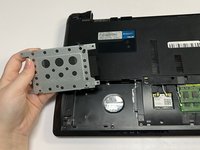








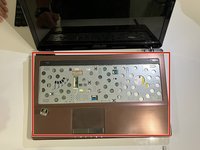
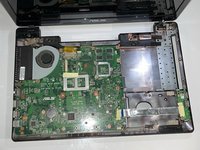


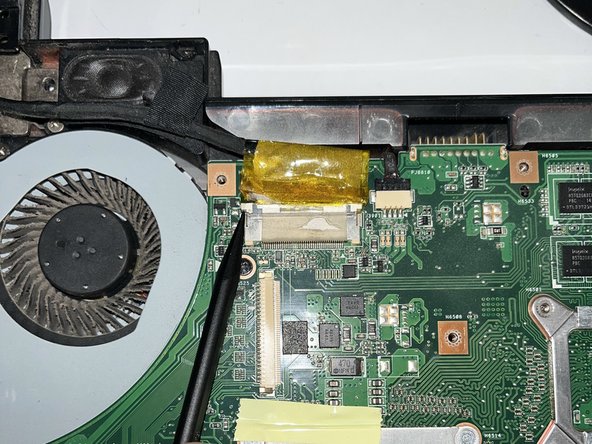
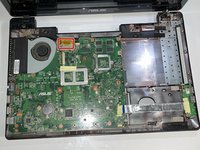





To reassemble your device, follow these instructions in reverse order.
2 の人々がこのガイドを完成させました。

チーム

University of North Texas, Team 3-1, Saru Jimmy Fall 2022 University of North Texas, Team 3-1, Saru Jimmy Fall 2022人のメンバー
UNT-SARU JIMMY-F22S3G1
4 メンバー
6のガイドは作成済み
