はじめに
Use this guide if you are experiencing any issues with your switches for your ASUS ROG Spatha X.
必要な工具と部品
-
-
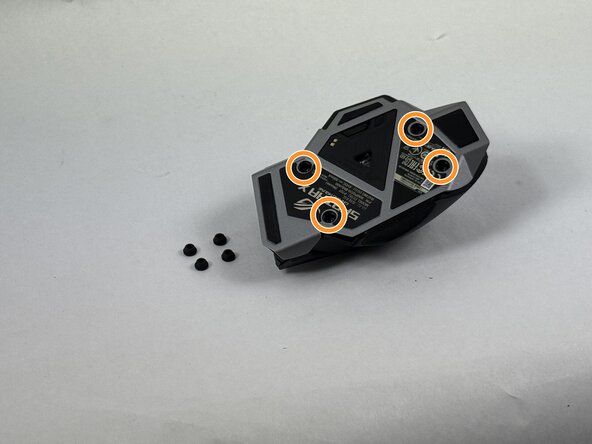
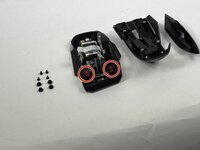
Use the pointed edge of a spudger to remove the four soft rubber covers on the underside of the mouse.
-
Use the included Torx screwdriver, or a T3 Torx screwdriver, to remove the four 4 mm screws.
 FixBotに聞いてみる
-
-
-
-
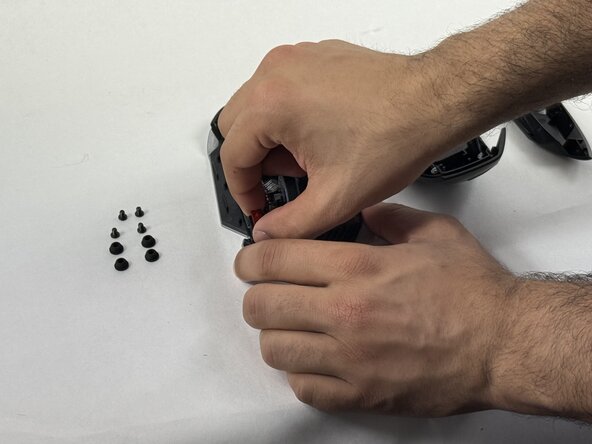
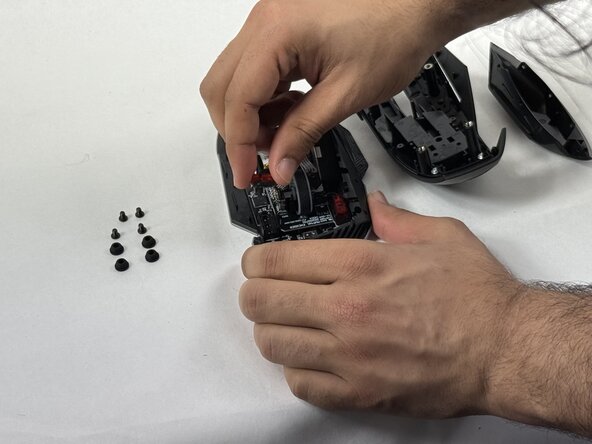
Remove the switch(es) you'd like to swap out by gently grabbing them on either side and pulling straight up.
-


To reassemble your device, follow the above steps in reverse order.
Take your e-waste to an R2 or e-Stewards certified recycler.
Repair didn’t go as planned? Try some basic troubleshooting or ask our Answers community for help.

チーム

UMass Dartmouth, Team 3-4, Botvin Spring 2025 UMass Dartmouth, Team 3-4, Botvin Spring 2025人のメンバー
UMASSD-BOTVIN-S25S3G4
3 メンバー
5のガイドは作成済み