はじめに
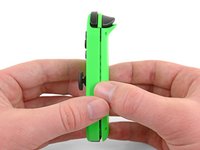
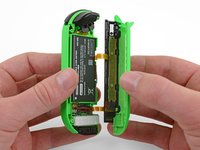
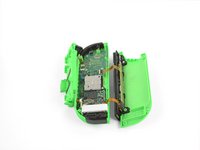
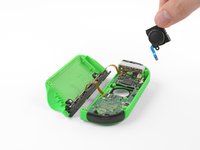
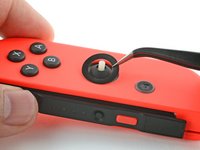
任天堂Switchにはジョイコンコントローラーが付いています。この修理ガイドでは、右側のJoy-ConのJoystickを交換する方法を扱っています。この手順と、 左側 Joy-Conの修理ガイドは内容が異なります。そのため、ご自身のコントローラーに対応したインストラクションを参照しているか確認してください。
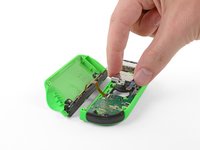
この修理は左側のJoy-Conと同じ手順ではありません。 左側のJoystick用の交換が必要な場合は、詳細付きの他のガイドを参照してください。
必要な工具と部品
-
-
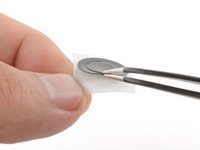
この手順で使用する道具:Tweezers$4.99
-
-
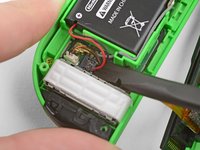
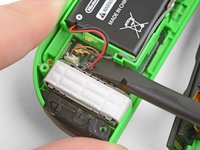
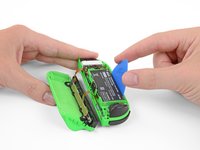
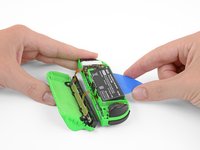
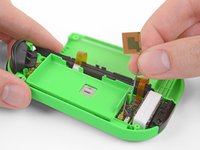
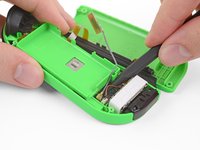
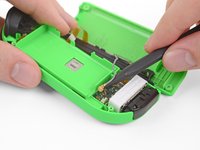
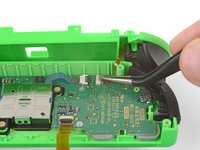
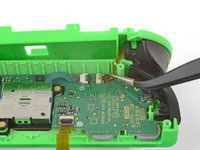
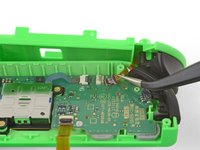
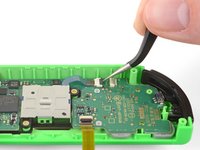
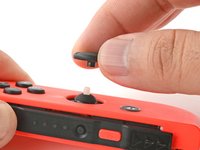
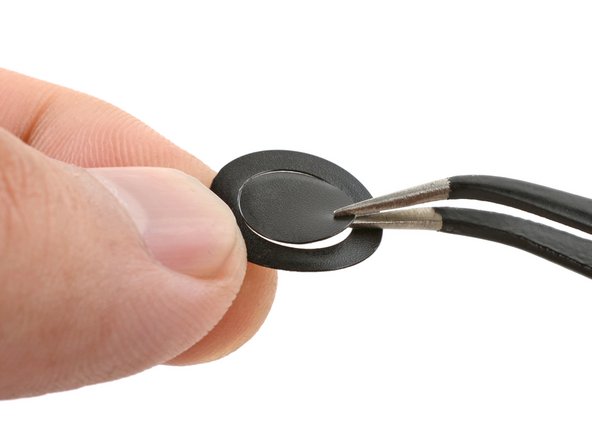
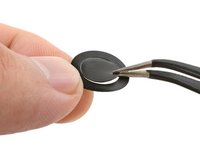
Joystickケーブルも同様に、ZIFコネクタによって固定されています。ピンセットもしくはスパッジャーを使って、ZIFロックを上向きに返して、慎重にケーブルの接続を外します。
-


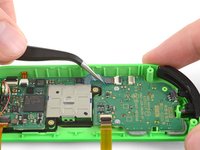
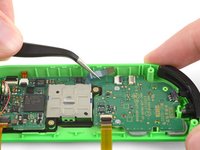


デバイスを再組み立てする際は、これらの手順を逆の順番に従って作業を進めてください。
e-wasteを処理する場合は、認可済みリサイクルセンターR2を通じて廃棄してください。
修理が上手く進みませんか?トラブルシュートのヘルプには、アンサーコミュニティを参照してください。
デバイスを再組み立てする際は、これらの手順を逆の順番に従って作業を進めてください。
e-wasteを処理する場合は、認可済みリサイクルセンターR2を通じて廃棄してください。
修理が上手く進みませんか?トラブルシュートのヘルプには、アンサーコミュニティを参照してください。
482 の人々がこのガイドを完成させました。
以下の翻訳者の皆さんにお礼を申し上げます:
100%

これらの翻訳者の方々は世界を修理する私たちのサポートをしてくれています。 あなたも貢献してみませんか?
翻訳を始める ›

チーム

66 件のコメント
A good guide though for the antenna instead of disconnecting the cable it would be easier to simply slide out the plate and wire from the side of the battery tray
The antenna and battery don’t need to be disconnected, you can easily move them out of the way.
When reassembling, reconnecting the ribbon cable for the RL button is fiddly, easier if you can avoid disconnecting it as well. Just rotate the plastic battery plate a quarter turn counterclockwise to get it out of the way and access the analog stick.
You can test the controller immediately after seating the joystick to make sure the ribbon cable is properly connected.
In agreement with the others, antenna definitely doesn’t need to be removed. Also noticed that the Y000 bit worked a lot better than the Y00 for the outside screws.
Hello I have followed the guide succesfully for the most part, however the joy con doesn’t seem to power up after reconnecting the battery and the anthenna. I even tried swapping the batteries between joy- cons and battery from the right one does work in the left one. The right joy con doesn’t turn on even with the other battery inserted. Any ideas?