はじめに
バッテリーを交換する際に必要な、ストレッチしてリリースするタイプの接着ストリップをプレカットして装着する方法です。
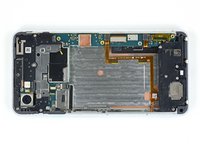
ご注意: このガイドでは異なるスマートフォンやバッテリーの写真を使用しています。接着ストリップの装着方法はこのガイドで使用されている画像と若干異なることがあるでしょうが、方法は基本的に同じです。
必要な工具と部品
-
-
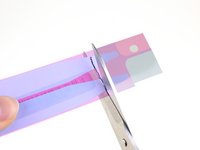
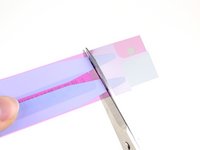
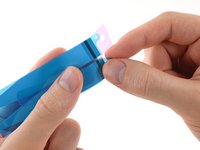
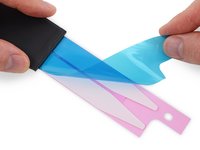
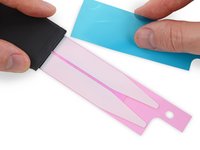
接着ストリップの長さを切断する必要がない場合、次の2つの手順をスキップしてください。
-
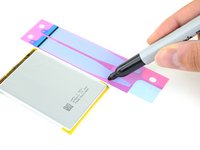
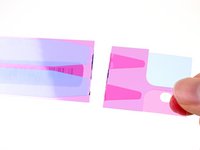
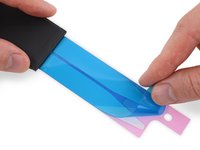
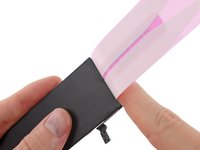
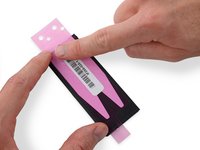
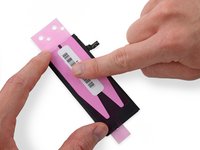
交換用バッテリーの横にストレッチリリースタイプの接着ストリップを配置し、プルタブをバッテリーの上端の少し上に合わせます。
-
-


以下の翻訳者の皆さんにお礼を申し上げます:
100%

これらの翻訳者の方々は世界を修理する私たちのサポートをしてくれています。 あなたも貢献してみませんか?
翻訳を始める ›


3 件のコメント
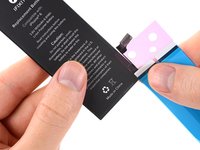
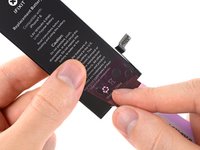
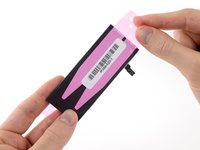
The strips I have (from another supplier) have pink film on one side and clear on the other. How do I tell, apart from the colour, which side goes on the back of the battery?
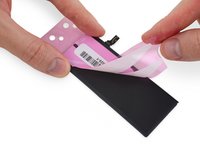
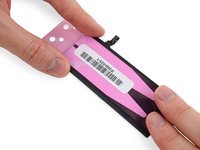
I've worked it out. Comparing the first two photos of Step 5 you can see that the pull tabs have a black stripe on one side but are fully black on the other. The stripe side sticks to the battery as it's all sticky except just for the stripe. The black on the other side is then exposed. Not being sticky, it prevents it from sticking to anything it shouldn't.