はじめに
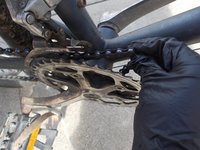
Slipped bike chains may be caused by several different problems including poor shifting technique, the chain being too long, or a worn out chain or rear casters.
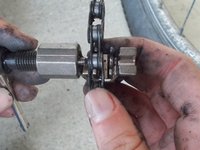
必要な工具と部品
-
-
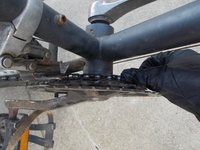
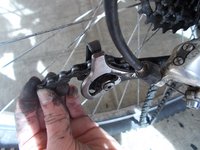
Before getting off the bike, downshift bike into lowest front gear (using the left shifter).
-
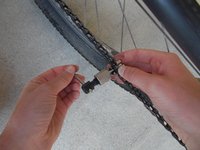
Continue pedaling. This step alone may realign the chain.
-
-


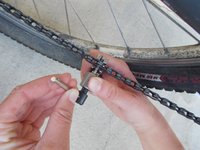
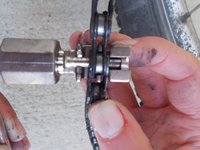


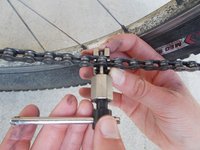

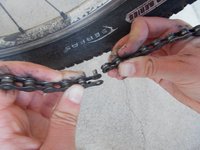


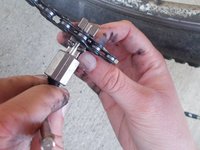
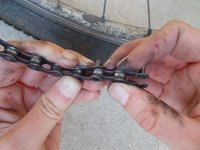
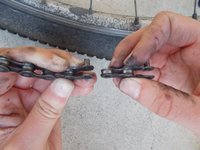


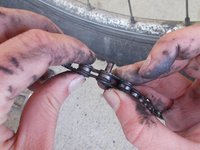


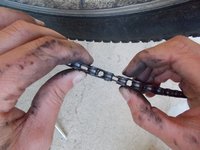
If your chain continues to slip, the chain or cogs are probably worn out. Have a local mechanic look at your bike and determine which needs to be replaced. If it's the chain, visit this guide <Triace A310 Chain Replacement>
If your chain continues to slip, the chain or cogs are probably worn out. Have a local mechanic look at your bike and determine which needs to be replaced. If it's the chain, visit this guide <Triace A310 Chain Replacement>
21 の人々がこのガイドを完成させました。
チーム

Cal Poly, Team 23-3, Green Winter 2015 Cal Poly, Team 23-3, Green Winter 2015人のメンバー
CPSU-GREEN-W15S23G3
6 メンバー
13のガイドは作成済み
7 件のコメント
Thank you so much for this article--so many helpful tips here. But, I just saw this post ("Over 200 Bike Repair Videos and Hundreds of Pages of Illustrated Guides") and actually was reading about this same topic the other day. I did some searching around and stumbled onto this cool article… I thought it was helpful… http://diybikerepairguide.weebly.com
Thanks for the information. How do I know how long the new chain should be. Hint, don't have broken one.
Thanks for your post. A bicycle normally drops off a gear or chain ring as the teeth have worn and become narrow.The chain has a bad link and stretched. To increase complexity, you have lots of options to ensure the dropped chain. You may like this too- http://www.mybiked.com/rechain-bike-usef...
I have a chain guide on my bike only now that the chain is off, I can’t seem to lift the chain onto the top of the chain ring as the guide is blocking this.