はじめに
The fingerprint scanner reads the fingerprint of the employee being scanned. This guide will show you how to remove and replace the fingerprint scanner. Be careful not to damage the glass screen scanner.
必要な工具と部品
-
-
-
Flip the device over.
-
Remove the four 10mm PH #2 screws by rotating the screwdriver counterclockwise, removing the screw from the housing completely.
 FixBotに聞いてみる
-
-
-
Separate the two cover pieces carefully by pulling apart the two cover pieces away from each other.
-
-
-
-
-
-
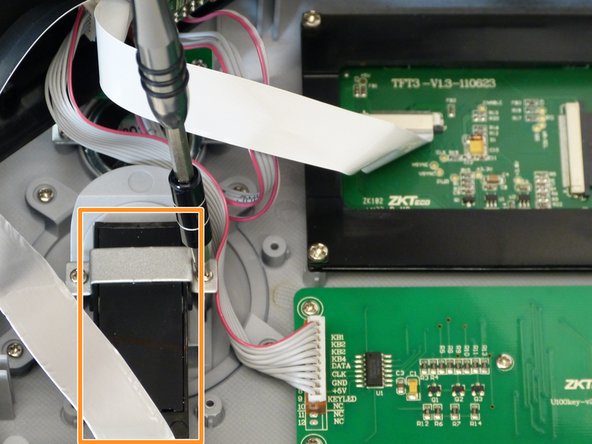
Remove the two 7mm PH #1 screws from the fingerprint scanner mounting tab by rotating the screw driver counter clockwise, removing the screw from the housing completely.
-
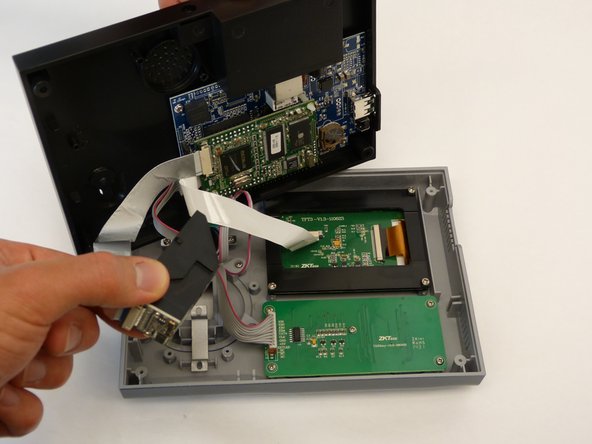
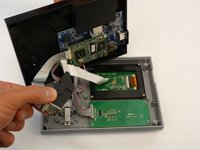
Remove the fingerprint scanner assembly from the unit by lifting the scanner up and away from the unit housing.
-
-
-
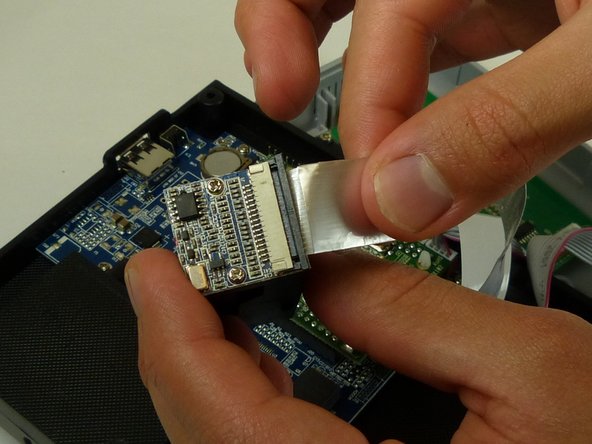
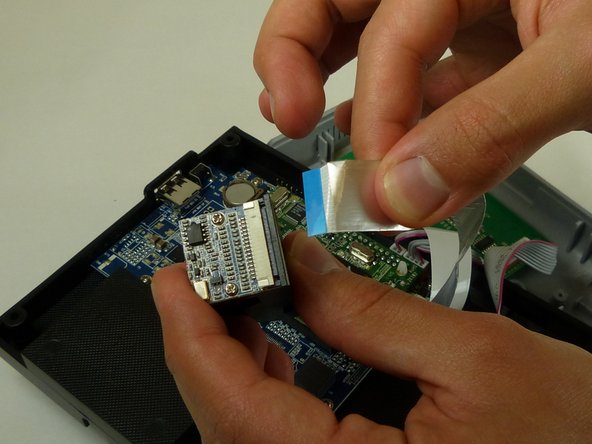
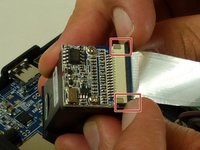
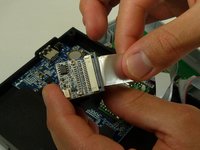
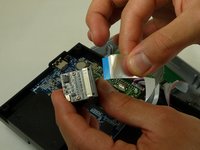
Disconnect the ZIF connector, by using your fingernail to lift up on the small locking flap. Then pull the ribbon up and away, out of the connector.
-
-



To reassemble , follow these instructions in reverse order.
ある他の人がこのガイドを完成しました。

チーム

Idaho State University, Team S4-G1, Watkins Fall 2017 Idaho State University, Team S4-G1, Watkins Fall 2017人のメンバー
ISU-WATKINS-F17S4G1
3 メンバー
25のガイドは作成済み
