手順 8を翻訳中
手順8


-
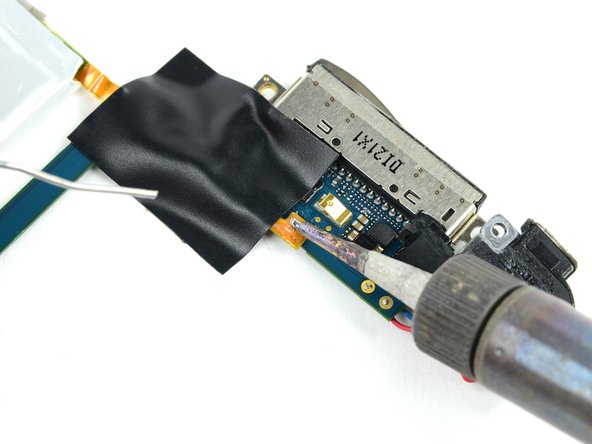
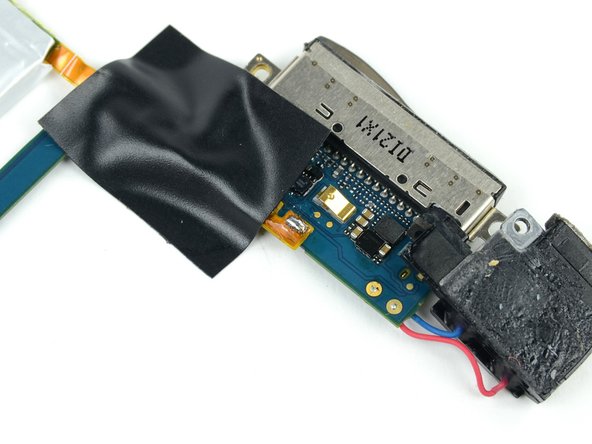
Place the new battery in place and align the far contact with the outer solder pad. Use a small strip of electrical tape to hold the cable against the solder pads.
-
Place the strip of tape over the end of the battery ribbon cable to cover two of the solder pads and hold the contacts down against the logic board.
-
Heat the rightmost contact until the solder below melts, then apply a small amount of solder to the contact, allowing it to flow through the two holes in the cable and down to the logic board.
-
As soon as the solder has flowed into the joint, remove both the solder and the iron.
クリエイティブコモンズのオープンソース著作権のもと、あなたの投稿は著作権の対象となります。