メインコンテンツにスキップ

iPad Pro 12.9インチ スクリーンの交換

英語
日本語

手順 2を翻訳中

手順2
iPad Pro 12.9" Screen Replacement, Installation tips: 手順 0、 2の画像 1 iPad Pro 12.9" Screen Replacement, Installation tips: 手順 0、 2の画像 2
Installation tips
  • When you install a replacement screen:

  • Remove all packing tape.

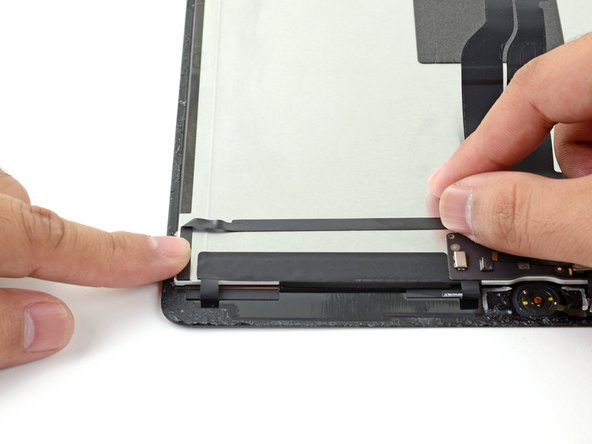
  • Peel any adhesive liners from the flex cables and press the cables in place onto the display panel.

  • Fold and connect the flex cable in the bottom left corner of the screen.

  • Don't peel and expose the perimeter adhesive until you've tested your repair and are ready to seal up the iPad.

交換用スクリーンをインストールする際のヒントです。

全ての梱包用テープを剥がします。

フレックスケーブル上の接着剤ライナーを剥がして、ディスプレイパネルの所定の位置にケーブルを押し付けて装着します。

スクリーン左下のフレックスケーブルを折りたたんで接続します。

修理がうまくいったか点検してからiPadを密封してください。

クリエイティブコモンズのオープンソース著作権のもと、あなたの投稿は著作権の対象となります