注意:あなたはさきほど閲覧していたガイドの前提条件を編集しています。あなたが行った変更は、この手順を含む個のガイド全体に影響を与えます。
手順 2を翻訳中
手順2


-
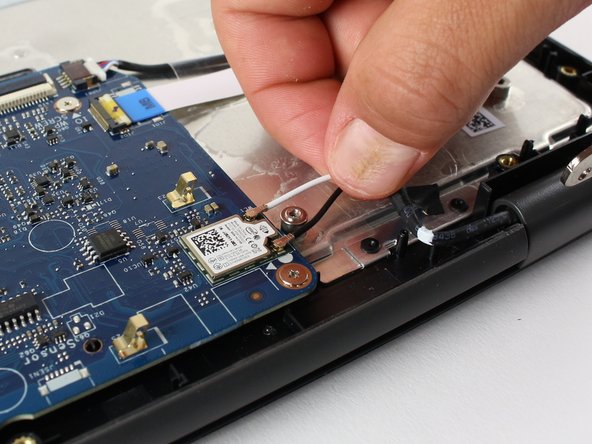
Using a Phillips #0 screwdriver, remove the single 3mm Phillips head screw holding down the small metal bracket that covers where the small black and white wires connect to the motherboard.
-
Once this screw has been removed. Unplug these two wires by gently puling them up and away from the motherboard. Hold the wire as close to the end as possible.
クリエイティブコモンズのオープンソース著作権のもと、あなたの投稿は著作権の対象となります。