はじめに
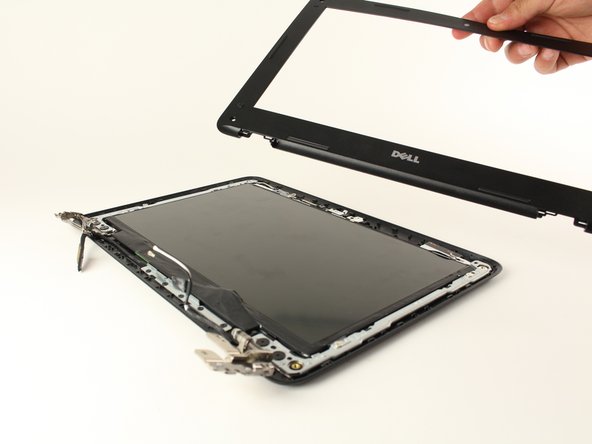
This guide shows how to replace the actual screen of your Chromebook. If you have an entire new display assembly (plastic case and such that make up the top of the laptop), you can adapt this guide and just remove the old display and replace it with the new one.
必要な工具と部品
-
-
-
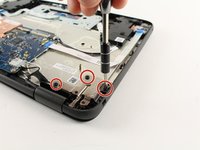
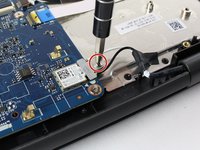
Using a Phillips #0 screwdriver, remove the single 3mm Phillips head screw holding down the small metal bracket that covers where the small black and white wires connect to the motherboard.
-
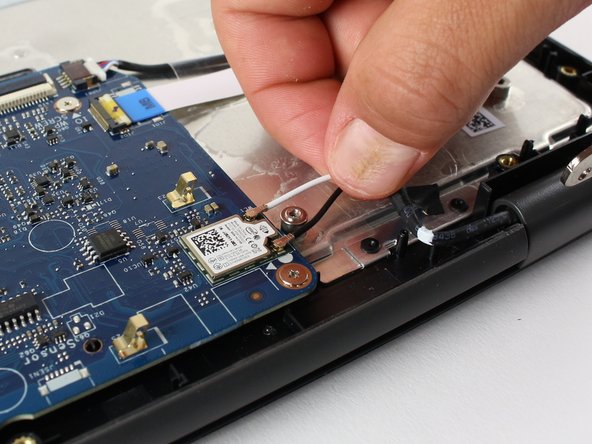
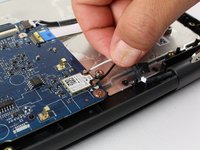
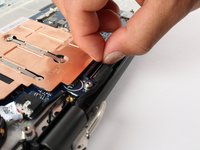
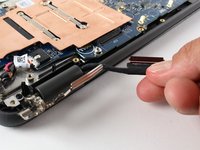
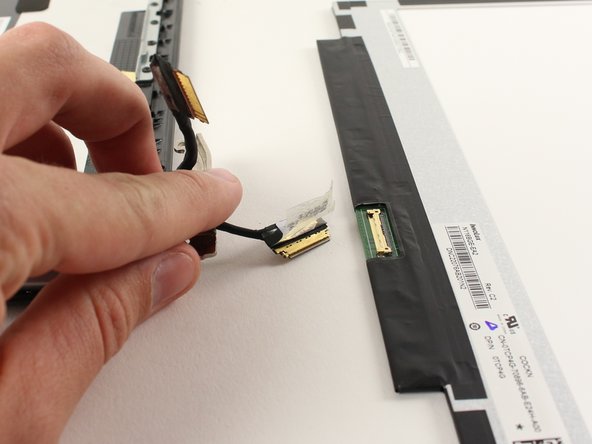
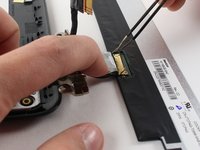
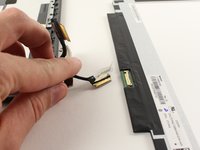
Once this screw has been removed. Unplug these two wires by gently puling them up and away from the motherboard. Hold the wire as close to the end as possible.
-
-
この手順で使用する道具:Tweezers$4.99
-
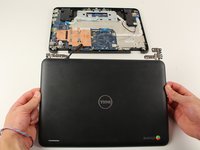
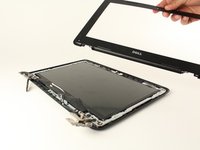
Once it's separated from the rest of the computer, place the screen assembly face up on your work space.
-
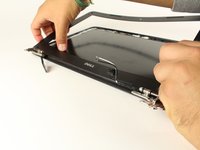
Using tweezers, remove all four stickers covering screws on the front. Stick these to the computer, a few inches from the screw holes.
-
Using a Phillips #0 screwdriver, remove all four 3.5mm Phillips head screws from the front of the display assembly.
-
To reassemble your device, follow these instructions in reverse order.
To reassemble your device, follow these instructions in reverse order.
6 の人々がこのガイドを完成させました。
1件のガイドコメント
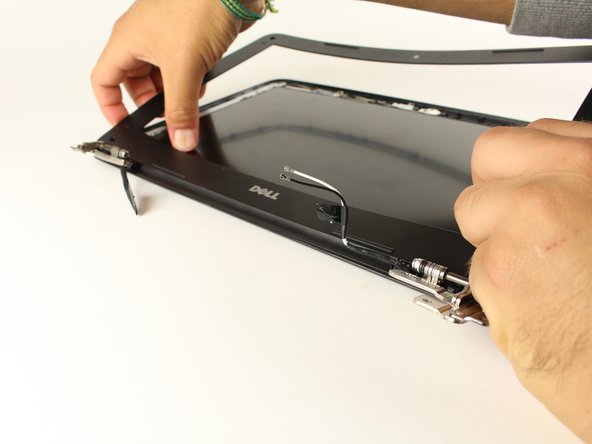
You don’t have to disconnect the display from the main body. Just be careful cause the plastic lcd bezel has strong adhesive and it is easy to crack the plastic bezel when separating it from the LCD panel.


