手順 1を翻訳中
手順1


-
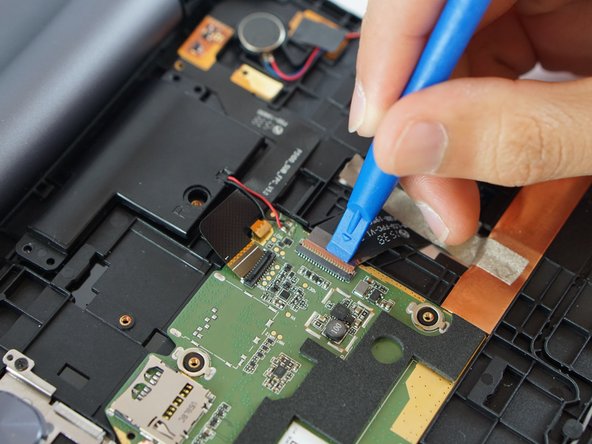
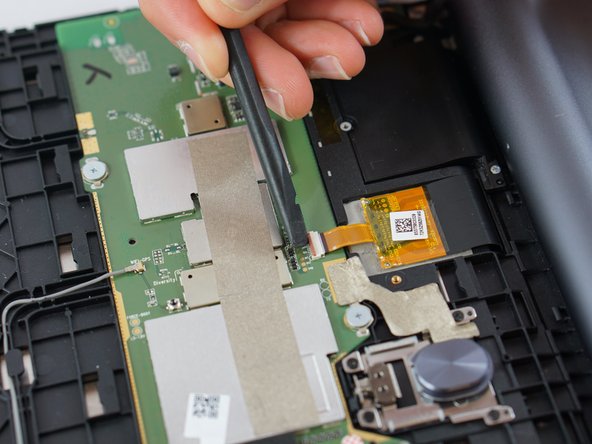
Before detaching the LCD and digitiser connectors, remove the two small screws at the top left (red bordered area in photo). Remove the metal shield and disconnect the battery wire.
クリエイティブコモンズのオープンソース著作権のもと、あなたの投稿は著作権の対象となります。